10 Ways to Make Photos Work in Your Designs
Browsing through collections of websites, such as those from Awwwards or The Best Design, you often notice a common theme – great photography. A great image can make your website (or any design project for that matter) look amazing.
But what if your images are less than stellar or you have a limited number of images to work with? You can still create something with a lot of visual impact. With editing, creative use and a few design “tricks,” you can create something special with as little as a single image. Here are 10 techniques to try.
2 Million+ Digital Assets, With Unlimited Downloads
Get unlimited downloads of 2 million+ design resources, themes, templates, photos, graphics and more. Envato Elements starts at $16 per month, and is the best creative subscription we've ever seen.


1. Crop
The simplest tool can have the biggest impact. That’s the secret to cropping. Changing the focus or aspect ratio of an image can create more visual impact. Consider dramatic horizontal or vertical shapes. A fellow designer once told me to crop until I was uncomfortable and then back off just a little bit. It is the best photo editing advice I ever got and still gets used daily.
Works for: Limited images
2. Blur
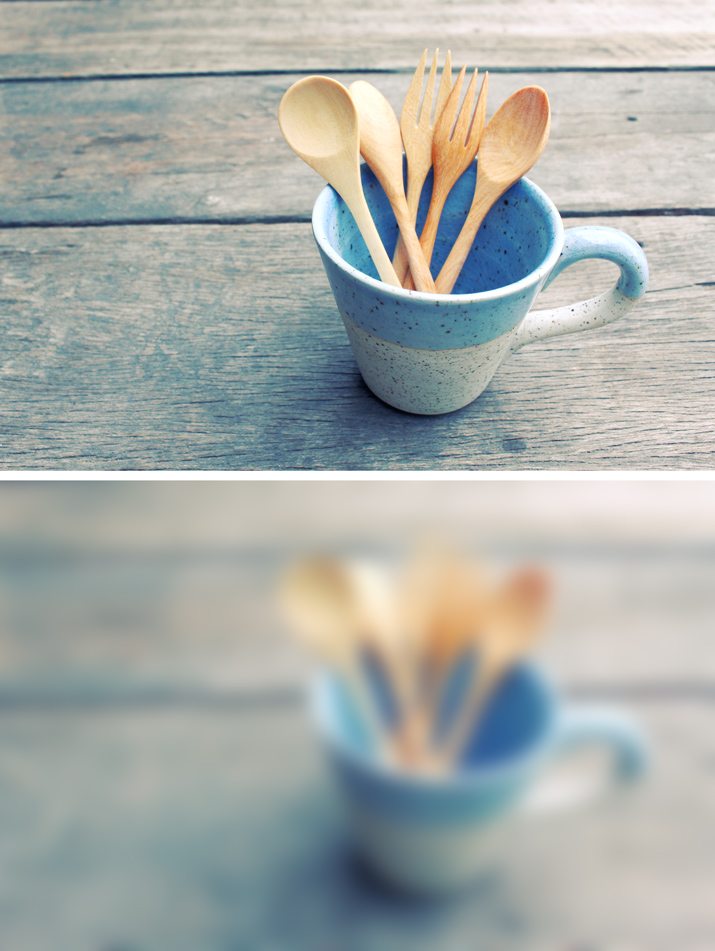
One of the trendiest looks in web design right now is the blurred photo background. This can “clean up” photos that have the right idea but aren’t exactly what you hoped for. The blur style most commonly used includes enough haze to account for photos that are less than perfect, but you do need good color and a pretty tight shot to make it work well. While the photo is blurred, you should be able to discern what is in the image.
Works for: Limited images, flawed images
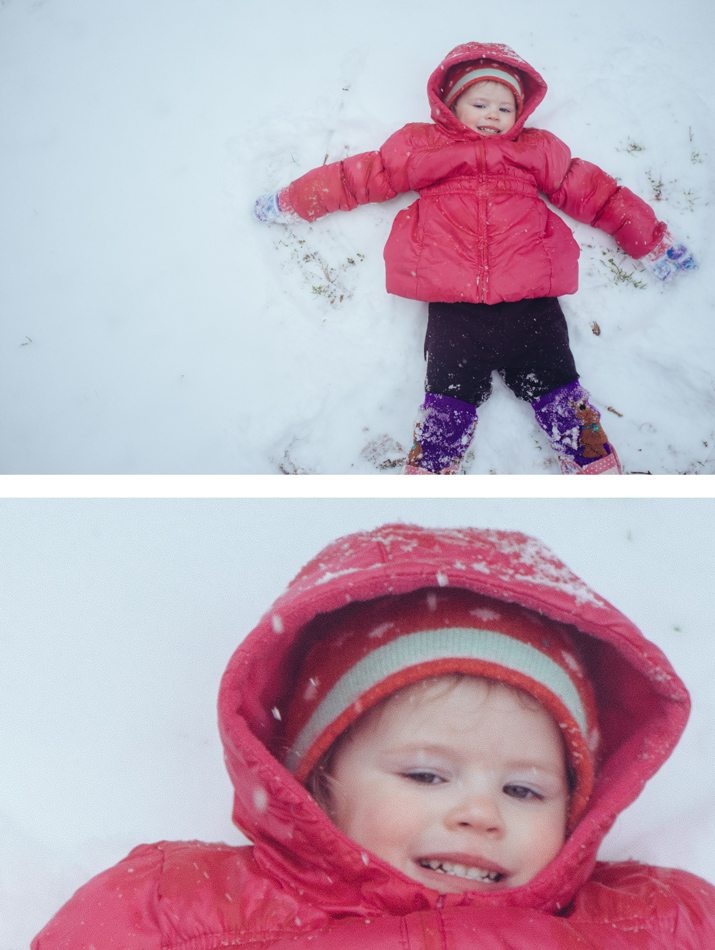
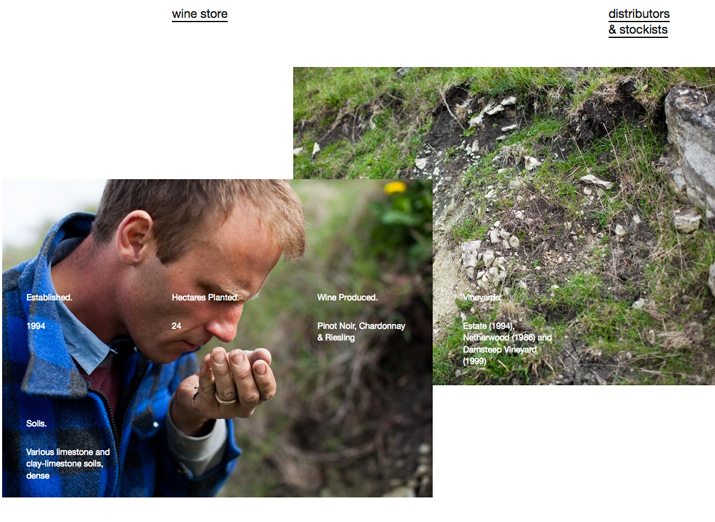
3. Package
When you have only one image or just a handful, creative packaging of the images can be a fun tool. Consider breaking a single photo into multiple panels. Play with symmetrical and off-center pairings. Repeat this trick with different photos for a polished effect.
Works for: Limited images
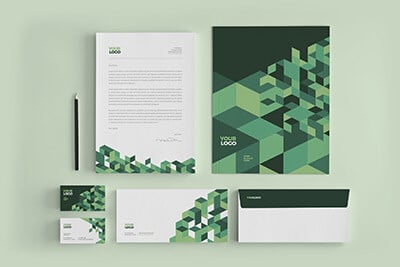
4. Color Effects
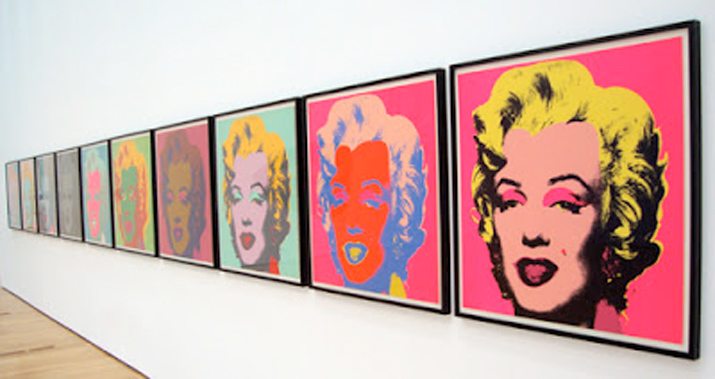
Andy Warhol had it figured out: Adding color to ordinary images made them into something totally new. Over saturate color in images to create a more artistic look. You can try this with an entire image or just parts of it. Or consider grouping and adding different colors to each image for a fun, mosaic-style effect. (One of Warhol’s most well-known pop art pieces of Marilyn Monroe features this style.)
When it comes to color, think about using surprise to create visual interest as well. What if you have a photo of a blue pig? That will draw attention for sure. Use color to attract people to your visual and interact with it. A shocking, different or intriguing color choice in a simple image of a common object can go a long way.
Works for: Limited images, flawed images
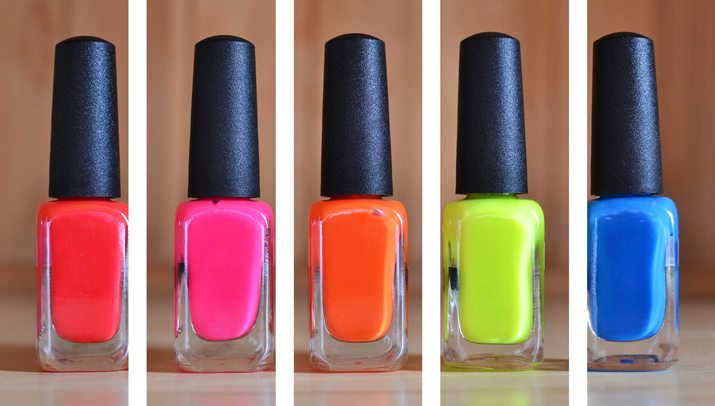
5. Use Shapes
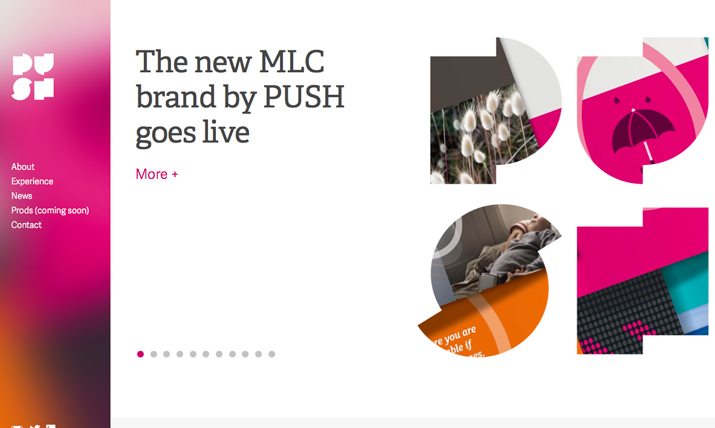
You can use shapes for photo containers or overlay shapes on top of images to create a bit of unexpected visual interest. Recently circles have been a trendy design element and have been used frequently for elements such as headshots. But shapes other than rectangles can be used for a variety of images.
This effect often works best with simple images since the frame is more elaborate. Overlaying a shape on a larger image can have some impact as well, bringing to focus of a visual to the “framed” portion of a bigger picture. This effect creates focus and draws the eye.
Works for: Limited images
6. Create Something
When you just don’t have the right image, create something. Almost everyone has a mobile phone with a decent camera. Create a mini studio and take the photo you need. Be aware that some things are easier to create than others and you should leave images with action, food or that require specific lighting techniques to professional photographers for the best results. But you can create a simple image on the fly.
Works for: Limited images, flawed images
7. Make it Small
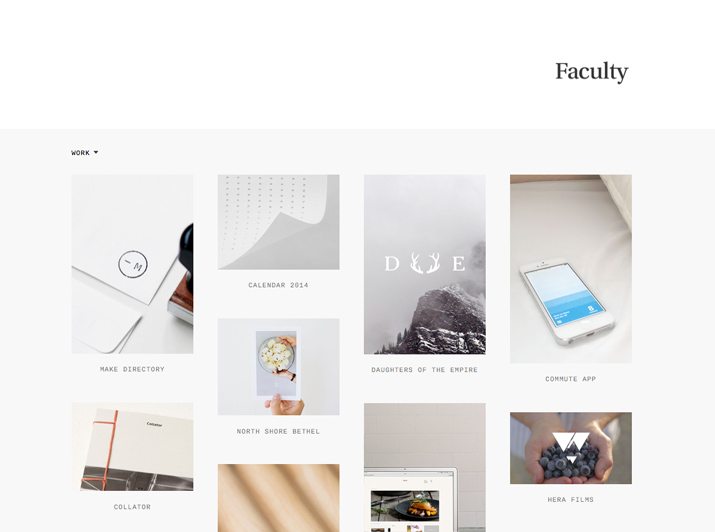
Just as a fun shape or dramatic crop can bring attention and focus to an image, so can dramatic sizing. Make your image small – note that making a bad image small will not work here, you still need a decent photo – to give it focus. If one small image does not work for you, think about groupings of small images. (You can use the same image multiple times or use a series of different images.) Add plenty of space around a small image for the greatest impact. The contrast between vast space and a small image is almost always eye-catching.
Works for: Limited images
8. Go Oversized
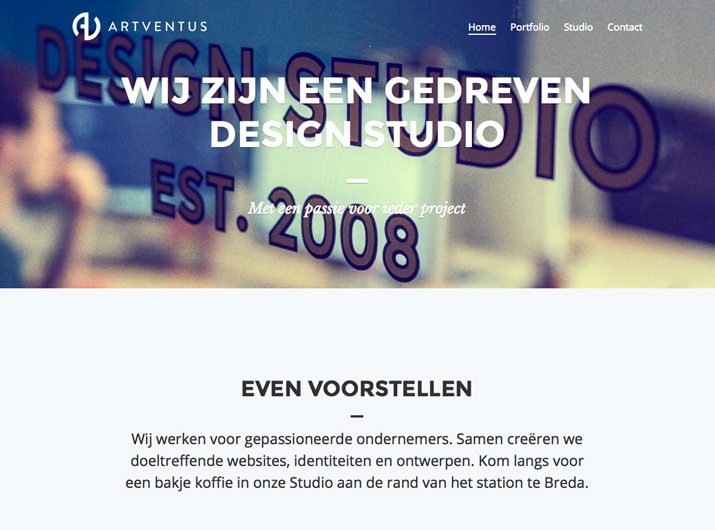
Make it big … really big. If you have only one image, this is a great way to make the most of it. Big photos often come with big impact. But the only way this technique works is with the right photo. It has to be clear and focused, sharp and lit well. Only the perfect image will work in the oversized design. If you question whether the photo is right at all for this type of project, try something else. This bold display needs to immaculate; with something extra-large, every flaw is quite visible.
Works for: Limited images
9. Layer Elements
Have you ever come across an image hat was just right, aside from that one little spot? That’s where layering can help. Use the image as part of a background and layer of elements on top of it, particularly in the areas of concern. (The trick is to do this in such as way that the idea of the image still comes trough and the layered elements don’t look cluttered or out of place.)
While this is not a perfect solution, it can be a temporary fix if you are waiting for new artwork or are facing a tight deadline. Aim to make placement of elements look intentional and think about how much of the image you need to “hide.” If it’s more than a quarter of the photo, it might be best to think about finding a new image altogether.
Works for: Flawed images
10. Keep it Simple
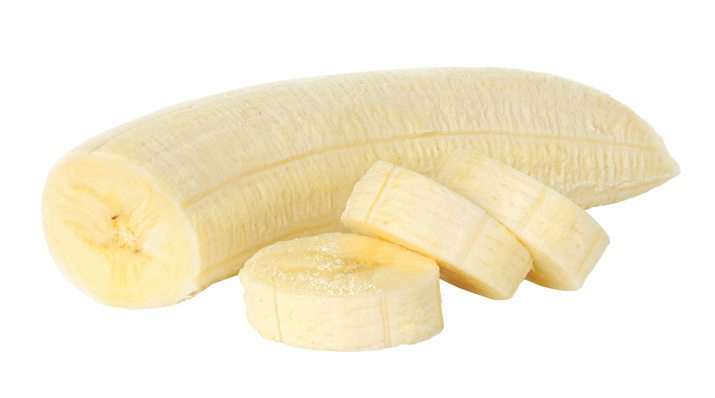
When in doubt, keep it simple. When you don’t have a lot to work with or you have an image that’s just not working, go simple. Extract a piece of an image and put it on a white background. Crop to remove too clutter from an image. Shoot something yourself. Opt for a fun trick or technique, but use only one. Simplicity is clean, focused, sharp and a good solution to almost any design dilemma.
Works for: Limited images, flawed images
Conclusion
Not every project comes with the perfect set of tools. In a visual arena such as design, images are an important part of any project. Remember all the tools you have available when working with art that leaves something to be desired.
Cropping, blur, packaging, color effects, shapes, creating something new, size, layering and simplicity are all things you can do to help images better work in a variety of ways. What other techniques have you used to help images fit into design projects? Share your ideas in the comments.
Photos courtesy of Creative Market.