Transform Your Designs Into Coded HTML Emails With Mailrox
Coding HTML emails sucks. In a time where we’ve become so ingrained with web standards and CSS-based layout, jumping back in time and coding up table-based layouts with inline styling feels downright icky. In fact, there are tons of web designers who haven’t even been around long enough to be familiar with how to code this way.
Today we’re going to take a look at a new tool that promises to make life much easier for HTML email designers. With Mailrox, you upload your design, slice it up and easily transform it into a working HTML email.
The Ultimate Designer Toolkit: 2 Million+ Assets
Envato Elements gives you unlimited access to 2 million+ pro design resources, themes, templates, photos, graphics and more. Everything you'll ever need in your design resource toolkit.

Meet Mailrox
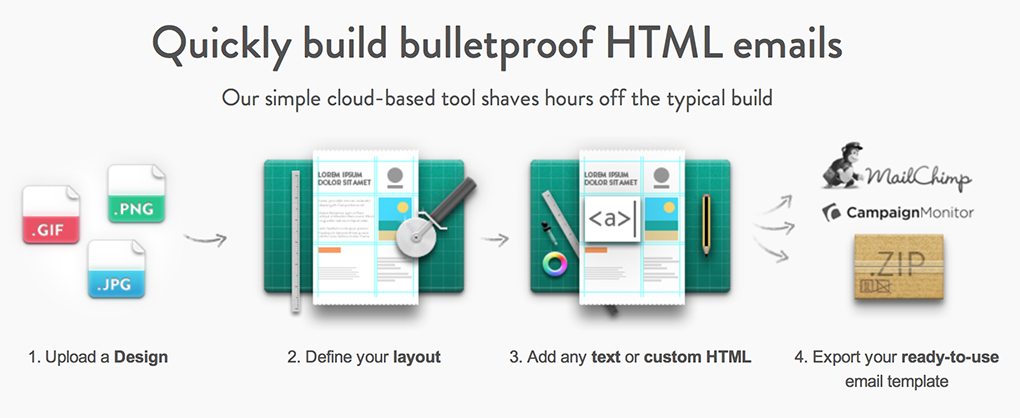
Mailrox promises a simple workflow: upload a design (jpg, gif or png), define your layout, add text and custom HTML, and export. Sounds easy right? But can creating HTML emails really ever be an easy process?
I’m skeptical, so today we’re going to give this sucker a test drive. I’ll walk you through the entire process of starting with a design, uploading it to the site and converting it to a live email.
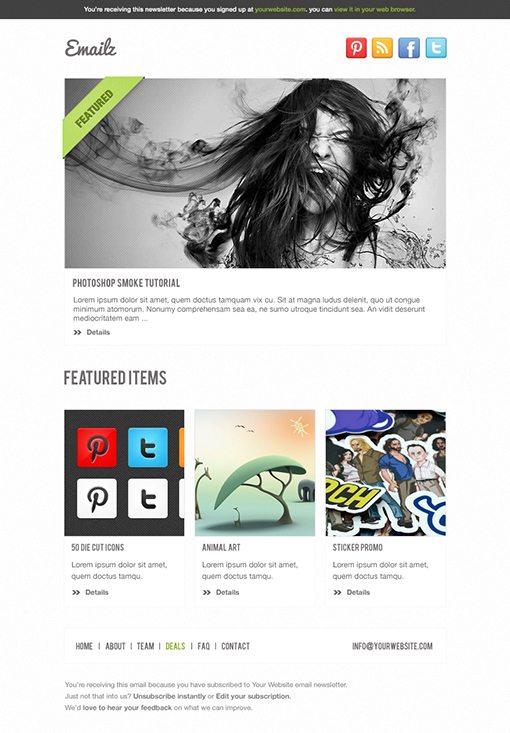
The Template
In order to test out Mailrox, we’re going to need an HTML email design. I could stop writing and take the time to build my own, but I’m lazy and there are a ton of awesome free templates online so we might as well just grab one of those. Here’s one such template from PSD Freebies.
Step 1. Create a New Email
Mailrox is currently in beta, so it’s free to use, for now. You toss in your email to score an invite, I got mine within ten minutes so it shouldn’t take too long for you to get in.
Once you’re all signed up, you’ll be taken to this page:
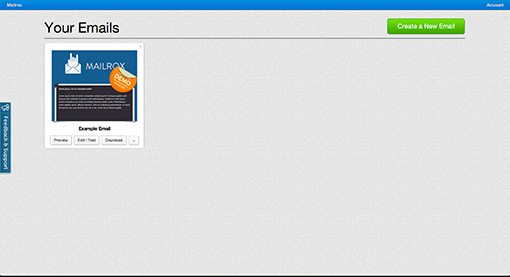
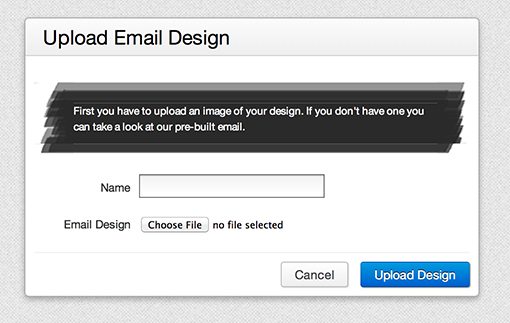
They’ve already given you a template to toy around with, but we want to start from scratch, so let’s hit the button that says “Create a New Email,” which gives us a simple dialog where we can upload our flat jpg.
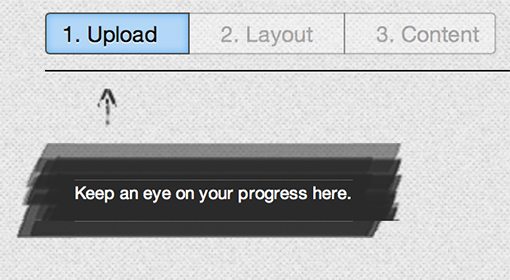
Tracking Progress
Throughout the entire process, Mailrox helps you keep an eye on where you are in the process with a helpful little graphic at the top left of the screen. I love it when apps do this, it gives me a clear idea of where I’ve been and where I’m going, in addition to allowing me to quickly click and jump to different steps.
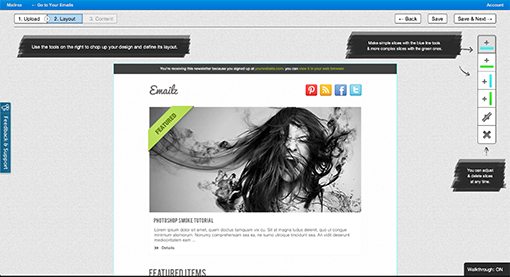
Step 2. Slice and Dice
Once we upload our image, we’re taken to the screen below. Here we see the uploaded jpg along with a simple strip of tools and some nice little hints and tips for how to get started.
Basically, your toolset and workflow is completely centered around slicing tools. There are two vertical slicing tools, two horizontal slicing tools, a slice move tool and a slice delete tool.
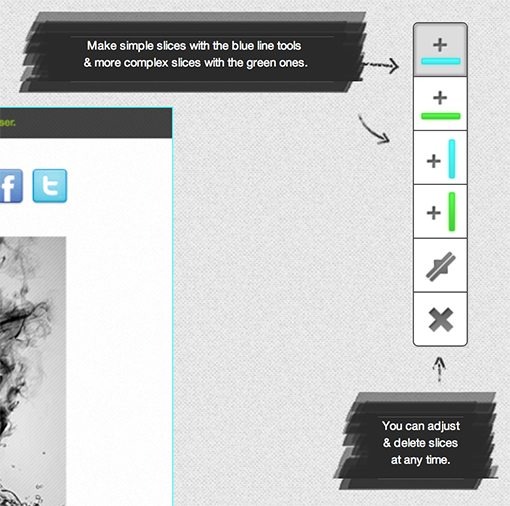
As you can see, blue slicing tools are “simple” and green are tools “complex.” That sounds nice, but what the heck does it mean? There’s really nothing that tells you any more about how these work. After some experimenting, it turns out that blue slices will go all the way across the page and green ones are aware of and bound by other slices on the page.
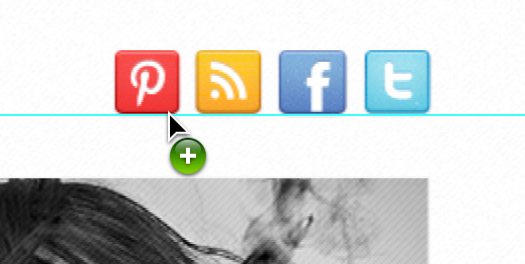
To make a slice, simply grab a tool and hover your mouse over the canvas. A preview of the slice appears, allowing you to position it exactly where you want it. You can stick it in place with a click.
Click Click Click
You get the idea here. Just go along and slice up your file, being careful to slice around each object that you’ll need to customize in any way, whether by swapping out a graphic, tossing in text or simply adding a link.
Overall, it’s actually a pretty quick and easy process. If you’ve ever sliced up a PSD in Photoshop, you’ll feel right at home here.
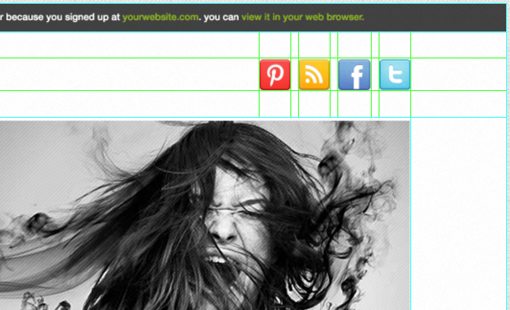
Step 3. Customize Content
While you were slicing your design, what you were actually doing is defining different content areas to be customized. As we progress to the “Content” step, each of these areas will be something you can hover over and click on to change.
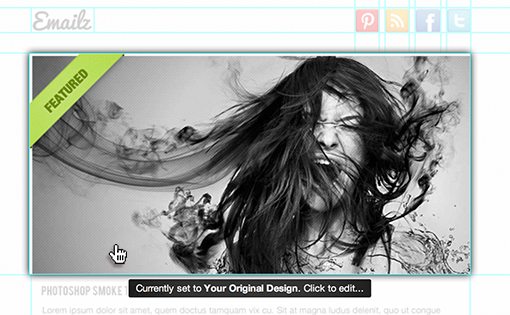
For instance, let’s say that we want to keep that main image, but add in a link so that when you click the picture, it’ll take you to a specific URL. To do this, click on that section, then use the little form to add in your link.

Pretty easy right? Let’s jump into something a little trickier where we have to add in custom code.
Adding Custom Code
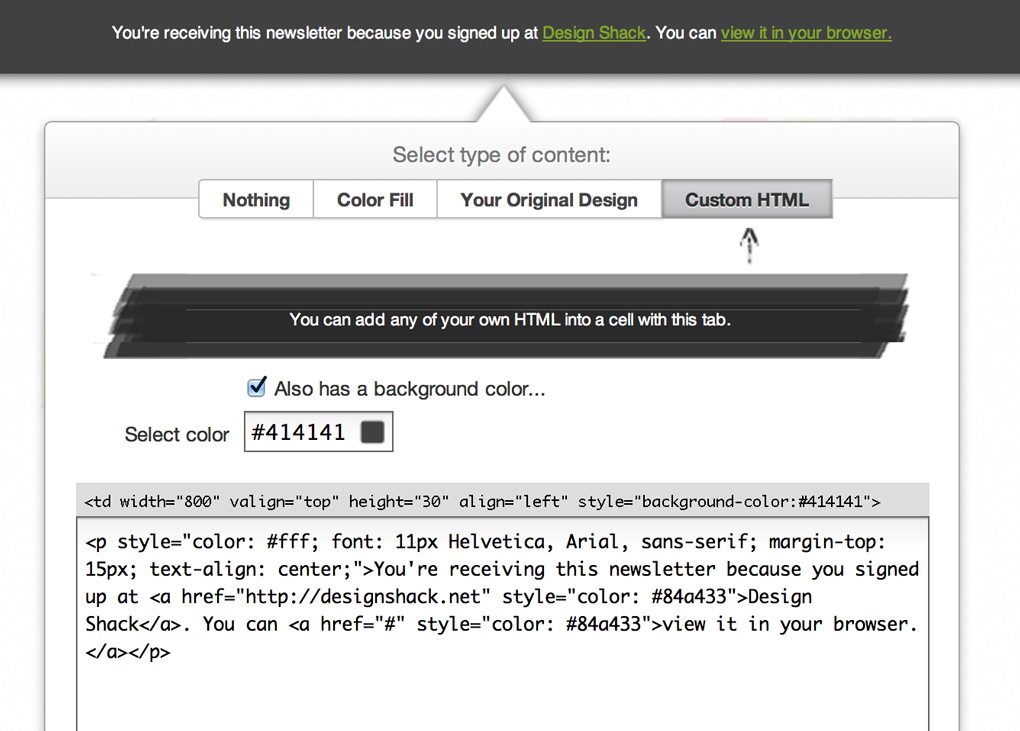
At the very top of our email template is a bar that informs the reader why they are receiving the email and links them back to a site. Obviously, we’ll want to put in our own text here.
The process for this is where the WYSIWYG idea breaks down. You see, Mailrox isn’t designed for non-coders. If you don’t know basic HTML and CSS, you won’t get very far.
Instead, it was created for designers with a good understanding of basic web code who simply don’t want to go through the hassle of coding an email, which is a very specific beast that must be coded just right in order to work properly. It may sound like a small niche, but I’ll bet this describes quite a few web designers. Including myself!
As I click on the top area and choose to insert custom HTML, I’m given the screen shown below. The text field is automatically surrounded with the code for tables and cells, so thankfully we never have to mess with that. Instead, we need to insert a paragraph of text and whatever inline styling is necessary to make it all look pretty. You’re completely on your own for this, so hopefully you’re comfortable with CSS.
Once you’re done here, you basically just repeat this process throughout the whole of your template until all of the content areas have been customized to your liking.
Step 4. Extras
Before we wrap this up, it’s worthwhile to look around at the various extras and goodies that are available to you in the “Content” section. At the top right of the window, you should see the following set of buttons:
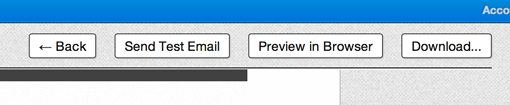
Here you can view a live preview of your finished, coded template in the browser or even send a test email to see how it looks in various clients. There’s also a download button, which we’ll talk about in the next step.
Opposite of these buttons, at the top left of your screen, is the following strip of tools:
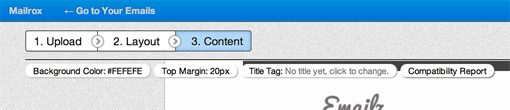
These allow you to customize the basic page characteristics: background color, top margin, and title. There’s also a link to a “Compatibility Report.” This is a fantastic little tool that allows you to ensure that your design is going to work in various email clients.

As you can see, our design passed the test for 19 email clients, including Apple Mail, Gmail and Yahoo. We did fail in one area though: Lotus Notes 6.5-7. Off hand, I’m not even sure what that is or if it’s important, but Mailrox is right there to hold my hand and help me make a decision.
The app informs me that I’ve got some tiny table cells that Lotus Notes won’t like, but also that this will likely effect less than 1% of potential email users. That sounds acceptable to me, but in case I want to fix the issue, they even give me instructions for how to correct the error.
Step 5. Download
Once you’re all finished, click the download button that we saw before to be taken to the screen below. I applaud the developers for these three options, because I think they’re perfect:
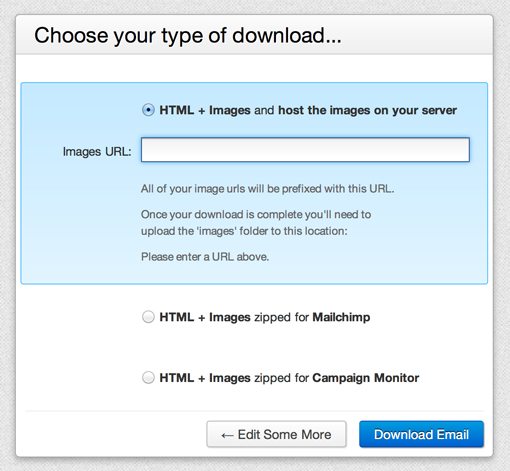
Here we can download our template so that it’s optimized specifically for Mailchimp or Campaign Monitor. This is awesome because both of these services are extremely popular and both have very specific custom code snippets that are required to prep a template for their service.
The third option is just as cool. If you just want to download the plain HTML and images to upload to your server, the app will go in and prefix all of the image links with the path to directory you’re going to be putting the images into. This is a really well thought out option and I appreciate the effort here.
What Do I Think?
I was skeptical about this tool at first, simply because I’m a coder who typically prefers to build things by hand and avoids WYSIWYGs like the plague. That being said, I hate coding HTML emails. They really are a pain and everything about the layout process just feels clunky and wrong if you love CSS layout as much as I do.
Mailrox seems to know exactly who I am and what I want from it. It knows that I can slice up a design with very little instruction, and that I’m more than competent enough to write my own code for the various chunks of content. Most importantly, it knows that, while I can do all that, I don’t want to bother with table-based layout and the complexities of HTML email compatibility.
It focuses specifically on those parts of the HTML email building process that are the most annoying and handles them for me. I love that the developers are insightful enough to pull off such a feat and I really enjoyed using the app.
I’m not sure what they’ll charge for it after beta, but as long as it’s reasonable, I can definitely see myself turning to Mailrox the next time I need to code up an email.
How to Make it Better
Obviously, I have high praise for this tool. It’s simple, easy to use and seems to be targeted precisely to my talents and needs. That being said, I have a couple of complaints that I’d love to see addressed in future versions.
Give Me a Zoom Tool
The first complaint is the inclusion of a zoom tool in the slicing workflow (or if there’s already one that I missed, make it more obvious). You’re trying to place those slices at very precise points in the layout and I frequently found myself with my face to the screen trying to get it just right.
Give Me a Zoom Tool
My second complaint is that I have to use Mailrox to slice at all. The Photoshop slicing tools are more robust and designers are more familiar with them, so why not let us slice up the document in Photoshop and then upload our PSD to skip straight to the content step.
A pre-sliced PSD upload feature would definitely make this a killer app as it would make converting my design to a coded email a nearly painless process that could be performed very quickly. The slicing tools on Mailrox are fine and should remain, but those of us who prefer Photoshop should be given that option.
What Do You Think?
Now that you’ve seen my walkthrough and opinions of Mailrox, it’s time for you to chime in and let me know what you think. Do you hate coding HTML emails as much as I do? Would you consider using a tool like Mailrox to help out with the process?
If you’ve made it into the beta and had the chance to test drive Mailrox, leave a comment below and let me know what you love and what you would change.