5 Important Lessons I’ve Learned About Mobile App Interface Design
I have been designing for a living since 2009 and, in the past three years, I have been focusing my skills on both web and mobile user interface design. During this time I’ve experienced the good and bad of the industry. Good clients, bad clients. Good ideas, bad ideas. Good developers, bad developers. There have been app approvals and app rejections.
Sometimes it can be frustrating, and although these so-called “bad experiences” can suck, they’ve taught me some important lessons. These lessons not only speed up my day-to-day workflow but also help me design a better user experience for the target audience.
The Ultimate Designer Toolkit: 22 Million+ Assets
Envato gives you unlimited access to 22+ million pro design resources, themes, templates, photos, graphics and more. Everything you'll ever need in your design resource toolkit.


Get to Know the Client and Their Needs
Before starting a project, set up an online chat/call or face-to-face meeting with your client. It’s good to get to know them a little before taking on work, as personality clashes sometimes cause problems. If you share common interests, chances are you’ll get along just fine!
I’ve been in a situation with one client where he was incredibly business-minded and his number one priority was to make as much money as possible in a short period of time. Although making money is important, creating a great product and user experience is number one for me (if the product is good and users love to use it, I believe the money will come rolling in eventually!).
In this particular case, we ended up deciding not to continue working together as I wanted more time to spend on the work I was asked to do, and his priority was to launch the product as soon as humanly possible.

Once past the stage of getting to know each other a little bit and discovering that you are a good match, it is important to find out as much as you can about the app. I tend to split this into two sections; ‘basic info’ and ‘advanced info’.
I find out the basic information before getting to know the client. This involves what the app is for, who it is for, and its primary features. I then move onto finding out about the advanced information. In this step I meet with the client and discuss the workflow and screens in detail.
Between us we create a full list of screens that will be required to make the app work. I personally like to use a Google Drive Spreadsheet which we can all view and edit, and make any comments. We agree and sign off that this is the full set of features and screens that is required.
Why Do All This Work?
There are a couple of valid reasons behind me doing this. The first one is that it is an essential asset when drawing up wireframes and workflows. The second one is that it can potentially save your back from clients increasing your workflow by slipping in extra screens and features here and there.
I once took on a relatively large iOS and Android project with a close friend of mine where we broke this rule and — what we had originally quoted as approximately 320 hours work — soon turned into almost 500 hours of work. Due to the client adding so many new features mid-way through the project, the whole structure of the app had to be changed on both iOS and Android platforms.
It started to get boring, repetitive, and we generally lost a lot of love we initially had for the project. We completed it, but not without working into the early hours of the morning, getting stressed, juggling projects and delaying other client projects that we had lined up. Not worth it when it can be fixed with a simple list of screens and features.
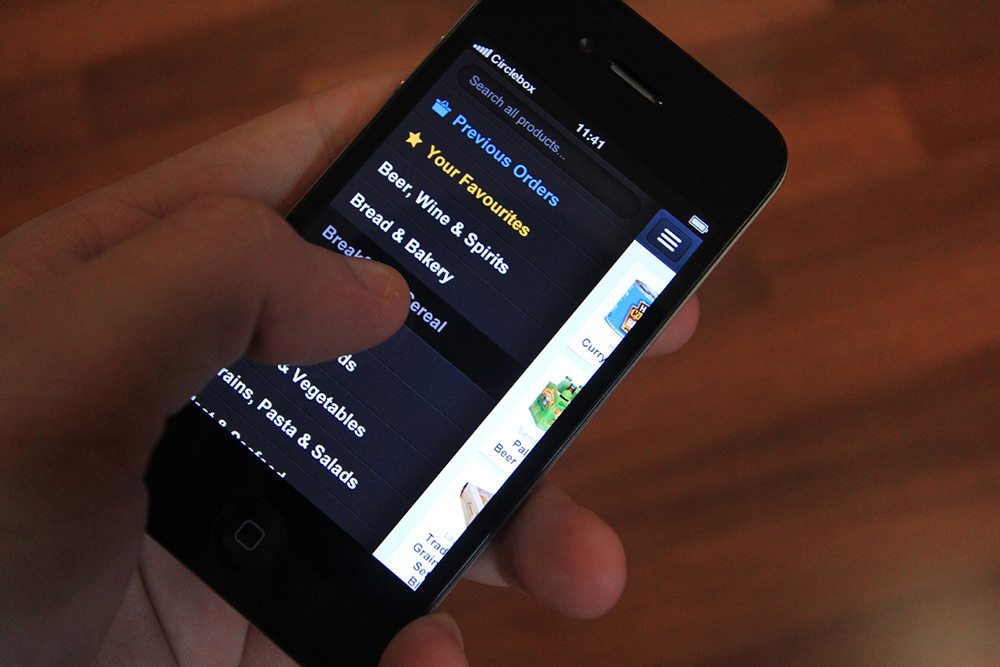
Put Yourself in the Users Shoes
The last thing I like to do before starting to plan the project is to put myself in the users shoes. Sometimes this might be one type of user, others two or even more. This rule applies to all mobile applications.
I worked with an off-road map and GPS startup in the second half of 2011, and putting myself in the shoes of a typical user was very important. I’d grab a piece of paper, write ‘user’ in the middle, and write down anything that comes to mind. Three of the big questions I asked myself were:
- What will they use the app for?
- Where will they be using the app?
- How much time do they have to use the app?
Obviously the user was going to use the app for navigation both roads and off-road tracks, they’ll be using the app in the car and on foot – sometimes this will be in direct sunlight (therefore a dark UI probaby isn’t suitable).
The app will be used for good lengths of time, yet in some cases the user will only have limited times to interact with the app (at red lights for example) so navigating around the app has to be simple and very quick.
I’d spend a good hour ‘in the users shoes’, it really helps me picture how the app will work and how it could possibly look too.
Plan Ahead to Avoid Mistakes Later On
Planning your project is where that list of screens and features we mentioned in lesson one becomes an essential asset. Once the list of screens and features has been signed off it’s time to start wireframing.
When I first started focusing my skills on mobile interface design I used to skip wireframing whenever I saw an opportunity to. I found it a chore for most projects but eventually my laziness backfired. I took on a project for a small iOS utility application, the client and I decided against spending half a day sketching some simple wireframes as we had a pretty clear image in our head of how we wanted it to work.
We moved forward and before you know it we were running into small workflow issues, nothing major, little things like how does a user get here from there, how do they delete this without going through lots of steps to get there, etc etc. Before you know it, we were spending an hour here and an hour there fixing these issues, which could have been easily avoided by spending that half a day on putting together a simple workflow and a set of wireframes.
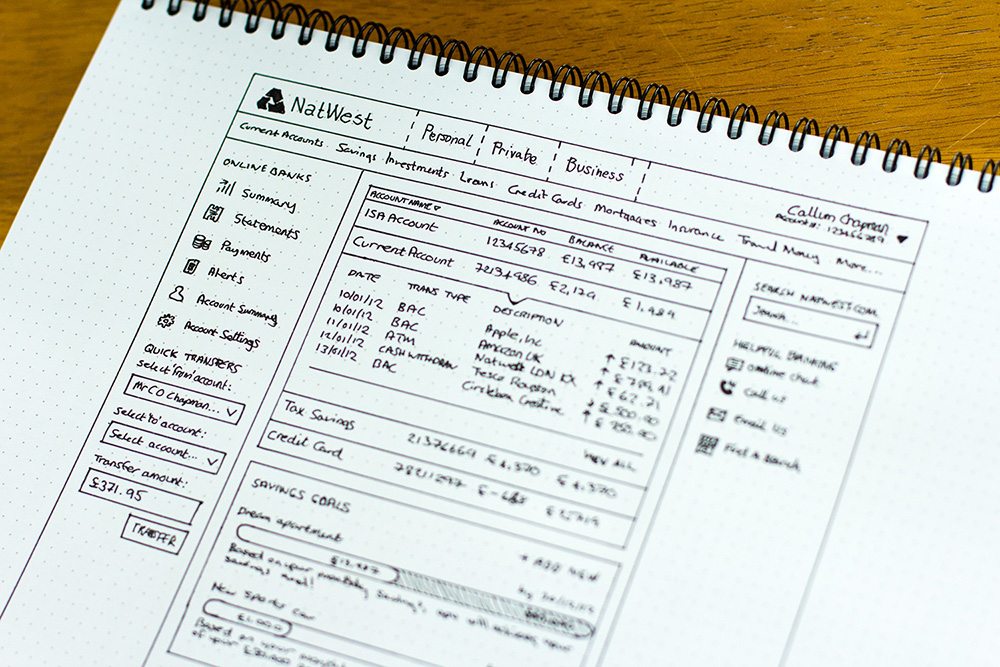
This isn’t to say you need to be spending days or even weeks on planning your projects (especially for smaller utility apps) but it’s definitely worth putting pencil to paper and scribbling some ideas down for the most important screens and then referring back to your full list of screens and features for the ones you don’t feel you need to sketch.
I do this all the time, before and throughout a project, so much that I actually launched Dotgrid.co to encourage others to buy dot grid books and sketch more! For larger projects (especially services) I always set aside a good portion of project time to wireframing and other planning. It always pays off.
It could be worth using a service to turn your wireframes into a working prototype (I like Invision App). For large projects, I find this helps you detect mistakes or possible issues before diving too deep into the project.
Stick to Operating System Guidelines
Sticking to the user guidelines is important. It is great to experiment with new navigation systems, interactions and touch gestures, and I encourage you to do so, but you’ll be bound to run into problems now and again, whether it’s your developer finding it hard to implement the design idea or Apple reviewers being picky and rejecting your app.
To get a good idea of what is possible do some research into apps on the market and make sure you read through the guidelines.
It could be the difference between an app being approved or an app being rejected and then having to spend lots more time redesigning different elements.
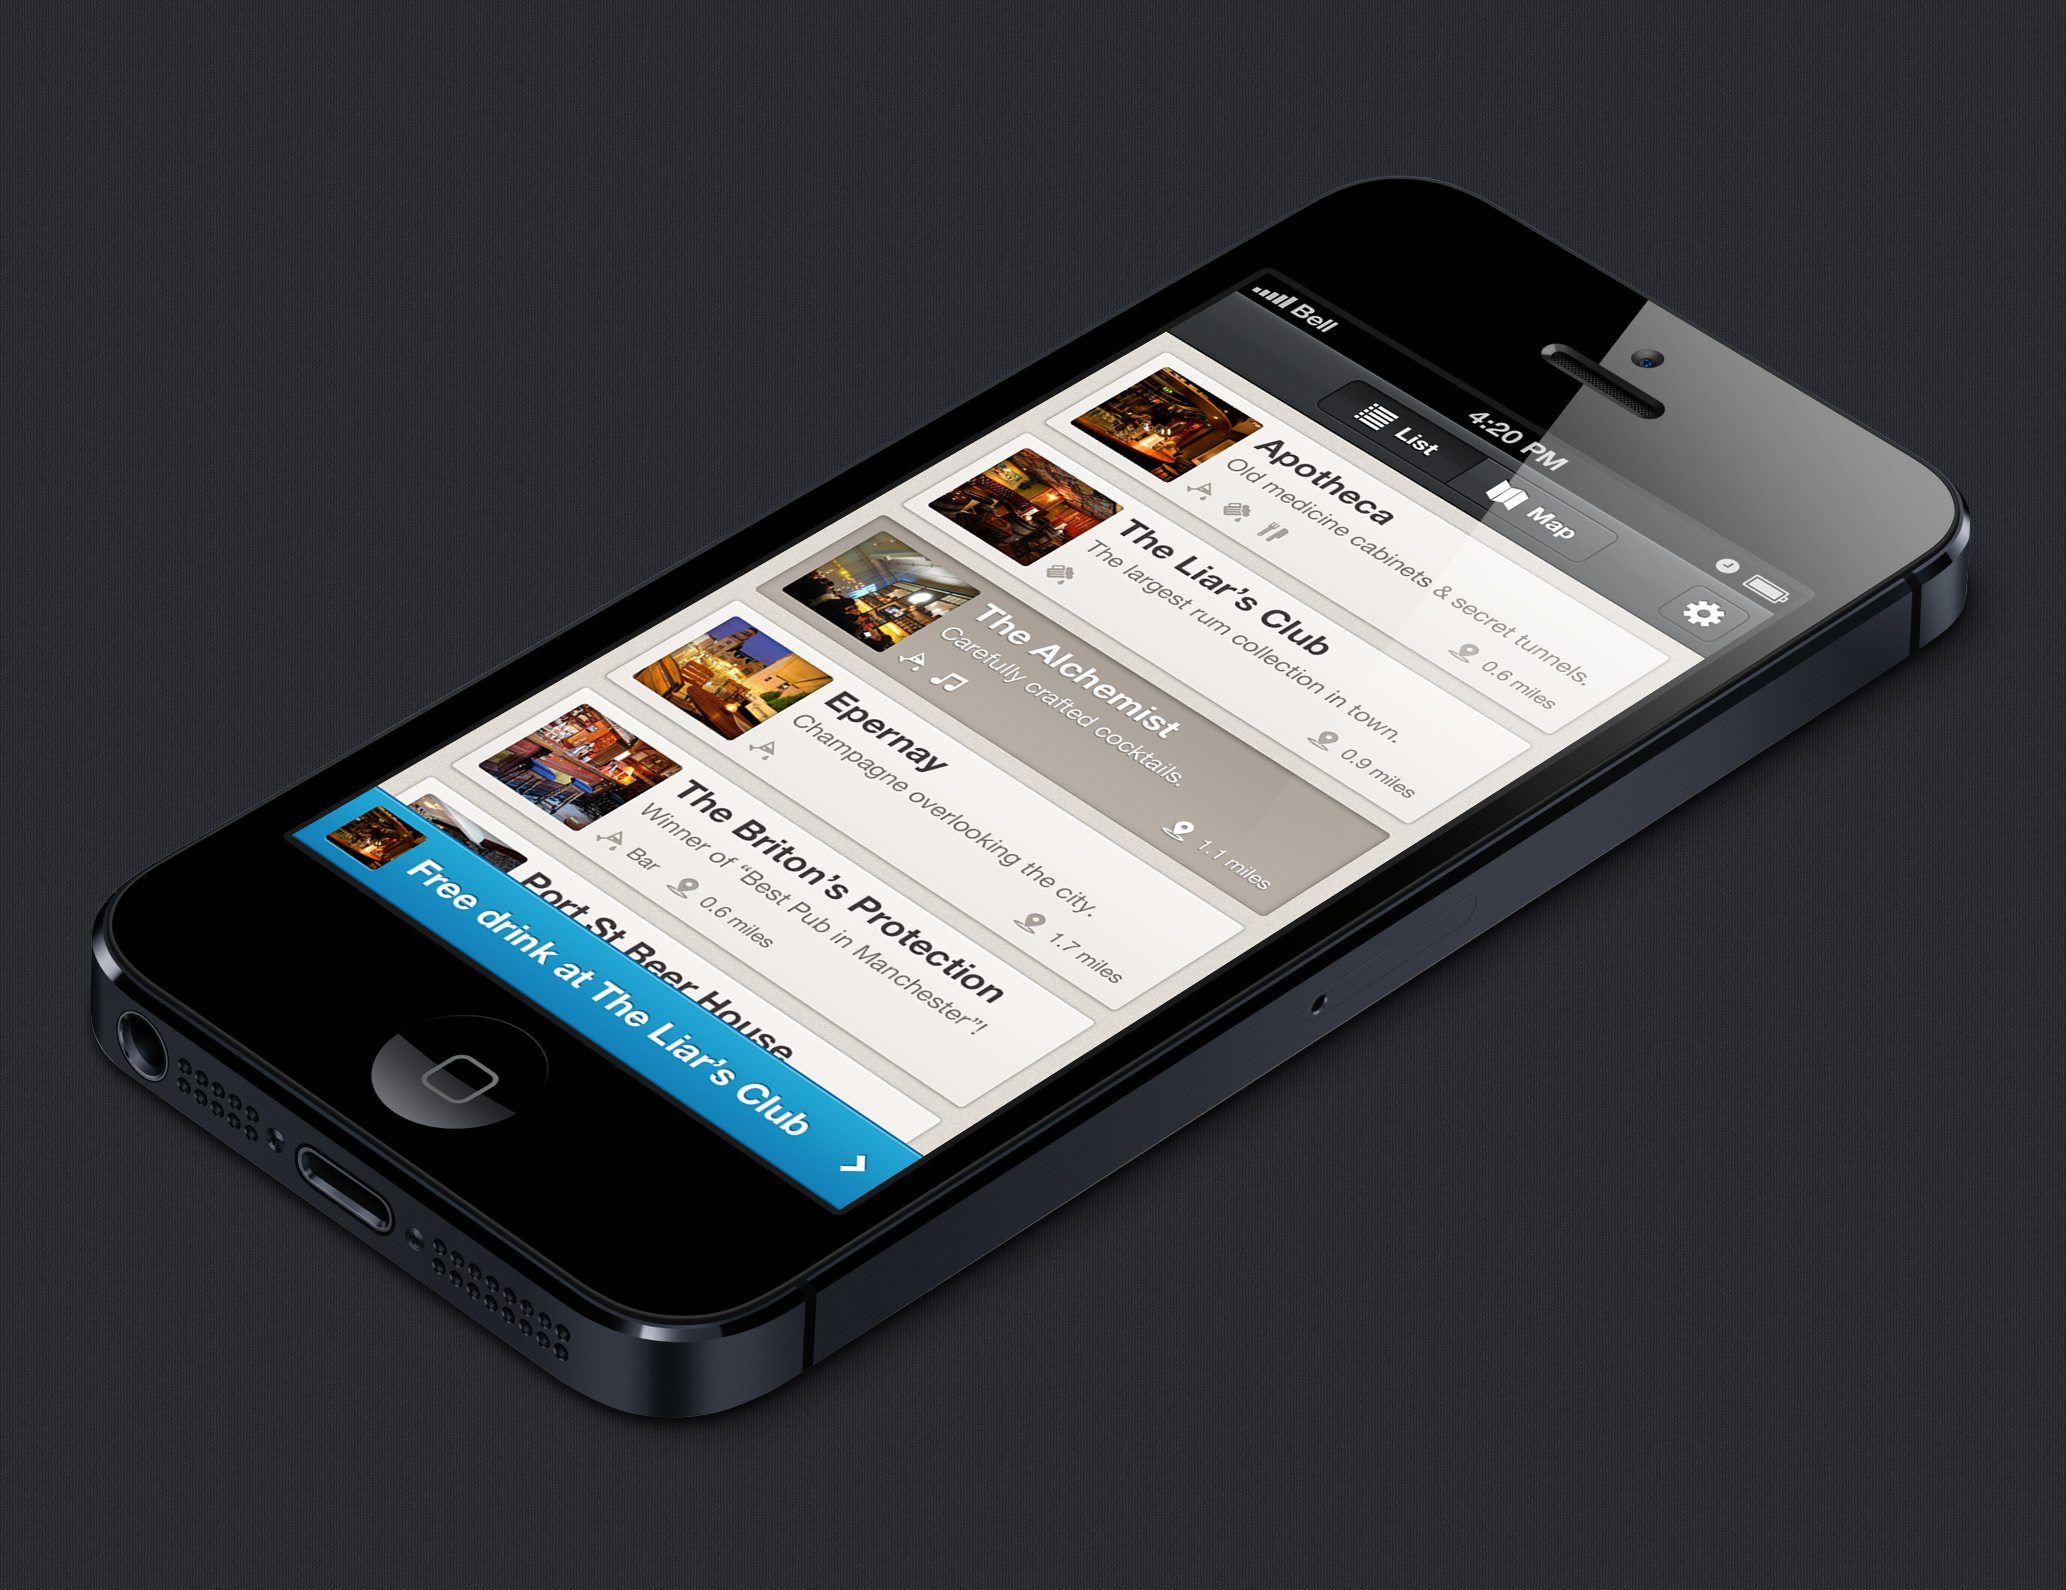
Another good reason for sticking to guidelines is that it allows users to get used to your app quickly due to all apps following the same guidelines. For example, back buttons are in the top left. Tab bars are at the bottom of the screen. Switches do the same thing in all apps. The list goes on!
Handy Links
- iOS Human Interface Guidelines
- Android User Interface Guidelines
- Windows Mobile Design Guidelines
- Blackberry User Interface Guidelines
It Pays to Keep Things Simple
When I tell clients I want to “keep things simple” they often misunderstand me and think I mean I’m going to design their interface in a minimalist design style. This isn’t the meaning of the word!
Simple means a first-time user can open the app and start using it without having to read through directions or follow a guide.
It means that they can complete simple tasks in very few steps, or in situations where more steps are required, it is still straightforward. It means that colours are used effectively (red for delete buttons is a common example). Keeping things as simple as you possibly can without over-complicating them for no reason not only encourages users to download an app in the first place, but also keeps them coming back.
Why would they use an application that is confusing and tricky to get around when there is probably an alternative that is simple and to the point?
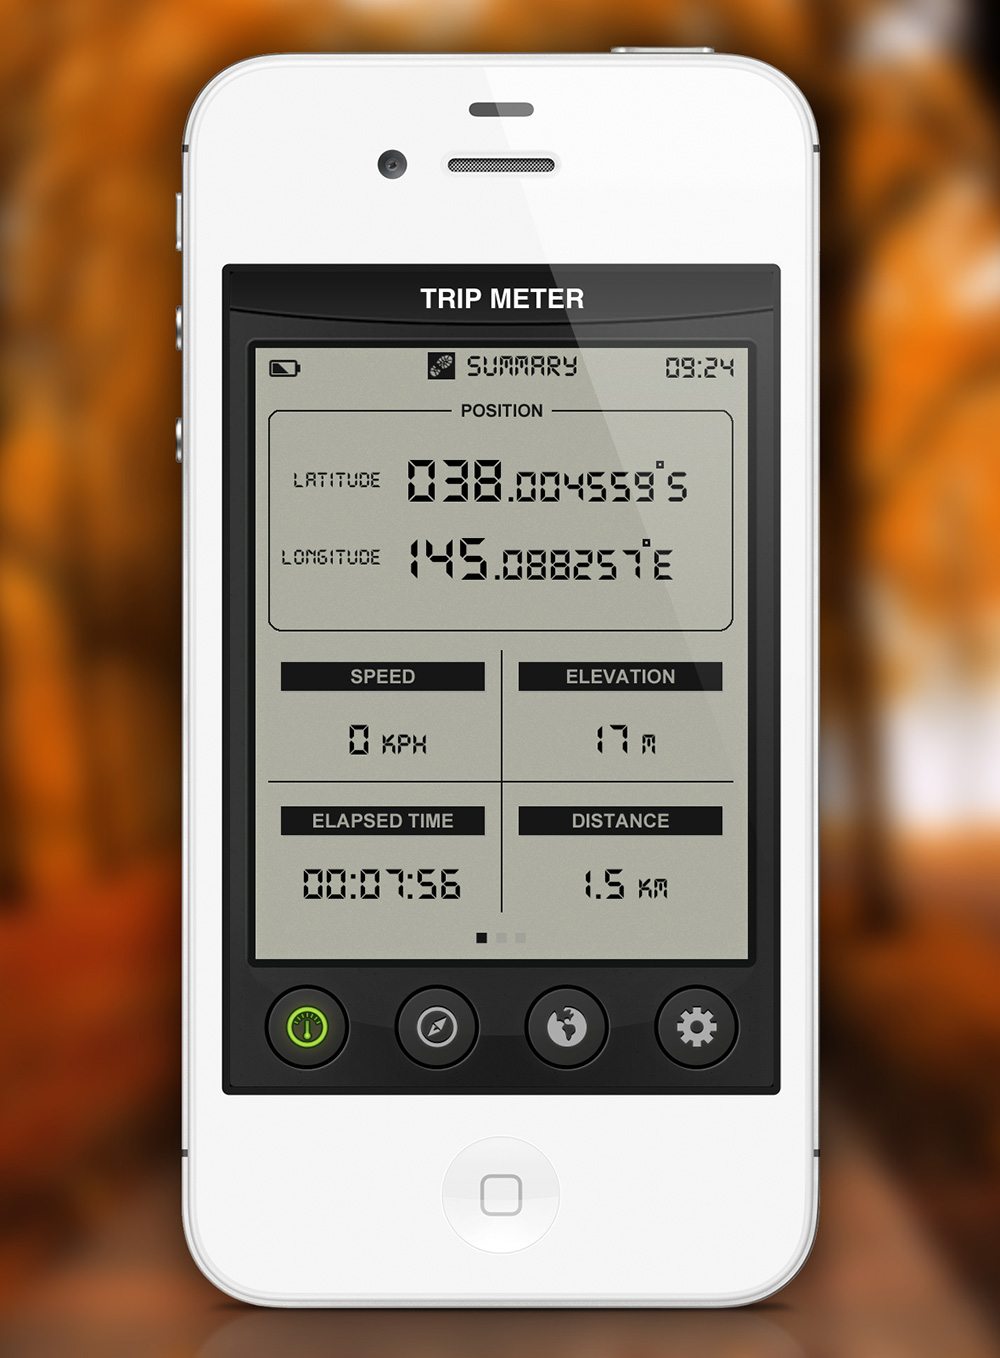
I was working with a client on a simple GPS utility app that tracks how far the user has travelled, their average speed, top speed and altitude. The app continued to record data until the user resets it. To reset it, we opted for for a fun ‘shake to reset’ option, which was clearly illustrated with an icon and corresponding text reading something along the lines of ‘Shake to reset stats’.
Within days of launching the app we had several users contact us asking how you reset the stats that had been recorded, and we quickly added a red button reading ‘Reset Stats’ into the app allowing them to do so in a simple way. It pays to keep things simple!