DPI vs. Pixels: What Do I Use?
You hear these phrases tossed around by everyone today – from amateur photographers, to the iPhone salesman, to some of the world’s most acknowledged visual creators and designers. But what do image size specs really mean? And what should you use?
Simply, it all depends on your project. Knowing what medium you are creating for and how your images will be used is key to sizing and picking the right number of pixels or DPI. Before you begin your next project, though, make sure you are familiar with all the image-quality jargon.
Pixels
Picture elements, or pixels, in web design refer to the smallest units on a grid displaying an image. Pixels are measure by pixels per inch, or PPI. The more pixels per inch, the sharper an image will appear because of the size of each pixel.
Pixelation occurs when the number of pixels per inch in an image is low, causing each pixel to have visible edges.
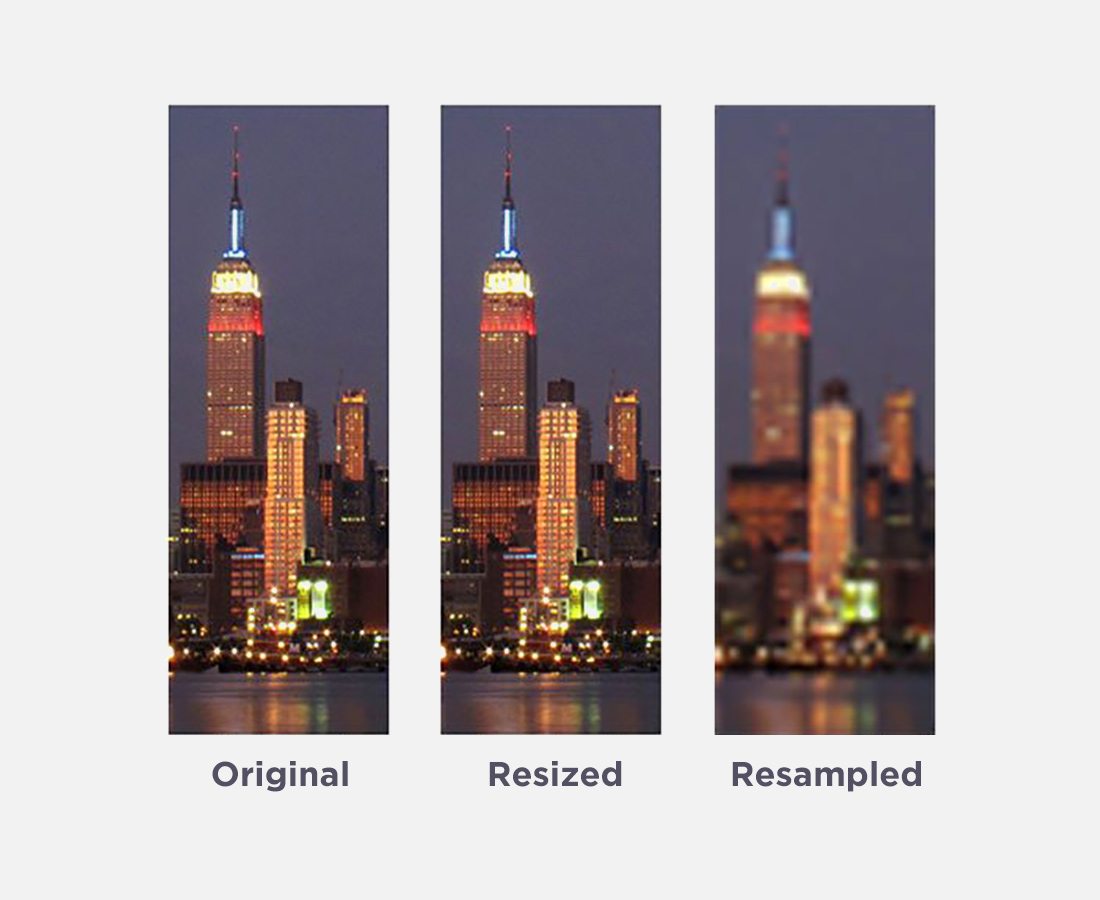
PPI (pixels-per-inch) is important because it is a measure of image quality. Using image sizing tools in photo editing software, you can resample images (change the number of pixels in the document) or resize images (change the actual size of each pixel in the document but not the overall number of pixels).
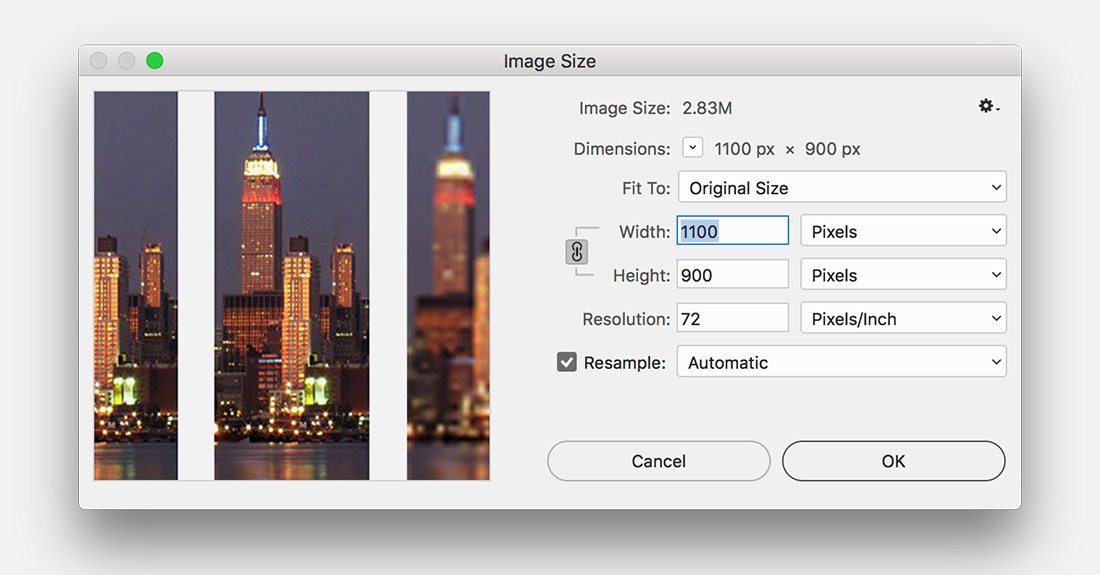
In Adobe Photoshop, the “Image Size” menu allows you to resize or resample. Keep an eye on the number of pixels (the top section of the window) versus the “Resample Image” option (in the bottom left corner).
On Screen and for the Web
The web standard for images is 72 pixels per inch. At 72 PPI, images will render nicely (as long as they are of good quality) and should not appear pixelated or distorted. Keep in mind that your full-size photo should be wide enough to fully occupy the frame. (If you are in doubt, always size your photo a little on the large side.)
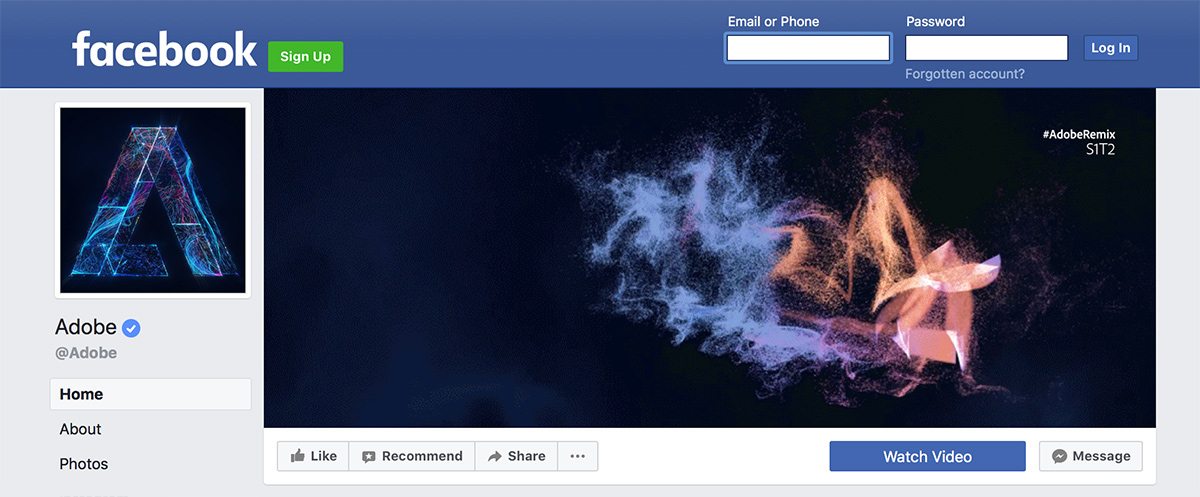
Think about your Facebook timeline photo, for example. The cover photo is 851 pixels wide. At 72 pixels per inch, your photo would need to be nearly 12 inches wide to fill the space without causing pixelation.
PPI has an impact on text as well. Just as a higher number of pixels per inch can make a photo appear sharper, it can also make text easier to read. Fonts with higher PPI are legible on screen at even smaller sizes than lose with lower PPI. Remember, text can appear pixelated in the very same way images can.
Finally, when thinking about pixels for web design, you must consider the ever-changing browser size. Unlike a few years ago when most everyone used a standard shape and size browser for most applications, today’s users each have a set of preferences that you may want to take into account. When developing fluid-with layouts, allow for images to grow proportionately with the browser but not beyond actual size. This will maintain the integrity and quality of your images.
For Print
While PPI can help you determine the quality of an image, it really has little else to do with actual printing. For print specifications, understanding dots per inch is more relevant.
DPI
DPI means dots per inch. The term was developed as a method to explain printing quality and resolution. When an image is printed, it is made up of hundreds of thousands of tiny dots that are overlaid with each ink color. The inks mix in each dot to form a wide spectrum of visible color. The number associated with DPI is the number of printed dots in each inch. The higher the DPI, typically the better and smoother the image looks.
Increasingly though, people use DPI to refer to everything and often confuse DPI with pixels or PPI. (Photo software can add to this confusion as well, using the term in dialogue boxes.) But unless you are printing your project, DPI should not be a real concern.
On Screen and for the Web
When you are looking at images on screen, it is unlikely that you will be able to tell the difference between an image that is 100 DPI and an image that is 300 DPI because monitors just don’t render images in dots.
DPI is irrelevant when working on web-based projects. It is only important for items that will cross platforms. For example, a company logo may be used on both the company’s website and on business cards. A copy of the image with a high DPI will be important to have on file for the image that appears on the business cards.
For Print
This is where the importance of DPI comes in. Every printer will specify a necessary resolution for print jobs – 300 DPI is a typical resolution for paper printing. It is important for your final project to meet DPI specifications so that the printer does not enlarge or shrink your design, which could alter the look and quality of the final product.
DPI also comes into play when converting a printed item to a digital format. The higher the DPI when an image is scanned, the higher quality it will be on screen. In general, photo quality is considered to be a 200 DPI scan at actual size. Consider using a higher scan DPI if you plan to enlarge or reprint an image.
Megapixel
Since we are talking about images and image quality, it is important to note how all of this relates to what might be the most well-known form of a pixel – the megapixel. Megapixels are a unit used by the digital camera industry to help you understand how large or high quality of a photo you can take with a certain camera. When you boil it down, one megapixel is equal to one million pixels.
Digital images – no matter the source – are made up of pixels. Megapixels just help you understand the top resolution and quality of a photo your equipment can take.
Conclusion
Using the proper PPI or DPI specs for your next design project can impact overall quality. Remember to use PPI when working on digital applications and DPI when you are preparing a project for print.
Keep in mind that both units of measure can impact image quality. If you are unsure about the necessary pixel- or dot- resolution, opt for quality over file compression. You can always shrink something later with no visual loss.