Typography With Perspective: Learn to Wield Illustrator’s Perspective Grid Tool
Today we’re going to take a look at how to use the Perspective Grid in Adobe Illustrator. This awesome and fairly new tool allows you to automatically flow vector elements onto a prebuilt three dimensional grid.
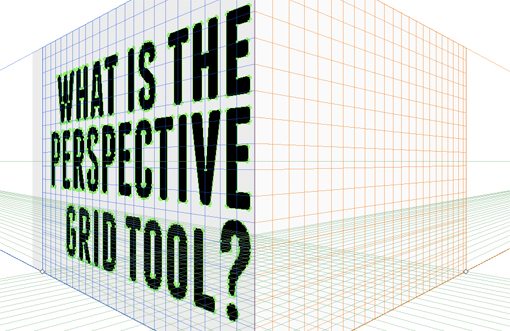
You might think that you need to be an artist to use this tool but there are in fact all kinds of practical uses for it in every day design. We’ll use it to lay out some type like in the example above.
What Is the Perspective Grid Tool?
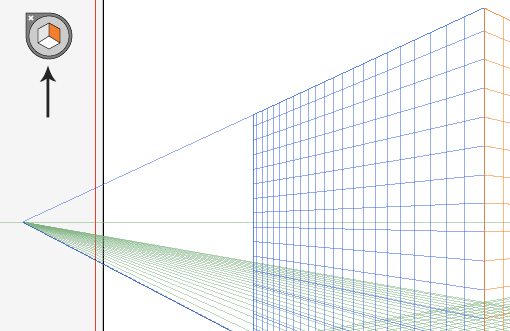
The Perspective Grid Tool was released as a part of Illustrator CS5. To see what it is, open up a new blank document and hit Shift+P to select the tool. This should automatically pop up what looks like the corner of a big cube right in the middle of your document.
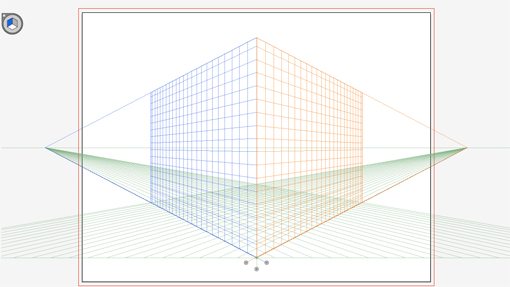
These planes make creating perspective artwork a cinch. It’s important to note that they’re more than guides, which merely provide visual cues, this grid is actually a live element that skews your artwork for you in real time. It’s a really fantastic tool that can save you loads of trouble from trying to manually skew something to a realistic perspective.
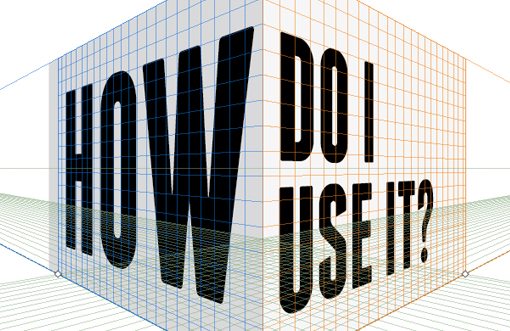
How Do I Use It?
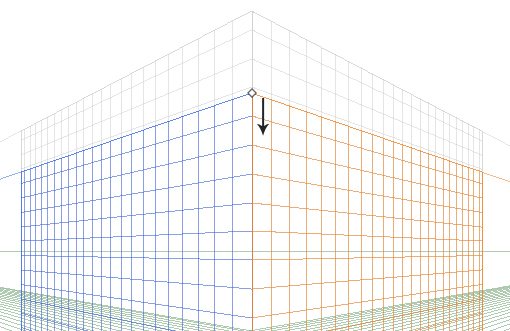
The first thing that you should know is that the grid is fully adjustable. With the Perspective Grid Tool selected, you can click on any of the many handles on the grid overlay and adjust it to your liking. You can move the vanishing point, scoot the planes, it’s all under your control.
Near the bottom center of the grid, you’ll find the handles for moving each plane forward and backward into 3D space. Each of these handles has three possible states that can be toggled via an Option+Click (Control+Click on a PC). The three states are solid color, grid or invisible. Here I’ve set each of the handles to a different state so you can see the difference. The left plane is a solid color, the right is invisible and the bottom is set to grid.

Drawing on the Grid
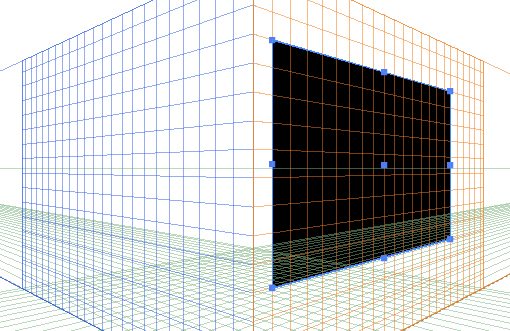
Drawing on the grid is fairly easy, but the process it a little quirky so you can get easily frustrated and confused if you don’t know what you’re doing. Let’s say we want to place a rectangle along one of the planes, first we have to select the proper plane by clicking on it in the little Perspective Grid widget that you should see floating over your artboard. In the screenshot below I have the right plane selected, so anything I draw will automatically conform to this angle.
And sure enough, if I grab my Rectangle Tool and start to create a shape, it’s automatically skewed to the grid. Note that I’m drawing the shape out just like always, Illustrator is doing 100% of the heavy lifting for the perspective calculations and adjustments.
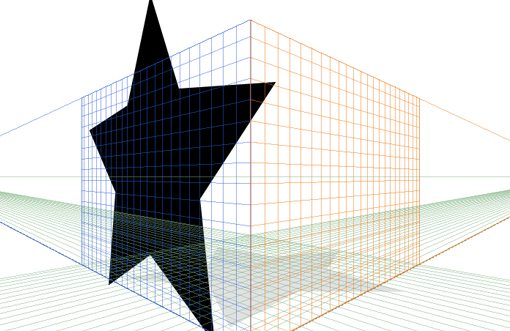
This works with anything that you want to create. Rectangles, circles, stars, even custom built shapes. All of your vector artwork can easily conform to the three dimensional scene that you’re trying to create.
Dragging Items Onto the Grid
If you’ve ever tried to create artwork with a three dimensional perspective, then you know that it’s often the case that it’s much easier to create what you want in a flat version and then skew it into perspective afterward. Fortunately, Illustrator allows you to take this route as well.
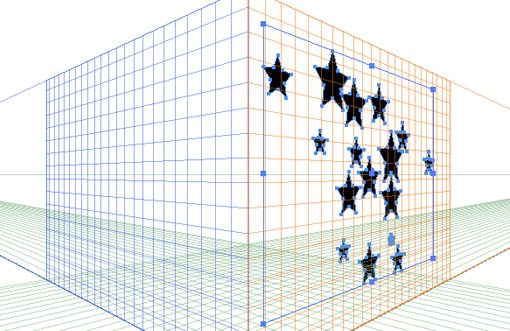
To see how this works, let’s start by making a bunch of simple vector items. Here’s a group of stars that will work perfectly:

At this point it’s good to make sure that your layout is roughly how you’ll want it in the final version. You can in fact move pieces around in Perspective Mode but it’s much easier from here. Once you’ve got your stars aligned it’s time to hit Command+Shift+I to bring up the Perspective Grid.
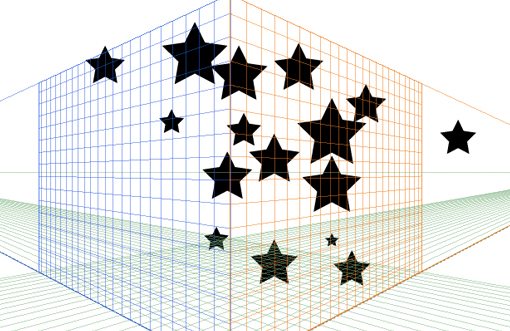
With your Perspective Grid Tool selected, you might think that you can just drag the items on, but that doesn’t work. You have to hold down the Command key to activate the Perspective Selection Tool (or manually go in and select this tool in the palette). Now you can click on your artwork (make sure the proper plane is selected) and drag it onto the grid. At this point it will automatically skew into 3D space.
To go back and tweak your artwork after you’ve got it in place, make sure you once again grab the Perspective Selection Tool, using the Direct Selection Tool will expand the artwork at the original perspective, which we don’t want at this point. From here, you can click and drag or use your arrow keys to nudge the vector artwork around. If you placed several separate pieces like I did, they’ll be grouped automatically. Simply triple click on an item to edit it individually apart from the group.
Working With Type

One of my favorite things about this tool is that it makes skewing type so easy. Even if you want to use skewed type in Photoshop, it can be easier to start here and bring the object over as a Smart Object.
To get a feel for this process, let’s build the title image for this post. Start by using the knowledge that you’ve already gained to draw out a 3D box like the one below. Basically I grabbed my rectangle tool and drew a box over the right plane, and then made another slightly darker rectangle over the left plane.

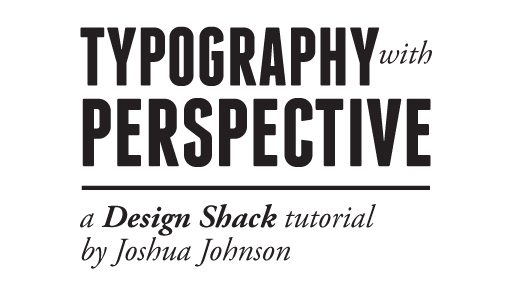
Next, in a separate layer or document, start working on a nice text lockup. I used Franchise Bold and Adobe Garamond Pro Italic for my two typefaces and threw in a simple dividing line. Notice that this is in fact live, selectable text mixed with vector art. All of these objects can be thrown into perspective all at once.
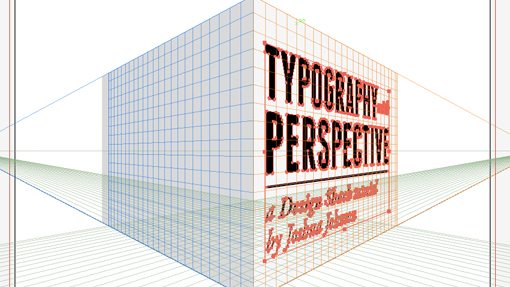
Paste the text lockup into your document or layer with the cube from before and activate the Perspective Grid Tool. Before proceeding, be sure to click on the right plane in the little widget.

Now activate your Perspective Selection Tool (hold down Command) and click/drag the text onto the plane. Voila, your text should flow right onto your cube shape.
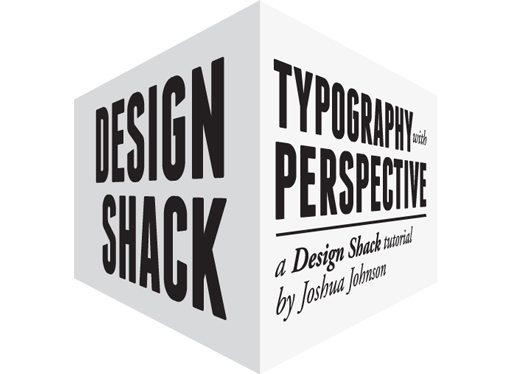
Repeat these steps with some text for the other side of the cube and you’ll be good to go! Once you’re finished, hide the Perspective Grid with Command-Shift-I (remember this shortcut, it’s really annoying when you can’t make that grid disappear!).
Working in Photoshop
Our artwork looks great as is but I want to take it to the next level with some contrast while exaggerating the 3D effect with some depth of field blur. To start, simply paste your cube into Photoshop onto a dark background. To give it a nice vignette, I put an inner shadow on the background layer.

Next, copy the cube layer and go to Filter>Blur>Lens blur and fiddle with the radius until you like the overall intensity of the blur effect.
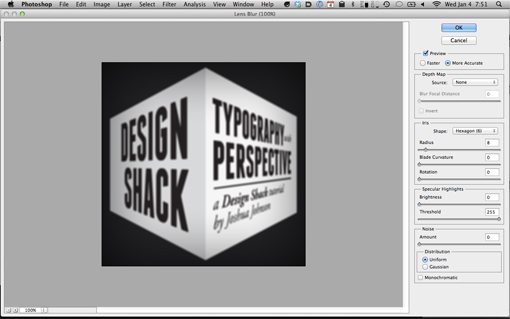
This part’s a little tricky so pay close attention. You should have one cube layer now that’s all blurry and one that’s not blurry at all. Apply a mask the blurry layer and use a mirrored gradient to mask out the center of the layer so that only the sides are blurred. Your mask should look something like this:

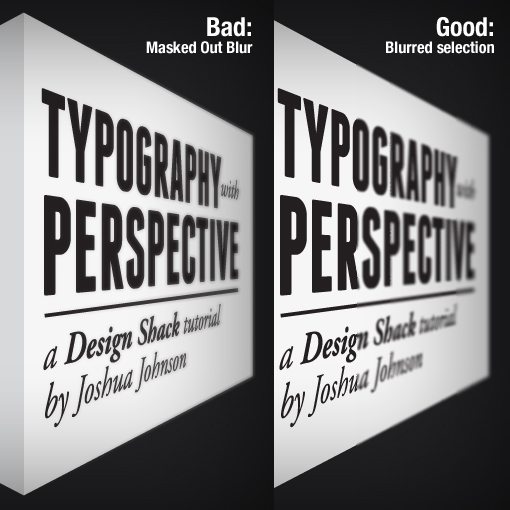
From here, duplicate the non-blurry layer again, then Command-click on the layer mask you just created to turn it into a selection. With that selection active, hit Command-F to run the blur filter again, this time only to the selected area. Now ditch your original blur layer with the mask.
The reason that we did this is that masking out a lens blur can produce some messy effects. In my experience, it’s better to build a selection, then apply the blur only to the selected area.
All Finished
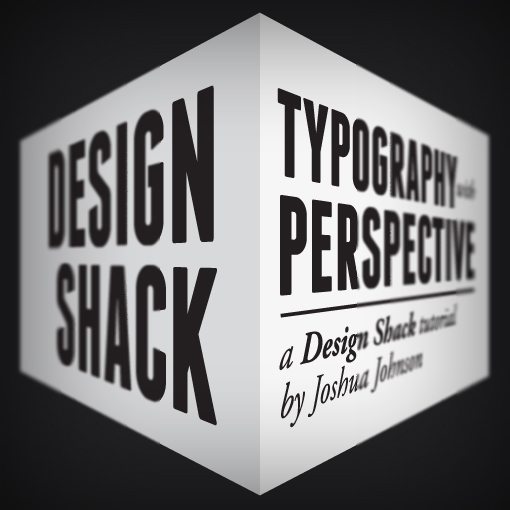
There you have it, your image should now look something like the one below. You’ve built a nicely skewed 3D object without the pain of manually trying to transform your objects to a convincing perspective. Nice work!
Conclusion
If you don’t know what you’re doing, working with the perspective grid tool can actually seem like more trouble than it’s worth. After all, a manual transformation isn’t that difficult in Photoshop if you’ve got a good eye for perspective. However, keep in mind that this was a simple example and that the benefits of using this tool increase exponentially as your artwork becomes more and more complex.
The great thing about the Perspective Grid tool is that all your artwork and text remain completely editable, even down to a point by point basis. It’s also incredibly easy to go back later and change your mind about the position of an object, pushing it forward or backward into the scene. This isn’t very easy at all with a traditionally skewed object.
If you enjoyed this tutorial, leave a comment below and let us know. Have you ever used the Perspective Grid Tool before? Did this article help you wrap your mind around some potential uses for this tool?