Create Amazing CSS Buttons on the Fly With CSSButton.me
Today we’re going to have some fun as we take a look at an awesome new free tool for web developers simply called CSS Button. This web app makes it quick and easy to make the CSS buttons of your dreams using simple and intuitive controls.
I’ve seen quite a few other CSS button makers before and almost none really merit repeated use, but this site has a lot going for it and can genuinely save you a lot of time and frustration. Let’s jump in and check it out!
Meet CSS Button
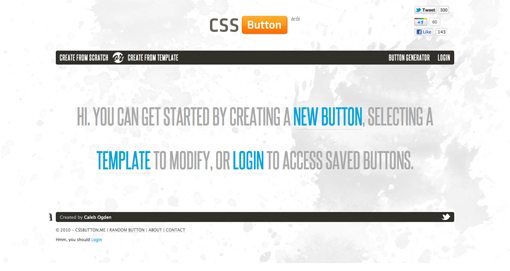
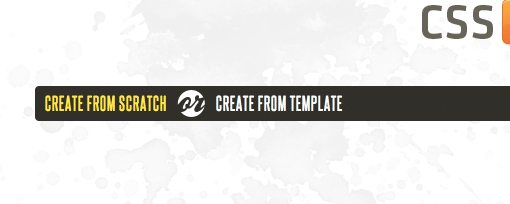
The CSS Button app is great for jumpstarting your buttons. To start off, there are a few things on the home page that you don’t want to miss. The basic controls are fairly obvious, you can start a new button from scratch, check out and modify a template or hook up with Twitter so that you can save your work.
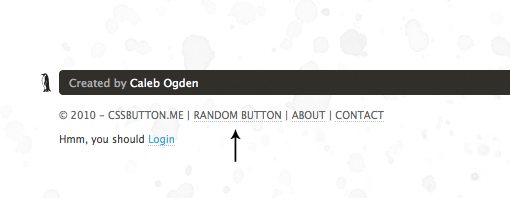
Also, don’t miss the somewhat hidden “Random Button” feature in the footer. There isn’t too much content on the site at the moment (the app is still in beta) but as it picks up and gains more users, this feature will become a fun way to discover new button ideas.
Creating a Button From Scratch
I’m never one to opt for the easy way out, so let’s start by building our own button completely from scratch. To do this, just hit the link on the left:
This should take you to a new screen where you will have all of the controls that you need to create a super fancy button. All of the inputs are basic and use either simple forms or intuitive WYSISYG controls.
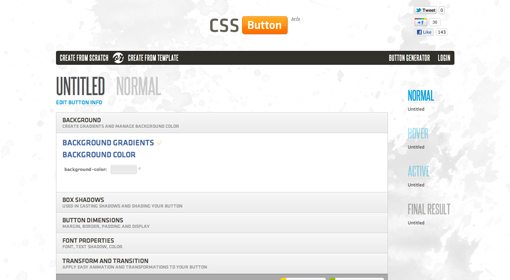
We’ll go through each step to show you how the process works. Keep in mind that this may feel fairly involved in a written layout, but once you try it for yourself the effort really feels minimal.
Background Gradient
The first step we’re going to take is to define a background for our button. You can either choose a solid color or a gradient, I’ll take the gradient route. This uses simple color selectors to help you build your gradient. If you’ve ever coded CSS gradients by hand, then you know that we’re already saving ourselves a big chunk of time because choosing two colors is far easier than writing the mess of code necessary to perform this operation.
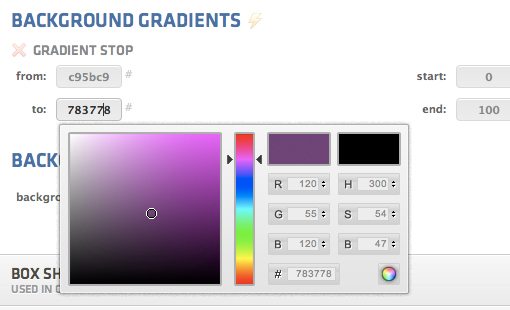
Clicking the lightning bolt next to an option brings out its list of controls. For many of these, you can click multiple times to add the effect a number of times. This helps create really complex, Photoshop-like layers.
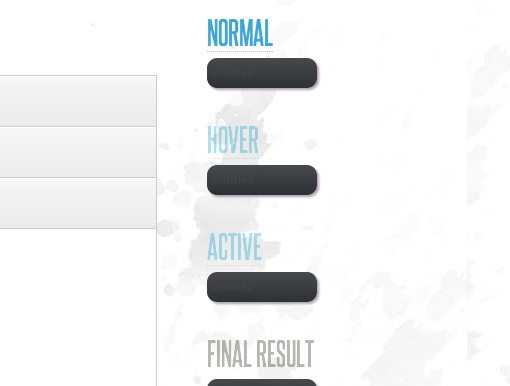
Understanding the Preview
Off to the right of the button controls is the preview of what you’re creating. It doesn’t look like much at this point but it will get much better as we progress.
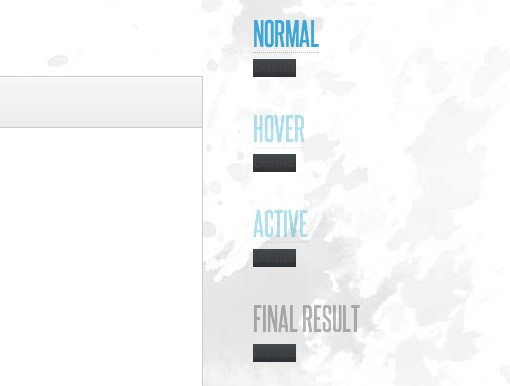
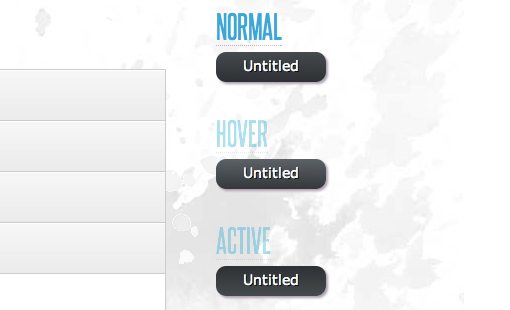
Notice that they’ve covered all the bases here and allow you to style the normal, hover and active states. By default, our actions will affect the normal state, we simply click on one of the other states to target it specifically. The “Final” version is a live button that you can use to evaluate and interact with your design.
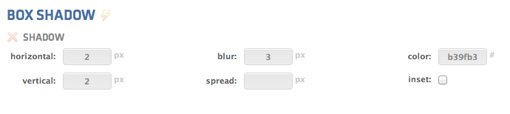
Box-Shadow
Next up are the box-shadow controls. These are simple enough and allow you to quickly enter values for the offset, blur, spread, etc. You then choose your color and can even toggle the inset option for inner shadows. My one disappointment here is that it doesn’t look like you can set the shadow using an rbga value, which is my preferred method so that the background shows through.
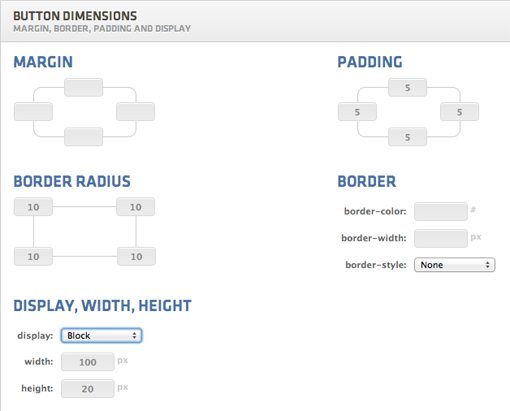
Button Dimensions
Now it’s time to finally give our button some substance. In this section you can set a static size and add in margins/padding to add weight to your button. You can also round the corners off with some border radius. Each of these options lets you be as specific as you want, so for example you can either choose to set the border margin to be the the same on all sides or different for each corner.
After this step, we can see that our button is looking much more like, well, a button!
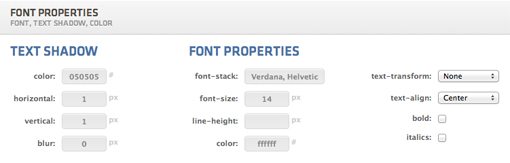
Font Properties
Next up we have some controls for setting our text and text shadow styles. I really appreciate being able to set not just the font, but the font stack. This shows that the developer had coders in mind when building this tool.
After this step, our button is looking pretty sharp. We’ve set just about everything that we need to for a basic button (you can also go in and set a transition if you wish).

Hover and Active
After getting my normal button state exactly how I want it, it’s time to go back and add in the settings for my hover and active states. I took the predictable route of making the button a little lighter on hover and reversing the gradient to simulate a press on active.
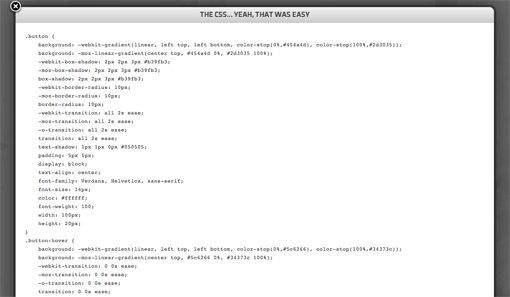
Once we’re done, we get a nice fat chunk of CSS to place in our code. It’s a big chunk of code but it’s all my own doing and mostly results from all of those crazy browser prefixes that you have to use to pull off gradients and shadows. As I look at all of the code necessary for this simple button, it becomes quite evident just how much time this little tool saved me. I’m more than capable of creating this button by hand but it would admittedly take me several minutes, I was much quicker using the WYSIWYG controls here.
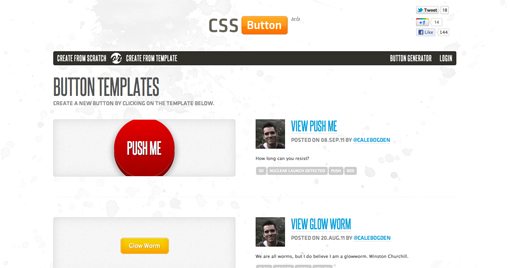
Starting From a Template
Now that we’ve gone the DIY route, let’s go back to the beginning and take the other option: start from a template. Clicking that link takes you to the templates page where there are currently five super slick button examples to choose from.
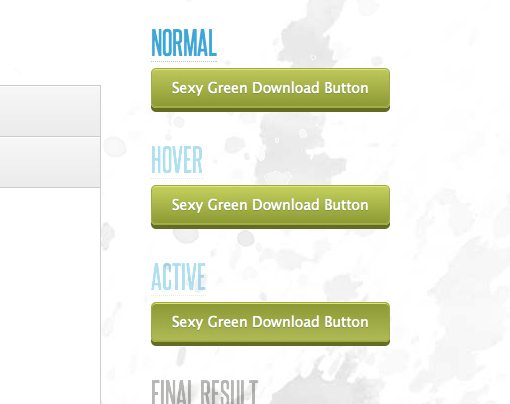
Modifying the Template
To begin, I chose to start from the “Sexy Green Download Button” template. Choosing an option takes you into the same generator that we saw before, the only difference is that it’s now pre-populated with the appropriate settings to create the button below.
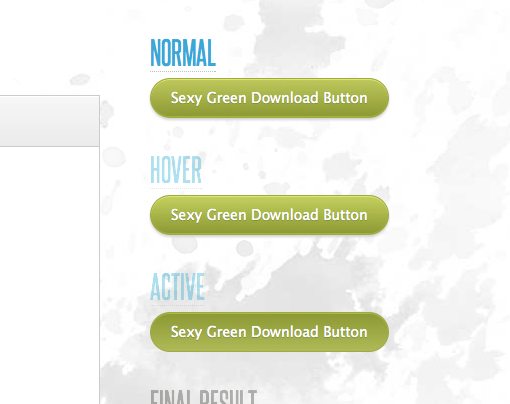
It’s really nice to have that solid base built up already, from here it’s just a matter of customizing the values that you’d like to change. For instance, starting with the button above, I went in and changed only the border-radius and box-shadow properties and was able to quickly bust out my own unique faux 3D button.
Worth a Try?
I know what many of you are thinking, and I’m with you. I’m a total nerd who loves both the art and science of CSS so I actually enjoy coding these types of things by hand. That being said, I can’t help but appreciate a utility that can genuinely save me time, and this is one of those tools. Beyond that, I don’t always know what I want in a button when I start creating it and its nice to have some visual tools to experiment with and tweak until I find something that I like.
CSS Button is still in beta so I did run across a bug or two. For instance, when you type in a color by hand and then click on the color selector later to tweak it, you find that the color selector doesn’t update to reflect the manual entry.
Aside from a few very minor quirks though, this is a solid utility that I plan on adding to my ever growing CSS3 toolbox. As I mentioned above, there’s a lot about this app that makes it evident that it was built with coders in mind. I have an impressive amount of flexibility to do all the things that I would normally do by hand, they’re just in a format that’s a bit easier to follow.
What do you think? Do you enjoy tools that aim to help you perform complex tasks a little easier or do you prefer the purist route of only coding by hand?