Create Seamless Web Background Textures in Minutes
Ever wondered how some web designers come up with such great background textures? It’s actually way easier than you might think. It only takes a few minutes and a single Photoshop filter that you’ve probably never used.
Intrigued? Read on to see the step by step instructions for creating tileable textures out of almost any image.
The Easy Way or the Hard Way
There are two ways you can go about starting this project. You can either go grab a pre-built texture or create your own from scratch. For this tutorial I want to give you your money’s worth so we’ll be taking the high road and creating our starter texture from the ground up.
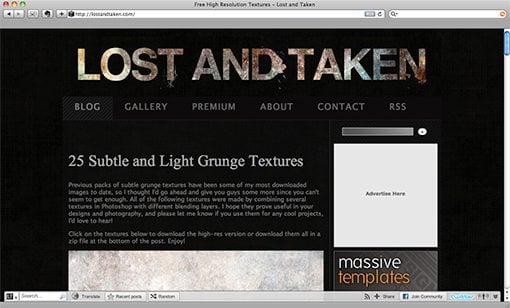
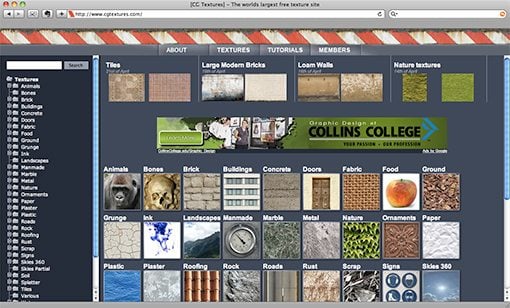
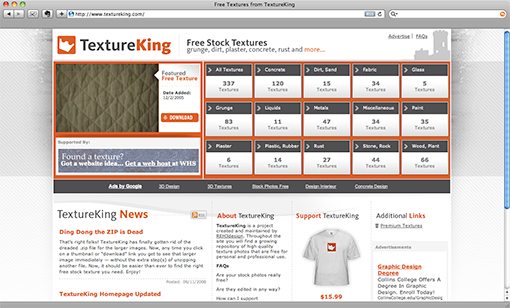
However, if you’re in a hurry just grab a free texture from somewhere and skip the first few steps. Here are three great resources to get your started (from our article “40 Amazing Resources for Design Freebies”).
Lost and Taken
CG Textures
Texture King
If you want something more unique, open up Photoshop and follow along.
Step 1: New Canvas
Tiling background images can be fairly easy to spot when they’re small so I’m going to make mine fairly large. We’ll be saving it as a JPG so the file size should stay plenty small enough to load quickly on most connections. If you disagree with the large size, simply make yours smaller!
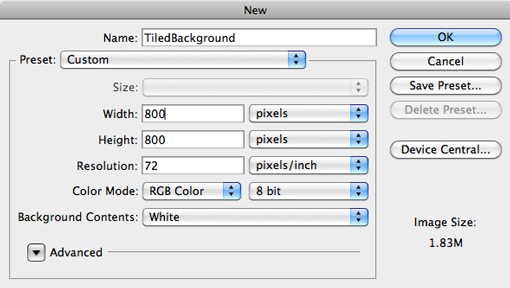
In Photoshop, create a new document that’s 800 pixels by 800 pixels at 72 DPI and in RGB.
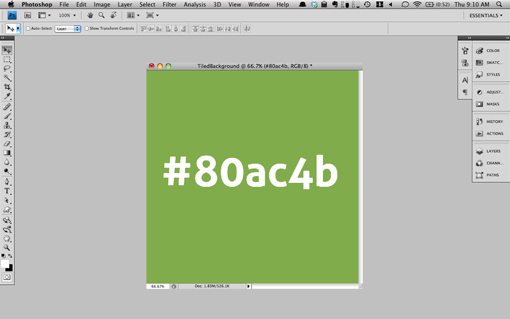
Now fill your canvas with a mid range to dark solid color. You can choose anything you like, but I went with #80ac4b.
Step 2: Create a Custom Brush
I’ve noticed that bokeh textures seem to be really popular lately I decided to show you how to build one. It’s a good example because it’ll make a texture that’s a little trickier to tile than most.
To start off, create a new document, grab a hard round brush and click once in the center of the canvas to make a black dot. I’ve given mine a slight black outer glow to add to the bokeh effect a bit. Now go to Edit>Define Brush Preset.
Name your brush, save it and switch back to your other canvas.

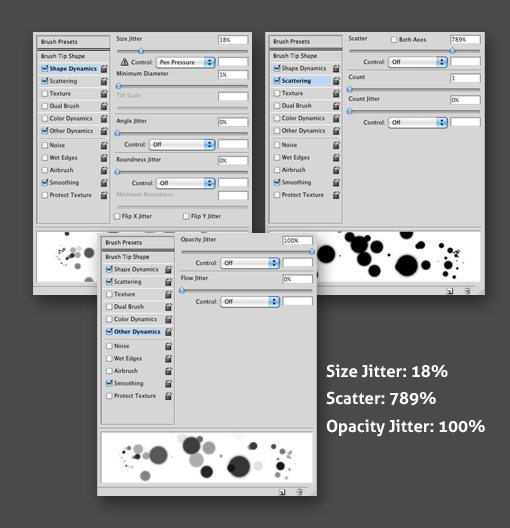
Now select that brush, go to your brushes palette and apply the following options to give it a nice scatter effect.
Ste 3: Paint It
Now that you’ve got a nice brush to work with, paint in some bokeh. Don’t get too carried away, remember that the more complex it is the harder it will be to go in and fix when we convert it to a repeating pattern.
Here’s the pattern that I came up with:

Step 4: Offset
This is the part where Photoshop takes over and does a neat trick that saves us a lot of time. First make sure your layers are merged into a flat document. Now go to the menu and choose Filter>Other>Offset.
Set your horizontal and vertical offset to half the pixel dimensions of your canvas and select the wrap around option.
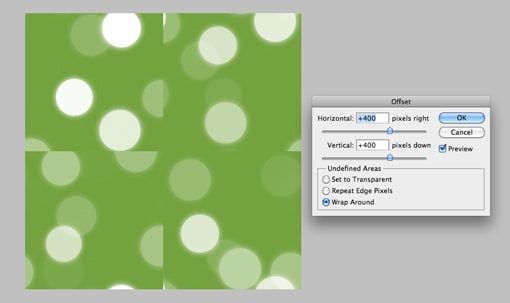
Voila! A seamless background texture. Ok maybe not. However, much of the work has been done for us and we just need a little cleanup to make it work.
Step 5: Cleanup the Seams
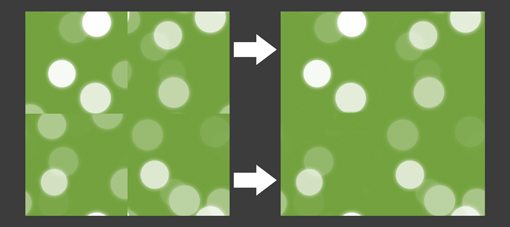
If we were working with a photographic texture, we’d go in and clone along the seams to make sure everything looked decent. However, here we’ve got a solid color background so we can actually just paint with a green brush.
Go in and completely paint over any problematic areas. It’s all right if you destroy some bokeh in the process. As you can see in the picture below, I’ve flattened out one of my circles a bit while repairing the texture. We’ll fix this in the next step.
Step 6: Adding Some More Bokeh
Now grab the bokeh brush that you made and turn off any scattering effects you turned on earlier. Add in some extra bokeh one click at a time where there are noticeable gaps in the center of the image (stay away from the edges!). Use a few layers and varying opacities to make it look nice and replace any circles you messed up with the previous step by painting right over the top of them.

When you’re finished with this step, you should have a beautiful and perfectly tileable background graphic. Now save that out as a JPG, keeping your file size as low as possible while maintaining a crisp image. I decided to save mine out at 500px by 500px so I could easily spot the repeating pattern and look for troublesome areas.
Next we’ll test it out in a web browser to be sure it works.
Step 7: Throw it in a Web Page
The best way to test out the texture is just to create a quick web page. Create an empty HTML document and style the body with the following CSS:
body { background-image: url(yourFilenameHere.jpg); background-repeat: repeat; }
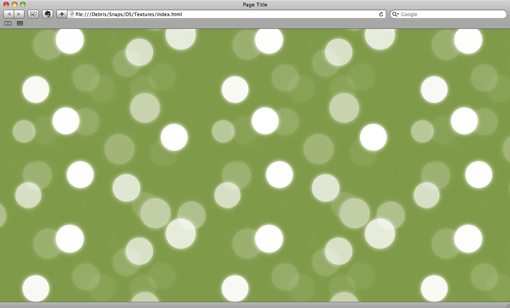
Now preview it in your browser to see how you did. Don’t worry if it’s not perfect, just go back and tweak any areas that need to be fixed. As you can see in the image below, we’re tiling pretty well! Not bad for only a few minutes of work.
Organic Textures
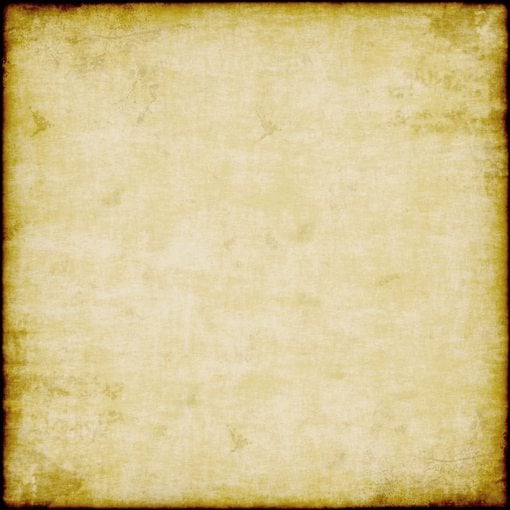
Just to be thorough, I want to also show you how this works with a texture that’s a little more typical with the resources you’ll find online. Here’s one that I grabbed from Flickr.
First cut off the edges, they’ll be too easy to spot in a repeated pattern. Then run the offset command like we did before.
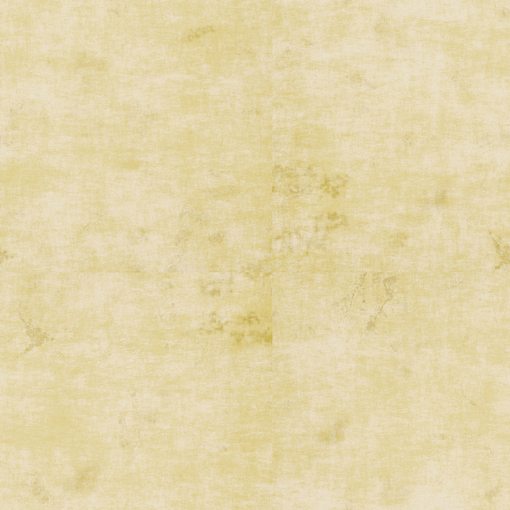
As you can see in the image above, this texture is so perfect for this technique that it’s hard to spot the seams even before we do any cleanup! Still, go along the seams with either the clone tool or healing brush to make sure the transitions are nice and gradual.
When you’ve done that, save it out and load it up in the browser like before to see if you’ve got any ugly areas.
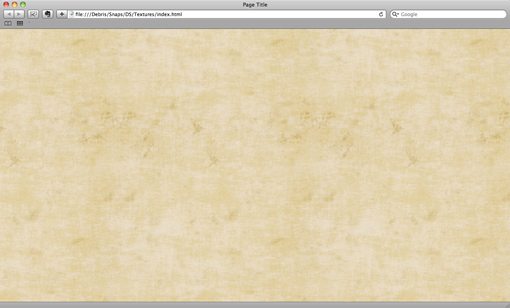
The image above shows my final product. Going through it a second time with a much easier texture to work with I was able to cut my time down to about two minutes!
Conclusion
This method is so quick and easy you really have no excuse not to give it a shot the next time you want to spice up your web design’s background. Creating your own tiled textures rather than grabbing a ready made one will help keep your site looking unique and gives you a lot more freedom in what type of texture you want.
Let us know in the comments below if you were able to come up with a decent tile using this method. Leave a link to your final product so we can check it out!
