5 Super Easy Illustrator Typography Tricks
Beautiful typography goes much further than finding the right font.
Today’s post will help you break out of the nasty habit of simply typing out a headline and calling it a day by showing you how to craft standard text in Illustrator into something more interesting and unique.
Below you’ll find a fairly random collection of tricks that I’ve picked up in the last few years. Each method is highly open to interpretation and you should definitely try to tweak and customize them to your own preferences.
Scribbled Text
The first technique is super easy and a little cheesy, but with a little creativity you can create some nice applications. Basically all you have to do is select some type and go to Effect>Stylize>Scribble. This will bring up the following dialog.
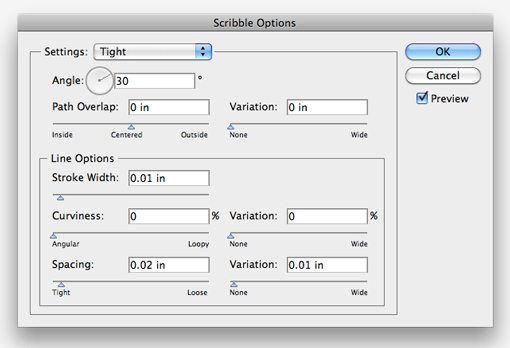
From here you can create your own settings or simply choose one of the presets. In the example below I chose “Tight” for the first version and “Moiré” for the second.
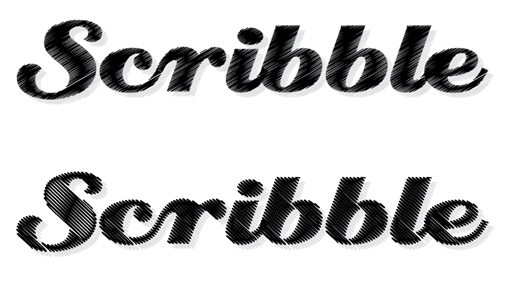
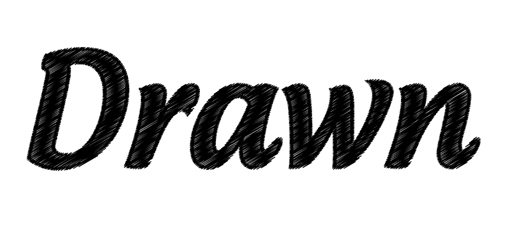
I like to double up on this technique to really push the illusion of hand-drawn text. To do this, add a nice thick stroke to the scribbled text. The stroke will pick up the scribbled effect while giving better definition to your edges.
Embellishing Scripts
There are tons of free fonts and vectors online that really aren’t anything more than a few swirls. Below I took one such embellishment and added it to a script that was already quite swirly.
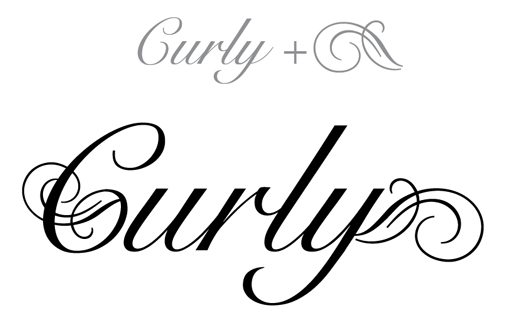
There’s not much to this technique beyond finding the right items and positioning them properly. Play with the size and rotation until you find a good match and remember that you might have to use the Transform>Reflect command to flip the graphic around.
To actually join the embellishment to the type, first convert the font to outlines (Command+Shift+O). Then expand the text to deal with any overlap and finally, hit the very first button in the Appearance palette to merge the shapes together.

Rounded Corners
Another really easy Illustrator Effect you can apply to text is Round Corners. Select some text and go to Effect>Stylize Round Corners. Play with the radius until you find something that you like and hit “OK.”
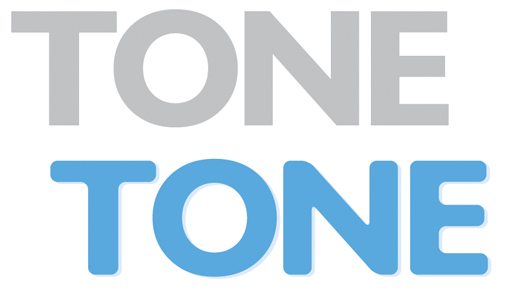
This is a live effect so you can edit both the text and the radius at any time without starting over and retracing your steps. When you’re done tweaking you can convert the text to outlines and expand the appearance to make the effect permanent.
This is a great way to add a custom feel to a font in a logo. It makes the typeface look more unique and helps break away from designs that look too standard.
Unfortunately, the Round Corners effect can wreak havoc on certain letter shapes and tends to work best on letters with few curves. Just be sure to pay close attention when applying the effect and go back and repair any curves that were damaged.
Easy 3D Text
As you probably know, creating 3D text in Illustrator is super easy. First type out some text, then go to Effect>3D>Extrude & Bevel.
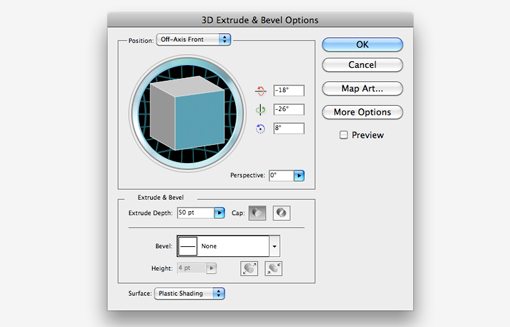
With little a little tweaking, you’ve got yourself some nice looking three-dimensional typography. Remember that you’re not locked into the effect when you hit “OK,” you can always go back and click on the effects icon in the appearance palette to change the parameters.
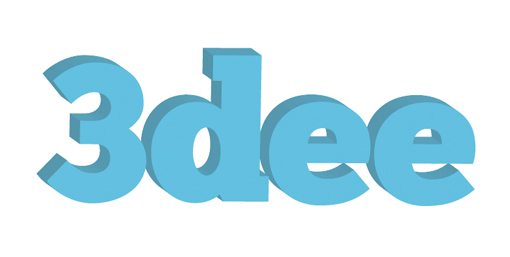
This tip isn’t just to inform you that Illustrator can make 3D text, this is a fairly standard feature that’s been around for years so most of you probably already knew about it. However, as you probably noticed, this yields some pretty cartoony results. If this is what you’re going for, great, but otherwise, how do you get better results?
I generally use Illustrator 3D text not as a finished product but as the basis or starting point for a much more involved project. Bringing this text into Photoshop as a smart object will really open you up to some great possibilities. The key is to basically borrow the structure and contrast of the illustrator piece and lay over color, texture, gloss, shadows and other effects in Photoshop.
With just a little bit of work you can come up with something that visually much more impressive than the plain old Illustrator text.

Playing With Letter Forms
When you realize that you’re not stuck with the boring forms that your fonts have by default, the possibilities really open up. Utilizing the Direction Selection tool and the Pathfinder, you can make a ton of awesome enhancements that take your text much further than simple color and size could do.
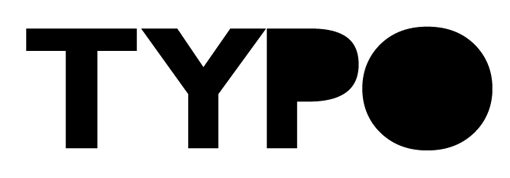
Let’s see how this works by starting with the plain old bold san-serif type below.
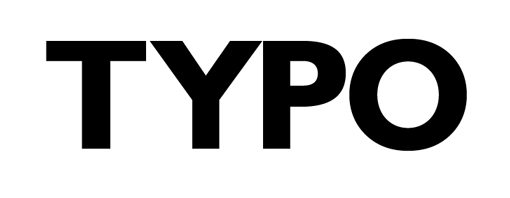
The first thing you’ll want to do is convert your text to outlines just like we did in a few of the techniques above. By turning the text into shapes, we are given much more freedom over how we can customize the letters.
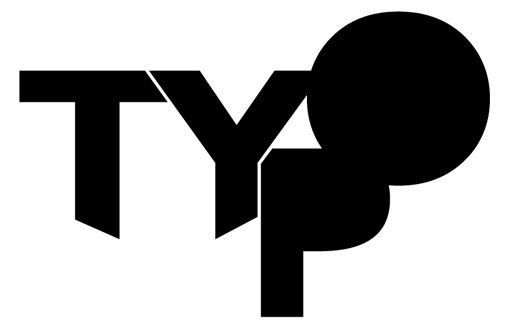
Next, using the direct selection tool (A), select the inner portions of the “P” and “O” or any other letters you have with trapped negative space.
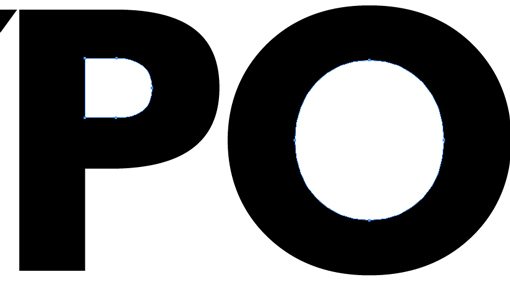
Just for fun we’re going to delete those. This already goes a long way towards turning our boring font into something much more edgy and cool.
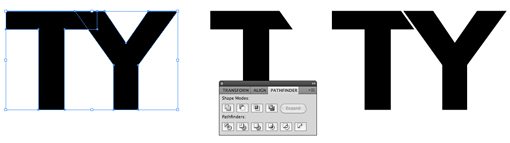
The next step is going to be a little tricky, the multiple steps are shown below in a progression. First, take the “T” and the “Y” and overlap them a bit at the top. Then select and copy only the “Y” (you might want to just make a duplicate and place it off to the side). Next, making sure the “Y” is on top, select both letters and hit the second button in the Pathfinder palette (Minus Front).
This should cut part of your “T” off as in the second step of the image below. Now, paste your “Y” back in and position it close to but not touching the “T” so that there’s a little gap that almost looks like a stroke.
Now go through the same steps, this time using the “Y” to cutoff the top left corner of the “P”. Then bring “P” down and close the the “Y” like in the example below.
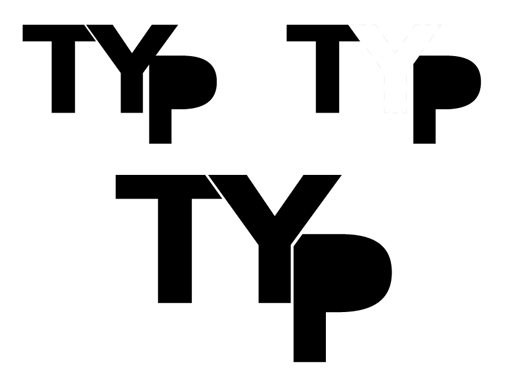
Finally, bring in the “O” and use your Direct selection tool to grab a couple of the points on the bottoms of the letters and bring them up so that it creates an angled vertical line. Again, this is just taking the custom type further into something that looks and feels unique.
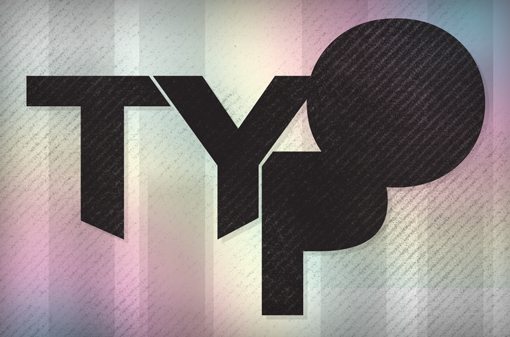
As with the 3D text, add some Photoshop love and you can easily create an awesome finished product that looks nothing like the plain Humanist typography that we started with.
Conclusion
I hope the tips and tricks above have encouraged you to take a second look at the fonts on your hard drive so that you start seeing them as tools to help you create beautiful custom type rather than finished pieces of art that you just need to drop in.
Leave a comment below with a link to some inspiring custom typography that you’ve created or come across online. Also leave your ideas for how to re-create the effect in Illustrator and/or Photoshop!