Designer’s Guide to Printing Book-Style Items
One of the most complex jobs you can take on as a designer is getting something ready for book-style printing. Not only will this type of project include a lot of pages, it can also come with options not available for other types of design projects and its own set of terms and lingo.
What are the terms you need to understand when getting something ready to be printed book-style? We’ve got the answers so you can tackle your first book-style or bound printing job.
Basic Terminology

Before you even get started, you might want to familiarize yourself with a few common printing terms. If you are already working on other print projects some of these terms may be familiar, but for digital designers may not use these words as commonly.
Binding: Multiple pages held together inside a strong cover is considered binding. Printed and bound material can include anything from magazines to catalogs to books. Items inside folders don’t count as binding; items have to be connected in a way that keeps pages intact.
CMYK or 4-color printing: Almost any printed material uses CYMK, making it a more common printing term. CMYK – cyan, magenta, yellow, black – refers to the four ink colors used to create almost every color in a printed project.
Finish: The way paper feels after a print job is complete is the finish. There are a variety of finish types to choose from when preparing your job for print. Some of the most common include glossy or calendered paper, shiny whether coated or uncoated; machine finished, which has a smooth surface on the front and back sides; cast-coated, which provides a super-high gloss surface used primarily for packaging or covers; lightweight coated, which is a thin paper typically used for magazines or catalogs; matte-finished, which is rough does not reflect light; and embossed or pressed, which includes a feel on the paper surface.
Prepress: The workflow steps and procedures that happen between the time a design is final on screen and it is prepared for actual printing. This process can include creating printing plates, adjusting images, getting elements on a press or even creating a certain file type.
Printing vs. copying: Printing occurs when elements are laid on the page in a way that you can feel them. Inks and images have texture against paper. Copied items typically don’t have a “feel” to them, such as paper that is processed on a home printer or copy machine.
Printing Types
When it comes to printed and bound material, you have three basic choices – letterpress, offset and digital printing. All three methods are fairly common and have advantages and disadvantages based on project type.
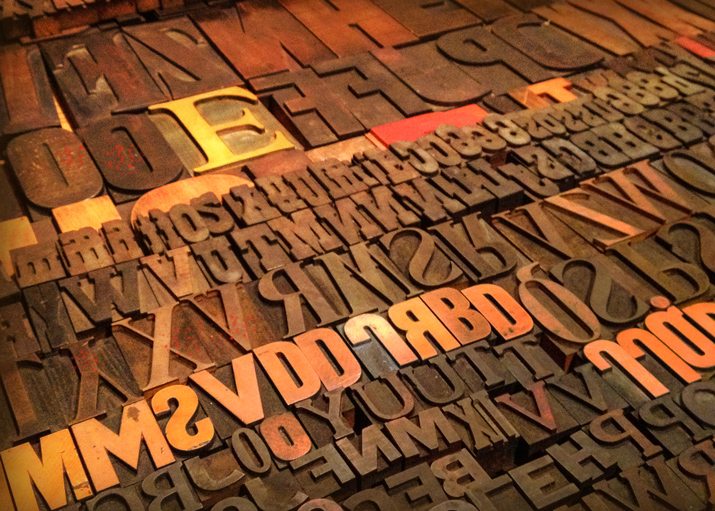
Letterpress
Letterpress printing is happens when items are printed using movable type on a printing press, hot metal typesetting or another form of printing that involved pressing ink onto paper. The method has been around since the 15th century and is considered to be a premium printing process. Where it was standard many years ago, letterpress printing is often reserved for limited edition or top quality jobs. It can be quite expensive and is seldom used for mass printing jobs.
Offset
Offset printing is the most common form of printing for books and other bound materials. Inked images are transferred from a plate to a rubber blanket to the printing surface. The first offset printing on paper dates to 1904. After printing, paper can be cut into pages and bound. Most of the books you buy in stores today – from hardcover to paperbacks – are printed using this method because it works well for mass production.
Digital
Digital printing is gaining popularity almost every day. The popularity is attributable to the fact that it is fast, rather inexpensive and can suit any number of copies. Digital printing can happen on a variety of machines from high-quality laser or inkjet printers to large format printers. No plates are made and print jobs are direct from the digital file.
Margins and Cuts
When it comes to selecting a size and paper type, one of the most important considerations is image area versus print size. Files often must be prepared for print at a slightly larger size than the final version. This difference can help hide imperfect cuts and ensure a more quality job.
Bleed: Space added outside the printable image area to account for cuts to paper. Anything between the trim and bleed may or may not show in the finished print job. The bleed allows for some degree of error in the printing process. Check with your printer for bleed specifications for each job before getting to far into a design.
Cut sizes: The actual size of the finished paper after it is cut from larger “parent” sizes. Often larger sheets are used on commercial printing presses for jobs and then cut to the more common sizes for items such as paperback books or magazines.
Gutter: The space between columns of text or facing pages.
Safe zone: The part of the image area that will be unaffected by any cuts. Everything within the safe zone should print without fear of being trimmed.
Trim: The edge of a page that has been prepared for printing. Most printers ask that no important elements are placed within one-eighth inch of the trim.
Pages and Bonus Content
One of the nice things about printing processes includes fun extras you can’t always get in a digital format. Some printers will allow pages of different shapes or sizes, printing types or colors. There are also a few things that you need to think about for large jobs as well, such as how many groupings of pages your job will need to include.
Colophon: The brief description of the publication, printing or production notes related to the specific edition of printing is called a colophon. This can appear at the front of back of a book. It can include information such as technical printing information, price, number of copies published, colors and typefaces used and cataloging information.
Endsheets: Heavier-weight paper used at the front and back of a book to hold the cover to the binding.
Folio: Standardized information and layout that will be used on multiple pages. This is often in the form of a header or footer and includes information such as page number or the title.
Signature: A groups of page that is printed on both sides of a single sheet of paper that becomes a specific number of pages ones the paper is folded, trimmed, bound and cut. The number of pages in a signature depends on the page size and size of press sheet. Signatures are almost always counted in multiples of four.
Spine: The outside edge of a book or cover binding where the pages come together. The spine might include text or simple information.
Tip-in: Pages that are printed separately from the main job but added to the book are called tip-ins. These pages may be of the same size and type as the main book or look different in shape, paper type and style.
Binding
The final step in getting your printed material ready is binding. There are a variety of binding processes, which bring together all the pages and a cover into a single unit. The most common binding types are available through most commercial printers. The type of binding you select can depend on number of pages, aesthetics and price.
Saddle stitched: A common technique that is created when wire or thread is punched trough pages at the spine. The process would be similar to stapling and works for up to 80 pages depending on the paper weight. This process is one of the least-expensive binding methods.
Perfect bound: A technique in which a layer of glue holds together book signatures and the cover. The process is common for several signatures at a time (typically 16-200 pages) and is moderately priced.
Sewn bound: This binding technique works like saddle stitching but is for a larger number of pages and uses a much thicker type of threading across the full-length of the spine. The process is rather pricey and can work for an almost unlimited number of pages.
Case bound: Hardcover books are often case bound, which is a process where inner pages are sewn together in sections and then glued together. Then a cover is glued to the pages. The process is relatively expensive and can work for any number of pages.
Spiral bound: Holes are punched through pages and a plastic or wire spiral is threaded through them. The spiral is crimped on the end to prevent it from slipping. (This is a common type of binding for notebooks.) This relatively inexpensive process works for up to about 300 pages easily.
Conclusion
Completing your first bound project can be a little intimidating but also fun. Having the tools in hand to get started is the first step to success. Binding techniques can give printed projects a more polished and refined finish and have a large number of practical applications.
What are some ways you have used binding in design projects? Do you have tips to share? Join the conversation in the comments.
Photos courtesy of Creative Market.