3 Fantastic & Fresh Tools for Web Designers
I love to keep an eye on the every growing world of single purpose web apps that are specifically aimed at making part of your job as a web designer a little bit easier. Today we’ll check out three of these tools that I’ve found fun and helpful recently.
We’ll start by looking at Colllor, a great way to turn a single color into many. Next we’ll jump into Warp CSS and create some amazing CSS typography that you probably didn’t even think was possible. Finally, we’ll check out Bear CSS, a way to quickly generate a starter stylesheet based on your HTML. Let’s get started!
Colllor
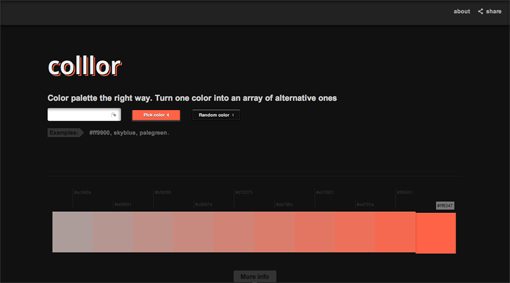
The first new tool we’re going to look at is Colllor, a fun app that will help you add some variety to your color palettes. The concept here is simple: “Turn one color into an array of alternative ones.” Let’s see how it works.
How It Works
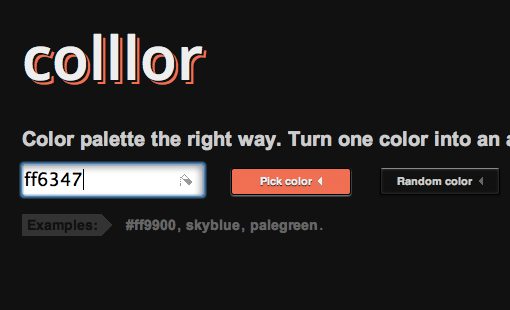
Step one is simply to pick a color. Take that starting color, type it in and hit the “Pick Color” button. You can type in a hex code or even a standard named color. Alternatively, you can hit the random color button just to give it a test drive.
From here the output is quite impressive. You get four horizontal bars filled with new color swatches to choose from: shades/tints, tones, mix, and similar. Your original color is clearly highlighted for reference.
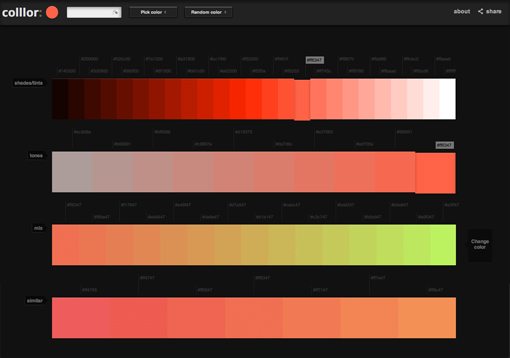
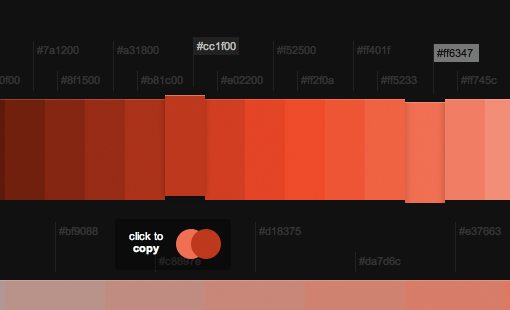
You are presented with over fifty related swatches, each of which is nicely labelled, has a cool 3D hover effect and can be copied to your clipboard with a single click.
My Thoughts On Colllor
I’m a sucker for color apps and this one drew me in immediately. It’s really well designed and interactive enough to make finding colors a really enjoyable experience. I was a little confused at first as to why standard options like generating complementary swatches weren’t included, but there are plenty of apps out there with that functionality and I like that Colllor seeks to be unique in its approach.
Generally, for finding different shades of a single color, I use 0to255, however, that site tends to be quite sluggish. Colllor is both faster and more versatile. Particularly unique is the “Mix” option, which allows you to choose two colors to see a gradient of individual colors between the two.
Another thing that works well is the “copy to clipboard” feature. Many color utilities feel the need to include the “#” when the color is copied, which is useful for CSS, but bad for Photoshop (CS6 addresses this). For now, I prefer that the symbol be left out, which is the route taken by Colllor.
I really have no complaints here. Colllor is a fantastic and free color utility that you should absolutely add to your list of bookmarks.
CSS Warp
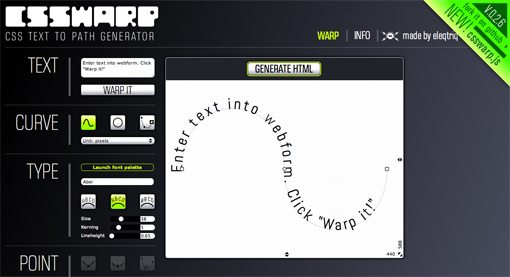
CSS Warp is a crazy tool that allows you to create live web type that follows a complicated path. The tool is remarkably similar to the path type functionality in Illustrator, so the workflow should be familiar enough for you to pick it up pretty quickly.
How It Works
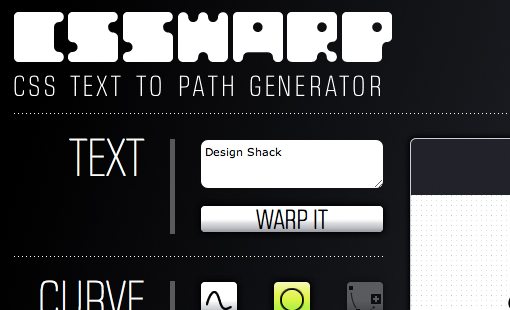
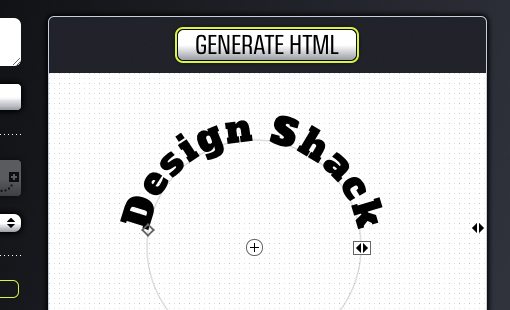
Let’s walk through a test to see how it works. The first thing that you do is enter some text. Because the final generated code can be massive (we’ll talk about this in a minute), I recommend keeping your text short and sweet. Once you’re finished, click the warp button.
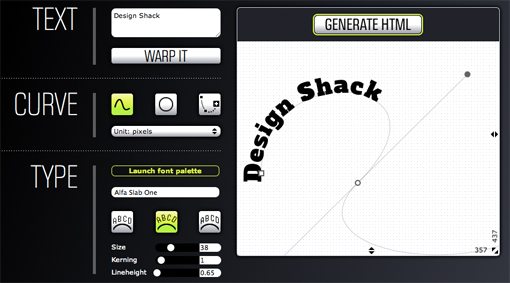
Your next step is to define the curve that your type will follow. The options here are pretty flexible, you can either define your own bezier style path or choose a circle. The points create rounded curves by default but there’s an option at the bottom of the app to change them into sharp corners.

You do the actual hands on molding in the little preview window that appears next to all of these controls. This updates live with any changes you make so you can always tell exactly what the final product will look like.
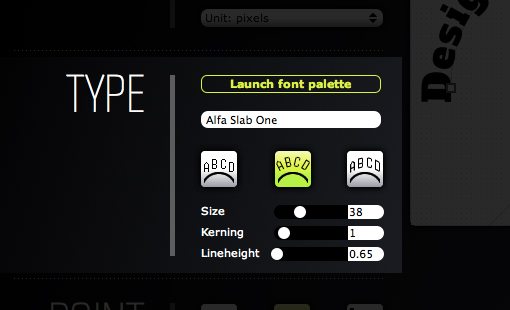
You can also define several options regarding the font as well, this includes the ability to set the size, line height, kerning*, and font. I love that you can choose from the Google Web Font library here. You also have some options for how the text aligns to the path.
*I used the term “kerning” here because that’s the name of the control on the actual app. It’s actually mislabeled though, this slider really controls the type’s tracking. The difference is important. Read this for more information.
Once you’re all done and have the type just how you want it, click the “Generate HTML” button above the preview to get the snippet of text to copy and paste into your code.
My Thoughts on CSS Warp
I can honestly say that I’ve never seen another tool that pulls this trick off so well with live web text. The results are completely impressive and simply not something you would ever want to do by hand. I love it when developers take the initiative to push the boundaries of what’s possible on the web and distribute their work freely.
My only real problem here is really something completely out of the developer’s control. CSS and HTML don’t actually have built in functionality for typing along a path, so the only way to do it is wrap each and every letter in a span, then independently position and rotate the letters. This leads to a massive chunk of code that isn’t easy to interpret. As I said, the developer really can’t help this, other tools that target individual letters such as Kern.js are forced to work the same way.
Overall, I was blown away by how well developed the app is as a whole. It’s extremely easy to get the effect that you want and there are a ton of options to tweak along the way. There’s also a JavaScript version that you should check out.
Bear CSS
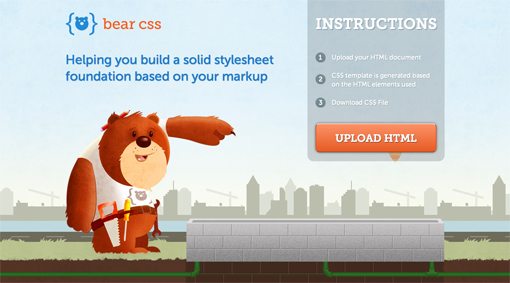
Bear CSS does only one thing: it serves up a starter stylesheet when you upload an HTML file. It doesn’t do the job of styling your web page, it merely gets you started by typing out the obvious style hooks for you.
How It Works
Bear CSS doesn’t really require any thinking or effort on your part. All you do, in fact all you can do, is upload an HTML document.
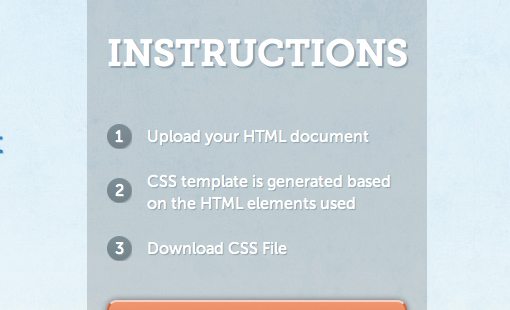
Once you upload your HTML doc, it’s time to click the “Download CSS” button. I grabbed a random document that I had laying around just to test it out and received the following output.
html {


}

body {


}


/*******************************************************************
LAYOUT
*******************************************************************/

div {


}

#header {


}

#mainsection {


}

#footer {


}


/*******************************************************************
TYPOGRAPHY
*******************************************************************/

h1 {


}

p {


}


/*******************************************************************
IMAGES, VIDEO & AUDIO
*******************************************************************/

img {


}
My Thoughts On Bear CSS
I was pretty skeptical about this tool. I like to write my own CSS and I wasn’t crazy about the idea of something attempting to do it for me. That being said, I was pleasantly surprised by the output. The organization, though not appropriate for every project, is definitely logical and fairly widely applicable. I like that without any effort I’ve got a nice starter CSS document with the major hooks that I might want to target, clearly separated into categories like typography and layout.
Obviously, it isn’t a magic tool. It doesn’t read your mind and create any complex selectors, it’s just the “bear necessities” (get it?). Not everyone writes up the full HTML of a web page before starting on CSS, but if you do then this is definitely something that you should try out.
One of the features that I’d really like to see is the ability to paste in some HTML as opposed to uploading a file. It would be nice to just do a quick copy action from my open text editor. Also, in a few of my tests that contained repeated classes, the generated CSS also repeated that class selector, which is obviously redundant and unnecessary.
Another thing I’d like to see is a few extra options for pro users to tweak. A few different organization methods, whether or not to include hovers with for anything wrapped in an anchor, and maybe a reset/normalize inclusion.
Conclusion
I hope you’ve found a new tool or perhaps three new tools to add to your web development goody bag. The three apps above won’t drastically affect your workflow, but they can make certain parts of it a little bit easier.
Leave a comment below and let us know what you think of the three apps above. Have you used any of them before? What other great tools have helped you out recently?