How to Convert PowerPoint to Video
Did you know that you can turn a PowerPoint deck into a video that plays automatically? This can be a great option for online sharing or creating a video loop to play at events or as a background collage.
The best part is that you don’t have to have extra tools because you can convert your slides right into a video file from PowerPoint.
We’re going to walk you, step-by-step, through how to convert a PowerPoint template to a video. We’ll also pay special attention to video settings, formats, and conversion options to make sure you wind up with just the right type of video for your project.
Step 1: Create Your Slides
You don’t have to do anything special when creating a PowerPoint that you want to convert to video. Design each slide in the way that you want it to look.
The most important thing to keep in mind is the screen size for playback and whether you want to use the standard 16:9 aspect ratio (widescreen) size or the older-style 4:3 (more square) aspect ratio.
You can use any of the styles and design techniques that you would use for any other PowerPoint presentation, although embedding a video in a video isn’t recommended. This can create a somewhat odd effect, balloon files sizes, and cause the most opportunity for technical issues.
Step 2: Set Timing or Narrations
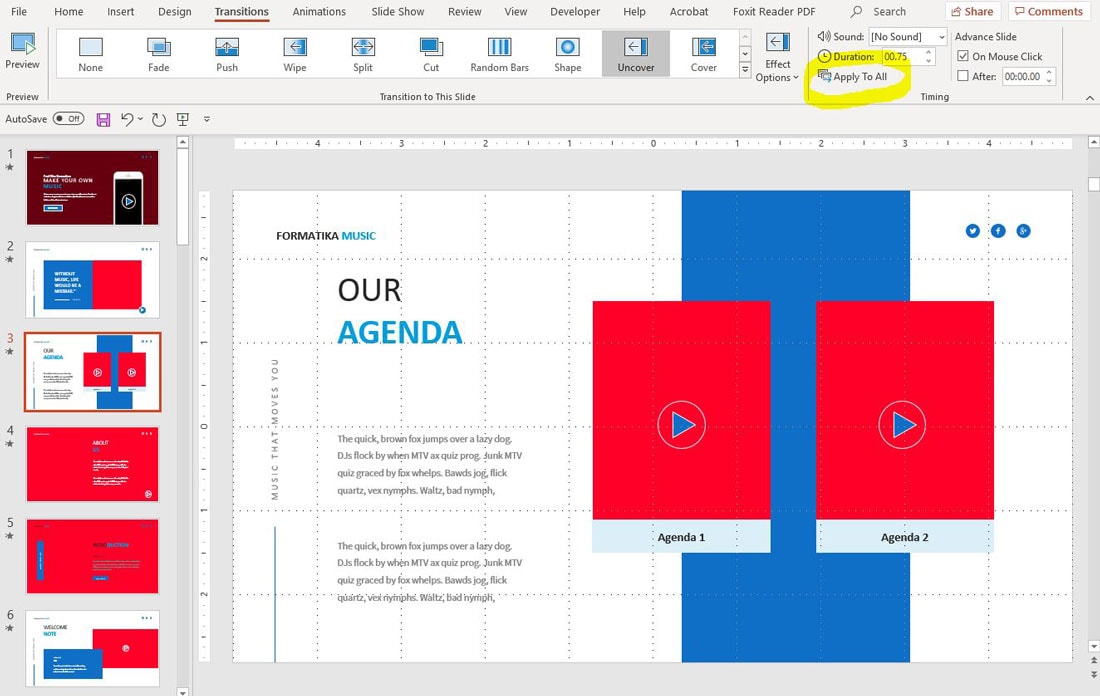
Once you get the PowerPoint design as you want it, you can add transitions between slides or narrations to create a flow for the video from slide to slide.
Set transitions, using the Transitions menu. You can adjust the way transitions between slides look, how the change takes, and how long each slide stays on the screen. Pro tip: Once you get the transition just the way you want it, you can apply it to the entire slide show by clicking the “Apply to All” button in the top toolbar.
You can also add narration or audio to the presentation as well before you convert the PowerPoint to a video.
Step 3: Save/Export to Video File
Once you have everything just the way you want it, double-check all the slides one more time. (An extra round of proofing never hurt anyone.)
Then the file is ready to convert to video. If you have specific instructions for video playback, note that you can save a PowerPoint as an MP4 or WMV file. If you aren’t sure what you need, MP4 is pretty standard.
First, save the file to lock any in changes that you have made.
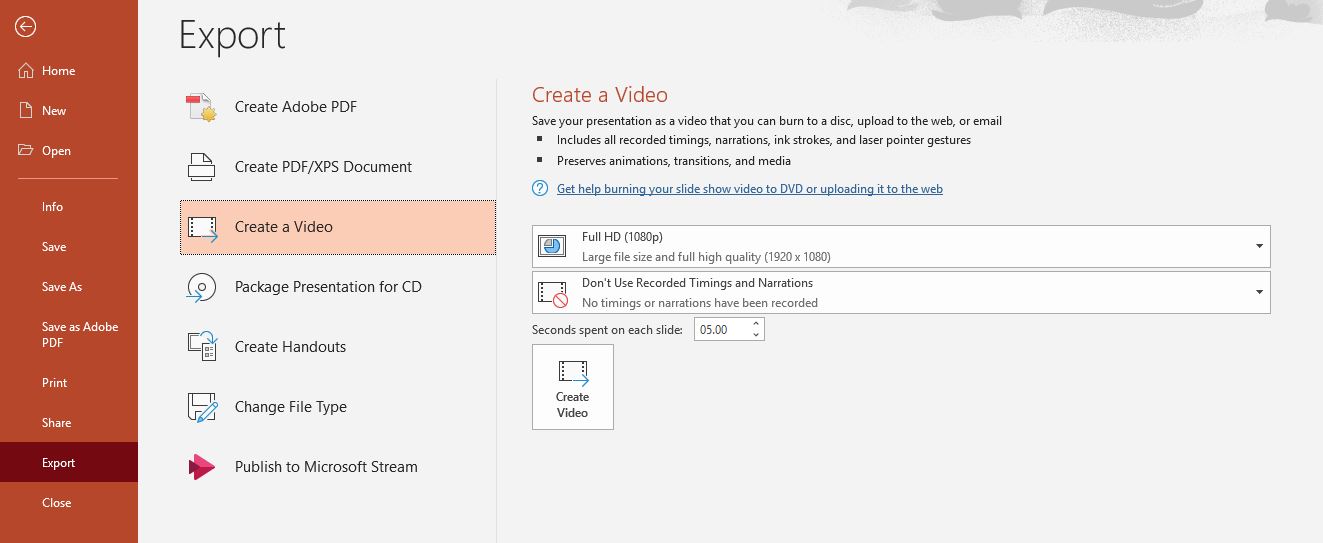
Then go to File > Export > Create a Video. You can also do this from the Recording tab > Export to Video. Both options result in the same thing.
Take note of two dropdown menu options for making adjustments to your video before creating it.
Step 4: Pay Attention to Video Settings
The dropdown options in the Export to Video settings relate to playback and timings and narration.
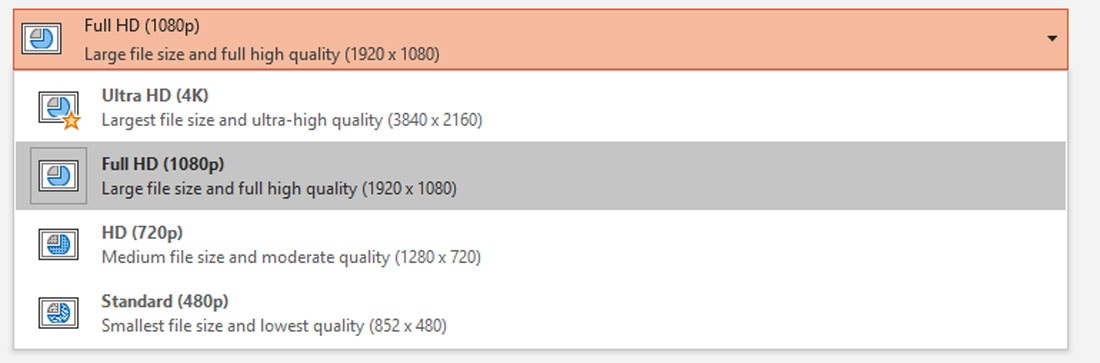
The top dropdown is for playback quality and resolution. You have four options:
- Ultra HD (4K), highest quality and largest file size
- Full HD (1080p), high resolution web/digital resolution with a somewhat large file size
- HD (720p), decent quality with smaller file size (good for web playback)
- Standard (480p), lowest quality but smallest file size (not as commonly used anymore)
The second dropdown sets how the video should handle timings and narrations.
If you set them in the slide deck, you want to select “Use Recorded Timings and Narrations.” The video will reflect the transitions and any audio you specified in the design of the slides.
If you don’t want to use recorded timings and narrations, you can set the video to spend a certain amount of time on each slide here. Note that it has to be the same for each slide and you can’t have varied timings in the same way you can with manual settings.
Once you have made your selections for settings, click the “Create Video” button.
You’ll be asked to give the file a name, pick a format (MP4 or WMV), and save location. (Put your video somewhere easy to find. It’s also recommended to save to your local machine and move it to a shared folder later rather than trying to save a file during conversion across a network or internet connection.
Depending on the number of slides, size of the file, and power of your computer, converting the PowerPoint to a video can take anywhere from a few seconds to a few minutes to an hour. (There is a status bar located in the toolbar of the bottom of the screen that shows video progress.) Be patient; this is hard work for your computer’s processor.
Step 5: Open and Play
Once the video file is finished, always open it up and play it back to ensure everything looks as intended.
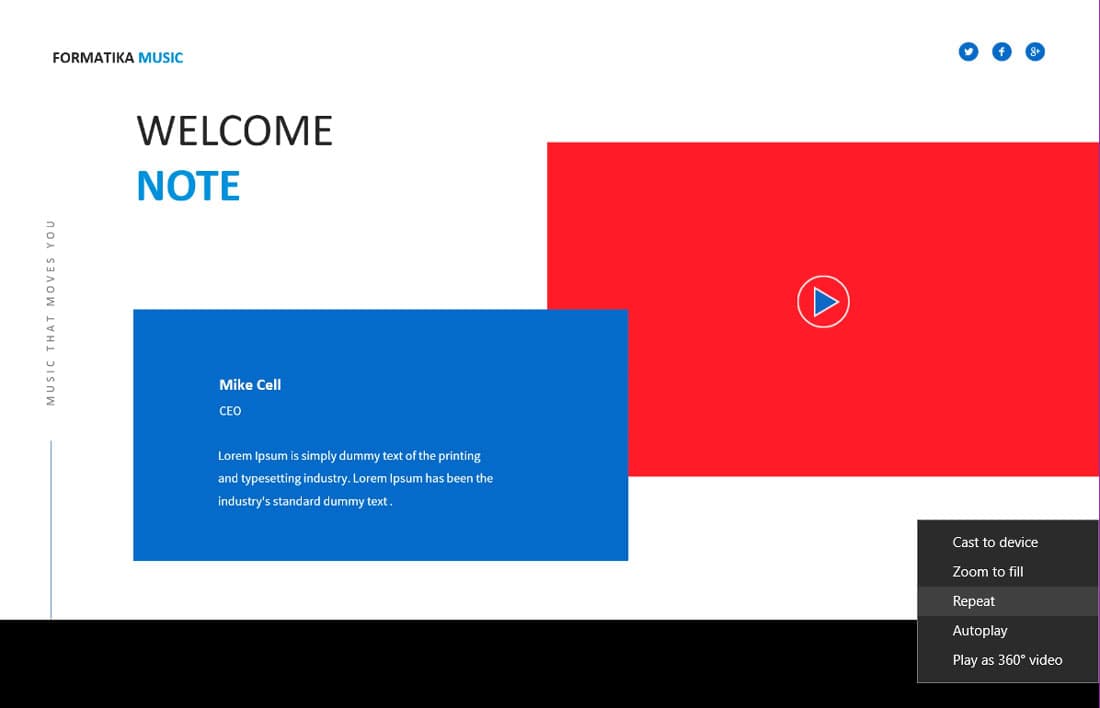
This is also a good time to think about whether your video should play once or on a loop. During playback, you can select an option for it to loop, or repeat, and save for continuous video play. (This is a good option if you are using it as a background on TV screens in a conference room or on a display board.)
Conclusion
Converting a PowerPoint to video is a great tool and only takes a few minutes to do. It’s one of those tricks that comes with a lot of practical use.
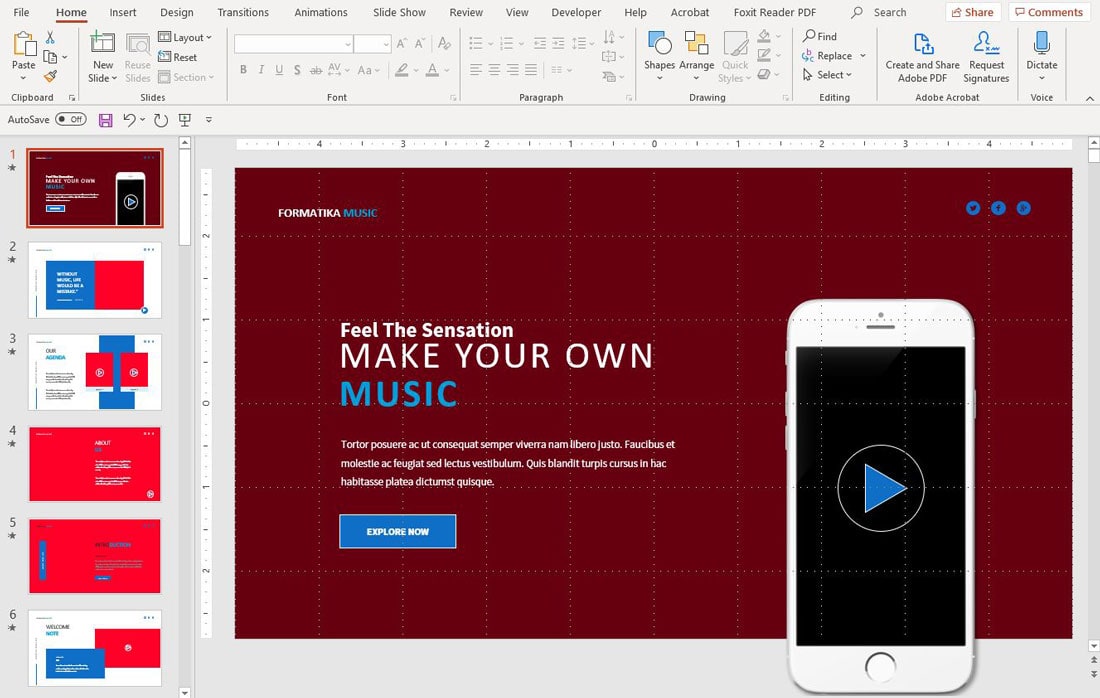
Like the slides that are featured as examples in this article? You can download the template from Envato Elements.