How to Delete a Text Box in PowerPoint
A text box in PowerPoint is a rectangular shape or container used to insert and display text on a slide. It provides a designated area for adding titles, subtitles, bullet points, or other textual content, allowing users to format, edit, and position the text independently from other slide elements.
Text boxes can be resized, moved, and customized with various formatting options, such as font type, size, color, alignment, and style.
However, there may be instances when you need to delete a text box to reorganize your content or remove unwanted elements from your presentation. This article will walk you through the steps to delete a text box in PowerPoint.
Selecting and Deleting a Text Box
Deleting a text box in PowerPoint is a straightforward process that involves selecting the text box and pressing the delete key. Follow these steps to delete a text box:
- Open your PowerPoint presentation and navigate to the slide containing the text box you want to delete.
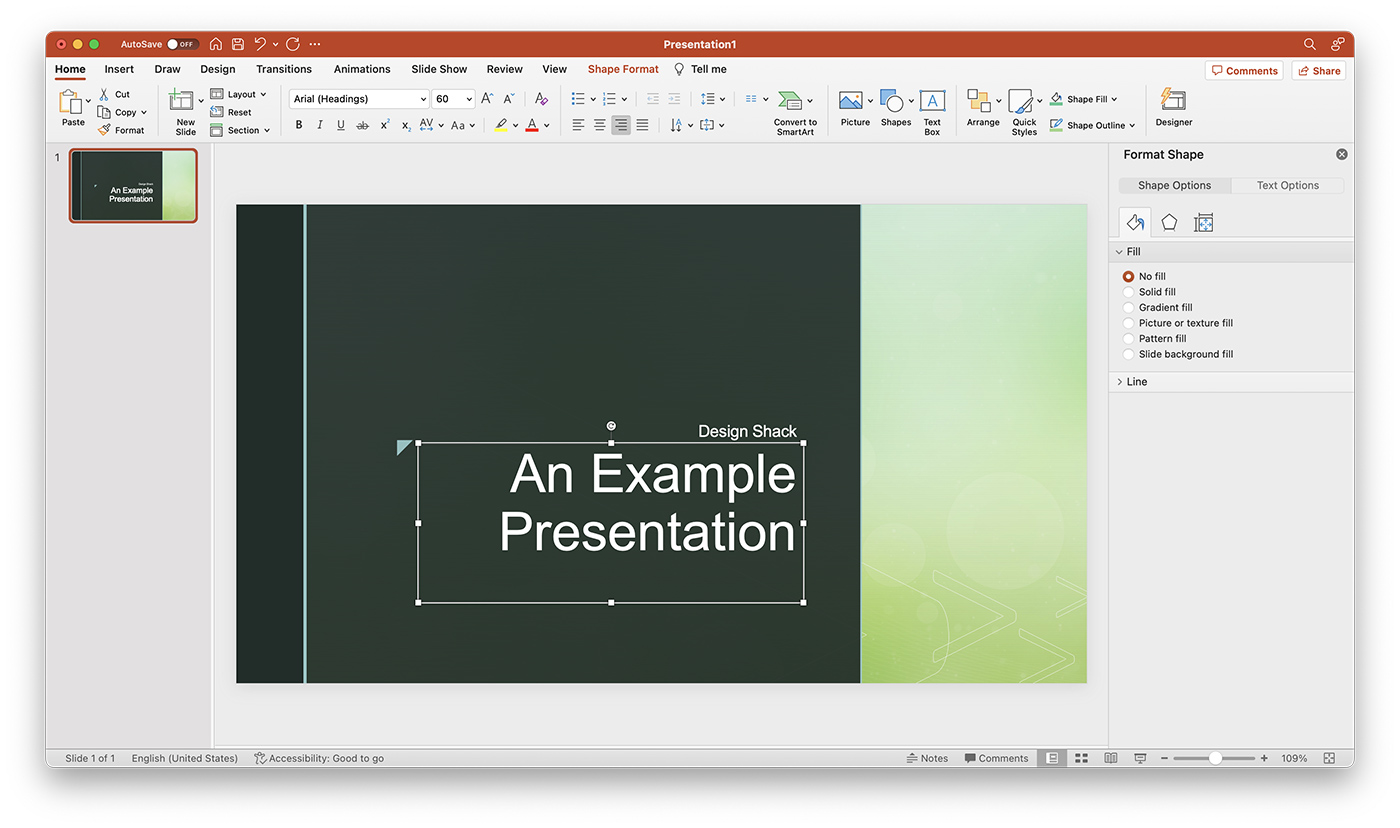
- Click on the border of the text box to select it. The border will be highlighted, and resizing handles will appear around the text box.
- Press the “Delete” key on your keyboard to remove the text box from the slide.
Troubleshooting: Text Box Not Selectable
In some cases, you may find that you are unable to select a text box in PowerPoint. This can occur for several reasons, such as the text box being part of a group, locked, or located behind other objects. Here are some troubleshooting tips to help you select and delete the text box:
Ungrouping Text Boxes
If the text box is part of a group of objects, you will need to ungroup them before you can delete the text box:
- Select the group of objects by clicking on its border.
- Right-click on the group and choose “Group” from the context menu, then click “Ungroup.”
- Now that the objects are ungrouped, you can select the text box and delete it as described earlier.
Unlocking Text Boxes
If the text box is locked, you will need to unlock it before you can delete it:
- Select the text box by clicking on its border.
- Right-click on the text box and choose “Size and Position” from the context menu.
- In the “Size and Position” dialog box, uncheck the “Lock aspect ratio” and “Lock position” options, then click “Close.”
- You should now be able to delete the text box as described earlier.
Bringing Text Boxes to the Front
If the text box is located behind other objects, you may need to bring it to the front to select and delete it:
- Click on the “Home” tab in the PowerPoint toolbar.
- In the “Drawing” group, click on the “Arrange” button, then choose “Bring to Front” from the drop-down menu.
- The text box should now be in front of other objects, making it selectable and allowing you to delete it as described earlier.
Conclusion
Deleting a text box in PowerPoint is a simple and necessary skill for organizing and refining your presentations. By following the steps outlined in this article and using the troubleshooting tips provided, you can quickly and easily remove unwanted text boxes from your slides, ensuring a clean and professional presentation.