How to Embed a YouTube Video in Google Slides
You know that video can add extra spark to a website design, but it can also spice up a presentation. The challenge is that embedded videos can sometimes result in presentation mishaps if they don’t play properly.
It can be pretty embarrassing to run into one of these mishaps, but they are totally preventable.
Today, we’re going to walk through how to embed a YouTube video in Google Slides so you can nail your presentation, embedded video and all!
Know Your Presentation Location
It might seem like an odd first step but knowing where you will be giving your presentation is especially important when it comes to embedding video.
To play a video from an online source, such as YouTube, you’ll need to have an internet connection and enough bandwidth to handle the video during your presentation. Running Google Slides also requires a connect to the internet.
Knowing whether this capability is available can dictate if a using a video in your presentation is a good idea or not.
Note that if you plan to create a presentation in Google Slides and export it to your local computer in another file format, such as PowerPoint, the video is no longer playable and will appear as a still image in the downloaded presentation.
1. Open Your Presentation
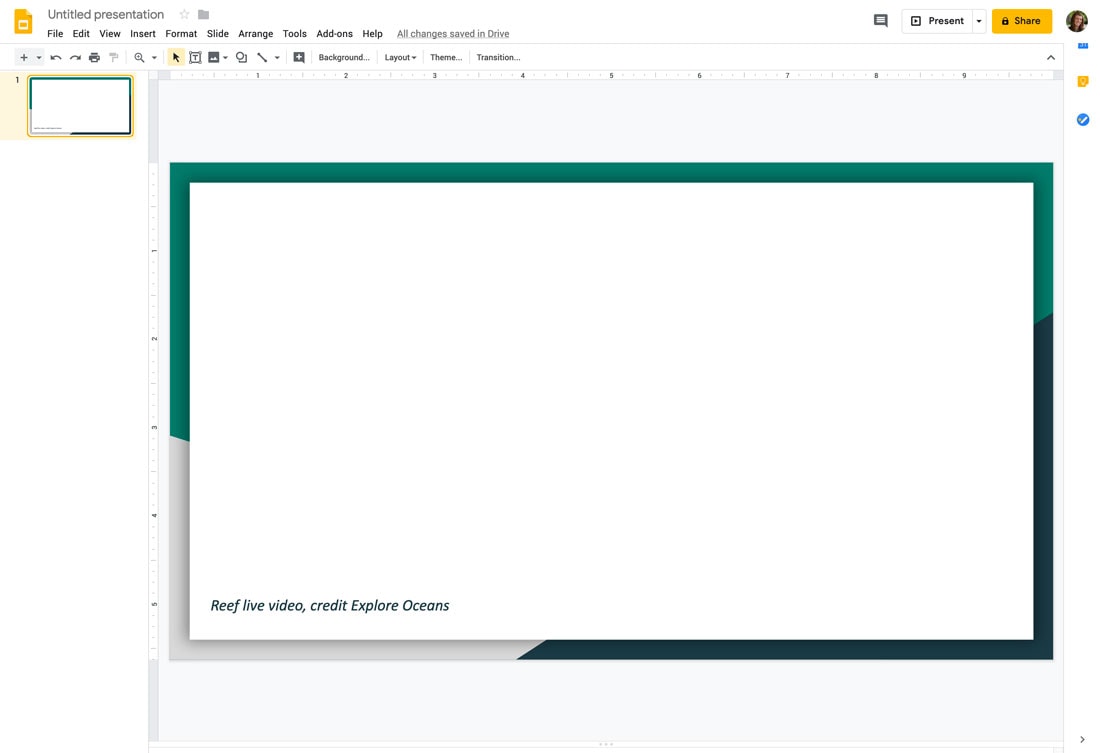
Open your Google Slides presentation or create a new document to get started.
Prepare slides as you would for any other presentation. Insert a slide where you plan to play the video using the template or style that you’ve chosen for the rest of the presentation.
2. Insert the Video
To insert the video, navigate to the Insert menu, the select Video. A box for YouTube will automatically pop up.
Did you know YouTube is a Google company? That’s one reason the link is easy and the popular video channel is searchable right from Google Slides.
From the menu, you have three options for inserting a video:
- Search YouTube
- Enter YouTube URL
- From your Google Drive
Search YouTube
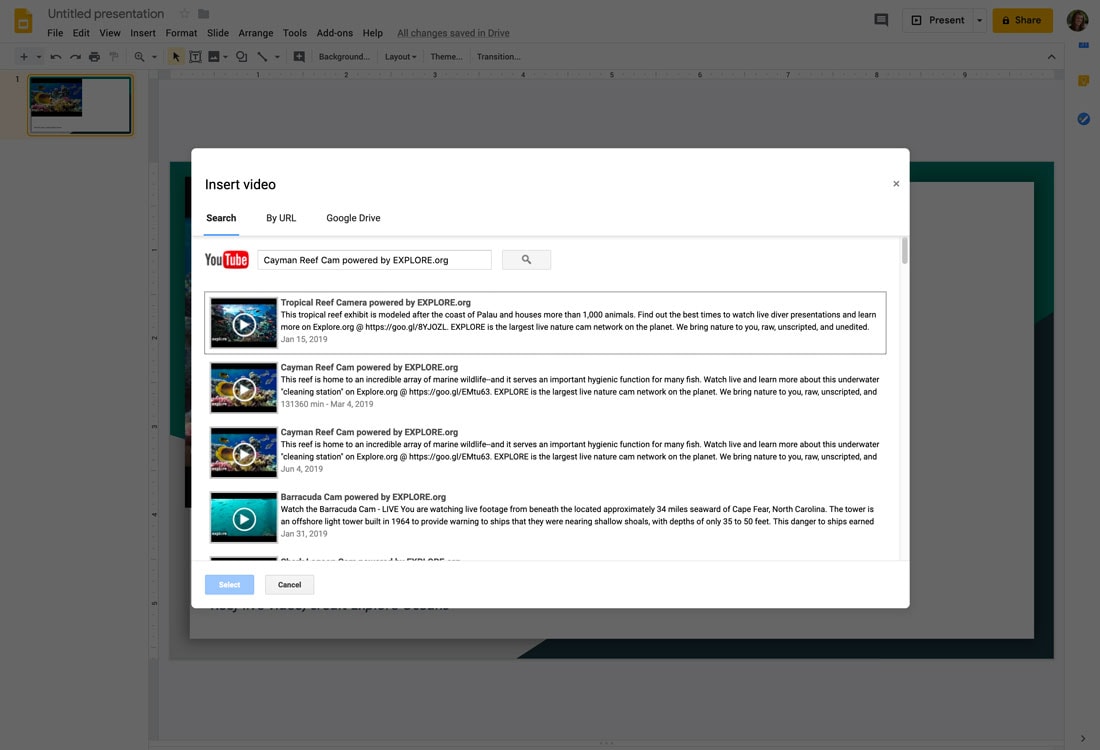
If you know what kind of video you want but not the exact URL, you can search YouTube here.
Results will be most specific if you know the title of the video you are looking for.
Enter the title or keywords, click the magnifying glass to search, and you’ll get a list of results. Click the one you want and then the blue select button to add it to the slide.
By URL
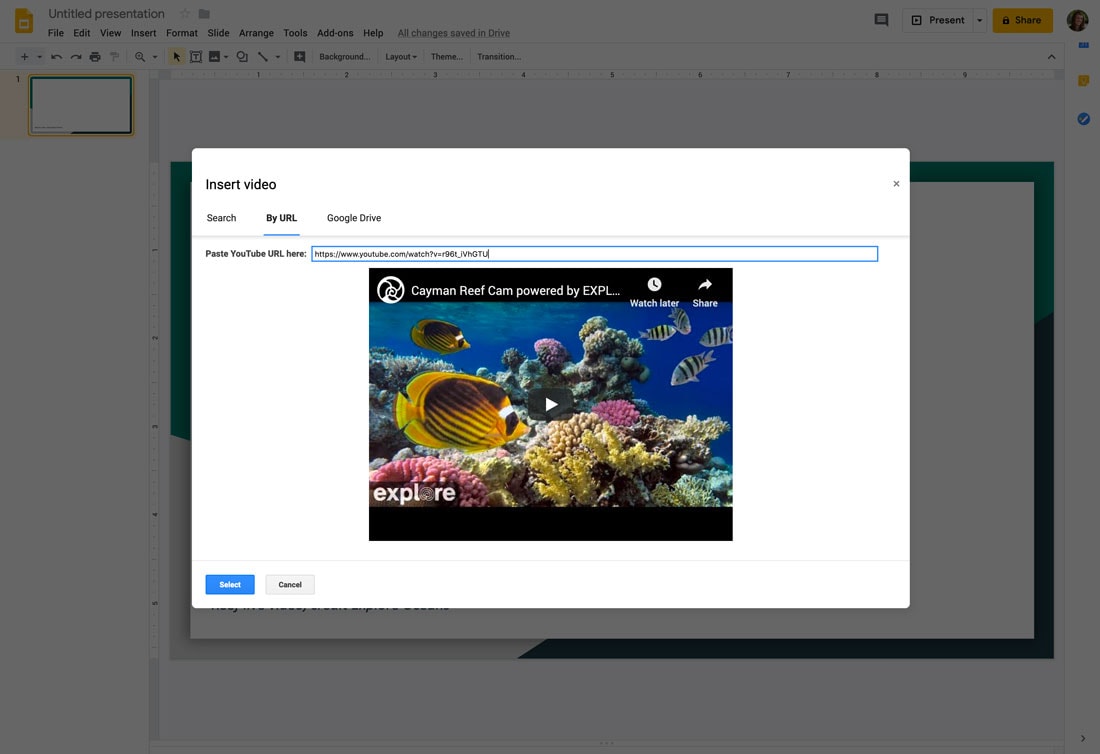
The easiest and quickest way to get just the video you want for your presentation is to copy the video URL from YouTube and paste it into the By URL field.
Only the video you have picked with show up. Click the blue select button to add it to the slide.
From Google Drive
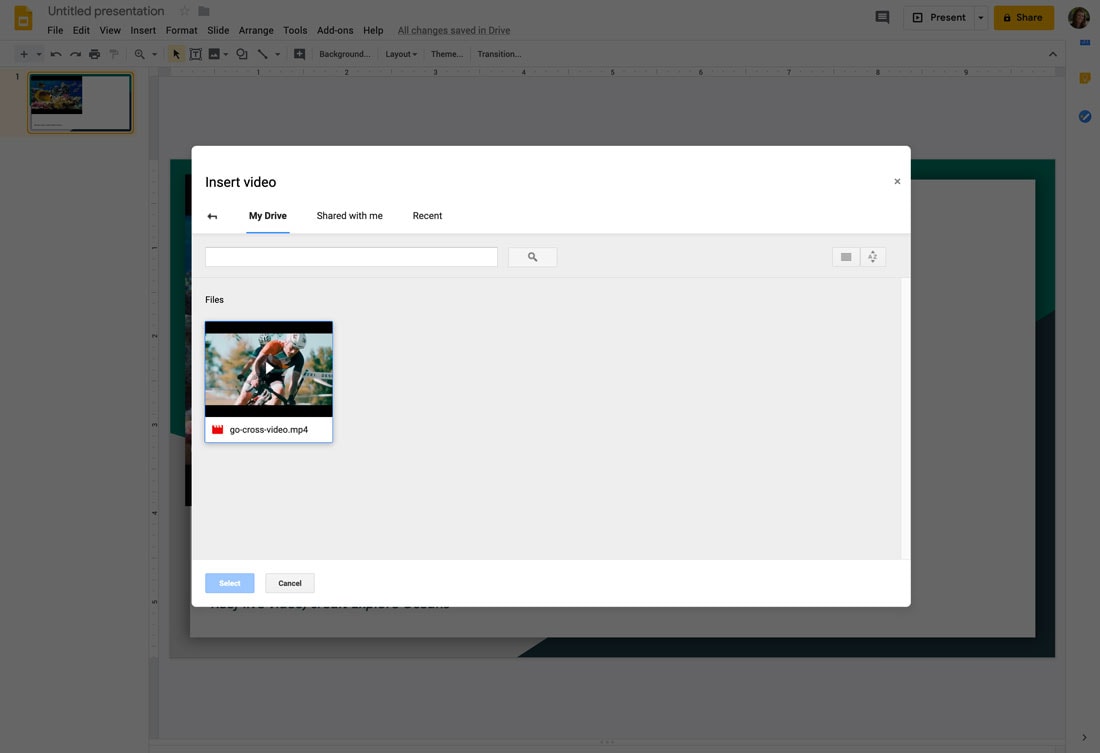
You can insert a video that you’ve also posted to YouTube directly from your Google Drive if the video is also saved in this location. Use the Google Drive option and browse videos in your drive to see what options are available. You can also add videos that have been share with you.
Once you find the video you want to use, click it and then add it to the slide using the blue select button.
3. Position the Video
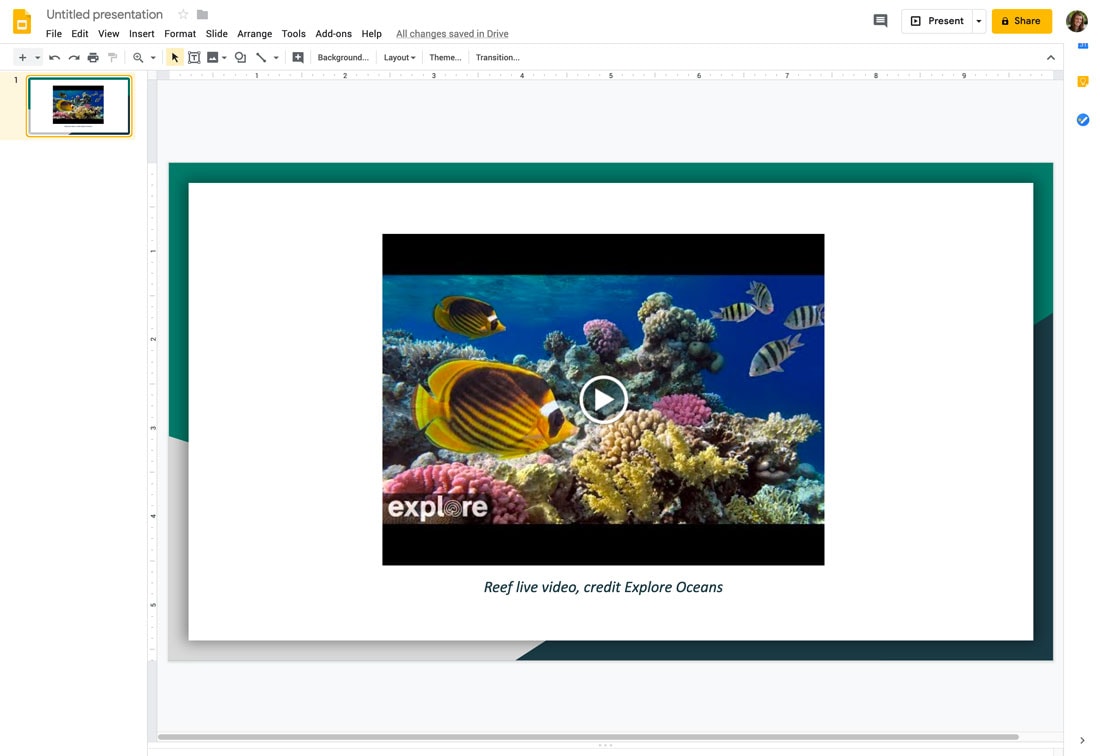
Inserted videos will pop into the top left corner of the slide. Drag and drop the video to the location on the slide that is best for your presentation. Drag from the corners to scale the video up or down to fit the slide.
4. Set Video Options
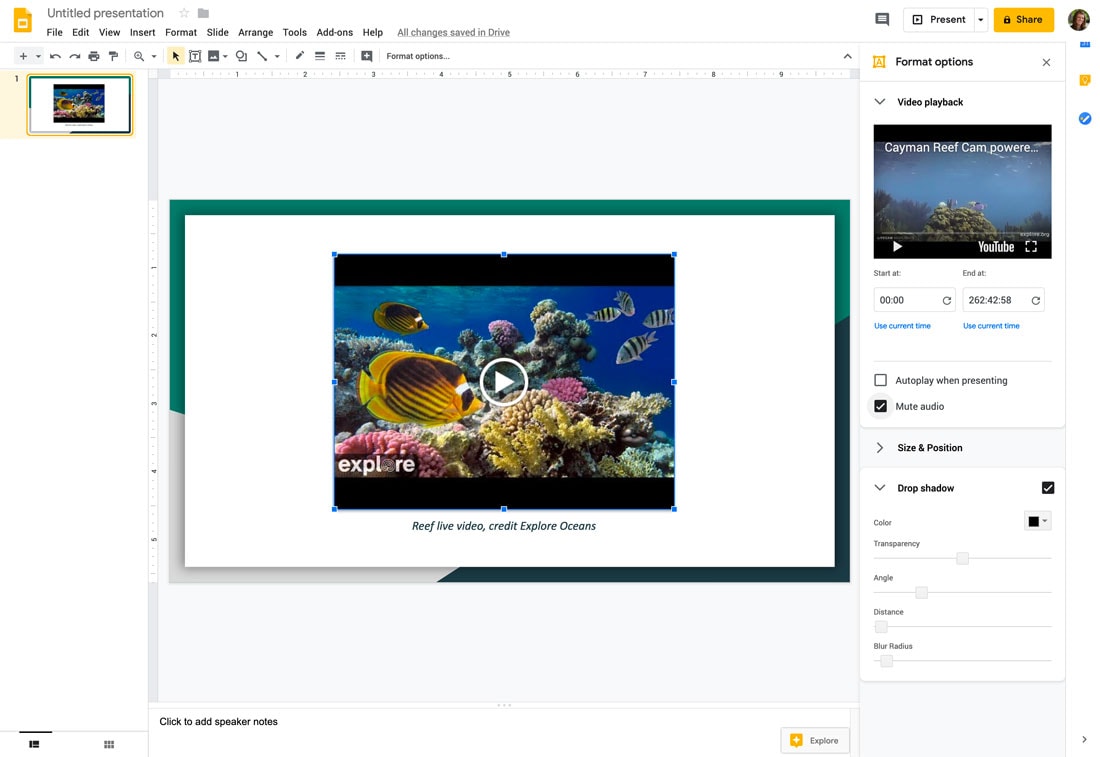
You can choose what the video does when it appears in your presentation using the Format options button in the toolbar. A new box will open with options for video playback, size and position, and drop shadow.
- Video Playback: Pick the point in the video where playback starts and ends (if you don’t want to show the entire video, determine if the video plays automatically or not during the presentation, or mute the audio.
- Size and Position: Move the video on the side, change the size, and even rotate or flip it (you can also do this via drag and drop and by dragging the handles on the video frame). These tools can help you remove elements such as letterboxing, but be careful not to distort the shape of the actual video.
- Drop Shadow: Add a shadow effect to the video frame. Choose a color, transparency, angle, distance, and blur radius.
A Note About Using Video in Presentations
While it can be tempting to grab any video from the web and pop it in your presentation, that’s not always acceptable or even legal.
Make sure to check licensing and copyright rules if you want to use a video that isn’t your own. Some of the rules are different by country and can depend on where the presentation is given and if it will be broadcasted, shared, or published online.