How to Make a Triangle in InDesign
Creating shapes, such as triangles, is an essential skill when designing layouts in Adobe InDesign.
In this article, we will guide you through the process of making a triangle using different methods, including the Pen Tool, the Polygon Tool, and the Line Tool.
We will also provide some tips on how to customize your triangle to fit your design needs.
Method 1: Using the Pen Tool
The Pen Tool is a versatile tool in InDesign that allows you to create custom shapes, including triangles. Follow these steps to create a triangle using the Pen Tool:
- Open your InDesign document or create a new one.
- Select the Pen Tool from the Tools panel located on the left side of the screen. You can also press the “P” key to activate the Pen Tool.
- Click on the canvas to create the first point (anchor) of your triangle.
- Click again to create the second point (anchor), and then click once more to create the third point (anchor).
- To close the shape and complete your triangle, click on the first point (anchor) you created. The triangle will now be filled with the currently selected fill color.
Method 2: Using the Polygon Tool
The Polygon Tool is a quick and easy way to create triangles and other polygon shapes. Here’s how to create a triangle using the Polygon Tool:
- Open your InDesign document or create a new one.
- Select the Polygon Tool from the Tools panel. You can find it by clicking and holding on the Rectangle Tool and choosing the Polygon Tool from the dropdown menu that appears.
- Click and hold on the canvas, and then press the “Up Arrow” or “Down Arrow” key on your keyboard to change the number of sides of the polygon. Adjust the number of sides until you have a triangle (3 sides).
- Release the mouse button to create the triangle on the canvas.
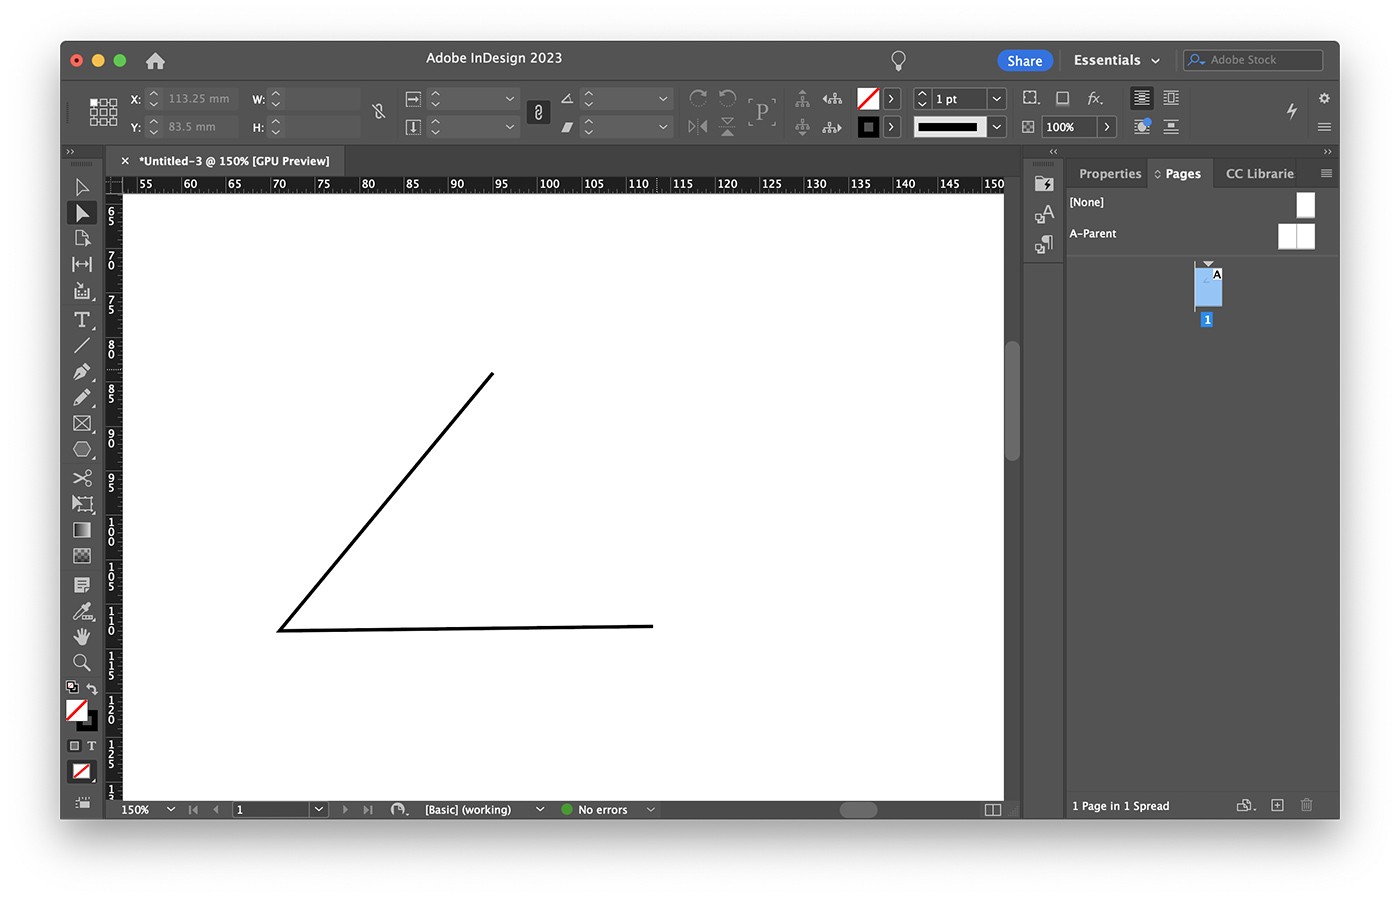
Method 3: Using the Line Tool
You can also create a triangle using the Line Tool to draw each side of the shape. Follow these steps to make a triangle using the Line Tool:
- Open your InDesign document or create a new one.
- Select the Line Tool from the Tools panel, or press the backslash (“\”) key on your keyboard.
- Click and drag on the canvas to create the first side of your triangle.
- Create the second and third sides by clicking and dragging from the end points of the previous lines, forming a closed shape.
- Select all three lines using the Selection Tool, and then go to the “Object” menu > “Paths” > “Join” to merge the lines into a single closed shape, creating your triangle.
Customizing Your Triangle
After creating your triangle, you can customize its appearance by changing its fill color, stroke color, and stroke width. To do this, use the Swatches panel, the Stroke panel, or the Control panel located at the top of the screen.
Rotating and Scaling Your Triangle
After creating your triangle, you may want to rotate or scale it to fit your design. To do this, follow these steps:
- Select the triangle using the Selection Tool (V).
- Click and hold the corner handles of the triangle’s bounding box. A double-headed arrow will appear, allowing you to rotate the triangle. Drag the mouse to rotate the triangle to the desired angle.
- To scale the triangle, click and drag the corner handles while holding the Shift key to maintain the aspect ratio. If you want to scale the triangle non-uniformly, simply drag the handles without holding the Shift key.
- Release the mouse button to apply the transformation.
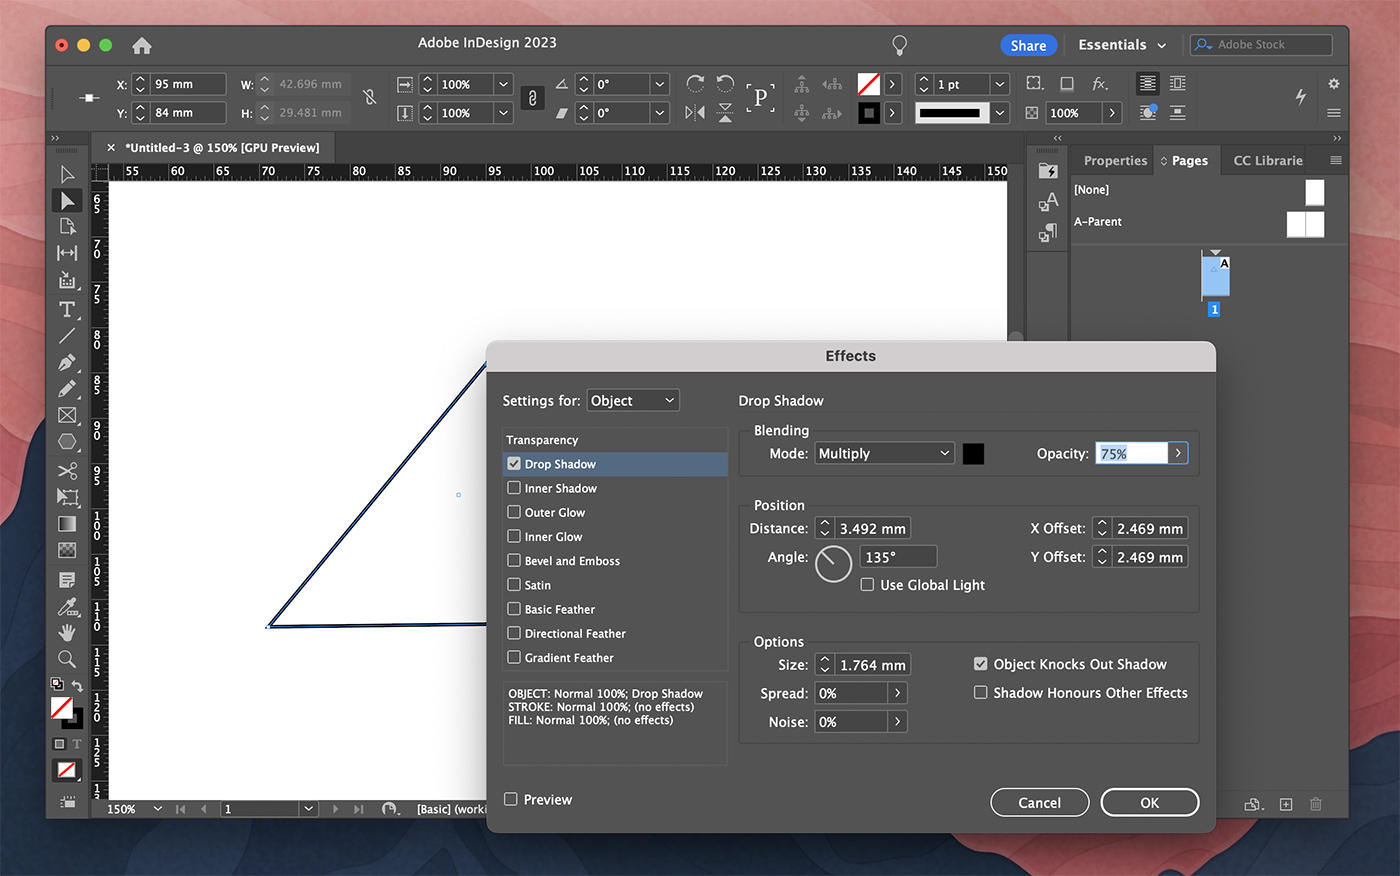
Applying Effects to Your Triangle
InDesign offers various effects that you can apply to your triangle to enhance its appearance. To apply an effect, follow these steps:
- Select the triangle using the Selection Tool (V).
- Go to the “Object” menu > “Effects” and choose an effect, such as Drop Shadow, Bevel and Emboss, or Gradient Feather.
- In the Effect dialog box, adjust the settings to achieve the desired look.
- Click “OK” to apply the effect to your triangle.
Clipping Paths and Text Wrapping
You can use your triangle as a clipping path to mask an image or apply text wrapping to make text flow around the triangle. Here’s how:
Creating a Clipping Path
- Place an image in your InDesign document using the “File” menu > “Place” or by dragging and dropping the image from your file explorer.
- Select both the triangle and the image using the Selection Tool (V) while holding the Shift key.
- Go to the “Object” menu > “Clipping Path” > “Make.” The image will now be clipped within the triangle shape.
Applying Text Wrapping
- Select the triangle using the Selection Tool (V).
- Open the Text Wrap panel by going to the “Window” menu > “Text Wrap.”
- Select a text wrap style from the panel, such as “Wrap Around Object Shape” or “Jump Object.”
- Adjust the offset value to control the distance between the text and the triangle.
Conclusion
By mastering the different techniques to create, transform, and apply effects to triangles in InDesign, you can take your design skills to the next level. Use triangles in combination with other design elements to create visually striking layouts that effectively convey your message.