How Do You Know When Your Design Is Done?
When you are working on a project, the most-often asked question is “when will it be finished?” This question can be an internal one (particularly if you are struggling), or it could come from a client.
But how do you answer it. When is the design actually done? In some cases that’s easy. With a printed project, it’s done when you print it. But what about digital projects, where you have the ability to evolve as much as you wish?
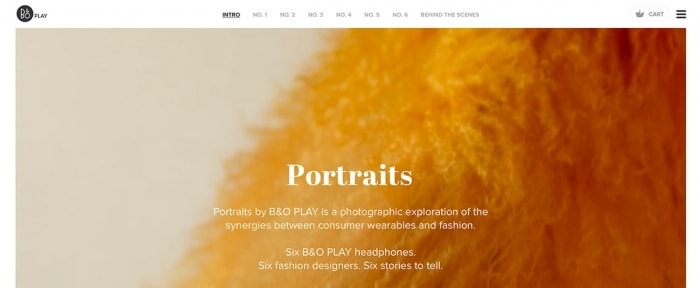
To illustrate polished, finished projects, the images in this post are from the Design Shack Gallery.
Small Steps

Publishing a design can happen in small steps. Releasing information bit by bit can ease some of your anxiety about the project as well. It can also give you more time to focus on each section, perfect it and publish with a cycle that meets your time constraints and needs.
This process tends to work pretty well for a site that is your own, such as a portfolio. It’s not recommended for client work, because it can draw out projects in a way that can hinder the workflow cycle. Here’s how publishing in small steps might look:
- Start with a coming soon or preview page. It can be as simple as a great image and a signup form to preview the site or content. (This is a popular option for apps and games.)
- Publish a home page with actual content. Even if you only have a one-page site with minimal navigation, you can highlight projects or work, and link to social media or other relevant sites.
- Add contact information, a contact form and an about page.
- Fill out interior pages and navigation.
- Update content and add photos to pages.
- Create a blog or other updatable content.
Evolution is OK, with Limits

While the small steps approach works great for a website that’s yours, it’s not ideal for working with clients (unless you are on a long-term contract). With client websites, there is often development and publication without a lot of steps in-between.
Updates and changes will be necessary though. It’s part of the job.
That design evolution is OK. What you need to do is account for it up front. How much evolution is included in the design package you provided? What access to make changes will the client have? These details are important (if for no reason other than your sanity).
Focus on the Basics

To be done with a website project there are a few things the final design almost always includes. (You can learn about each of these 10 crucial elements for web design in detail in a previous Design Shack article.)
- Space to ensure flow and readability.
- Simple navigation so users can move through the design.
- An “About Us” page to establish credibility.
- Contact information so users can get in touch.
- Call to action that gives users something to do on your website.
- Search for ease of use.
- An informational footer to store basic information on every page.
- Style for buttons so that clickable elements are easy to identify.
- Great images (or video) to entice users to look at the design.
- Great typefaces that work on the web and are easy to read.
Testing is Complete

Here’s the thing that most people forget when they are planning to launch a website design: User testing. It is vital to make sure that actual users understand the information and how to move through your website design.
You have two easy options when it comes to user testing:
- Start with a vigorous quality assessment (QA for those in the business) from someone you trust. Put a team on the design that was not part of the planning or design process. Have them click every link, read every bit of copy and look for user patterns and flows. When they report back, fix errors and compare how they through they were supposed to use the site with how the design team saw things working.
- Give the website to a focus group. Try out multiple versions to see what works best. Listen to what users have to say. You can do this with an in-person session or use third-party software to test the design.
This feedback is important because it can help you step away from the project for a moment and see it in the way others see it. Once everyone is on the same page, you are that much closer to having a design that’s done.
Design Checklist

The definition of “done” might be somewhat different for different people. There’s no set of rules that tells you when to stop working, but there are some guidelines you can use to help move a project into that final step.
- Basic functionality works as expected and the site does not crash or stall and loads on all modern browsers.
- The design meets goals of the client from the design brief.
- The design looks and feels modern, using today’s website standards (such as a responsive design and HTML5). The site is intuitive.
- The message of the website is clearly communicated.
- Problems or glitches are hard to find.
- You may find some mistakes or errors, but they are easy to correct. (Fixes should take less than 5 minutes.)
- Code is clean, styles are used and maintenance is set up to work for the end user. This might include some training on the content management system if you are handing the design off to a client.
- The team is all smiles and feedback shows that the site is functioning as intended.
Conclusion
Finally, trust your gut. Does the design work for you? Does it do everything you (or the client wanted)? Then it is probably done.
That’s not to say there won’t be updates or changes in the future, but the design is ready for publication. Go for it. And the surefire test to know that the design is done … the client approves!