How to Create Reusable Canva Templates for Your Brand
Consistency is key when it comes to building a memorable brand. But keeping your designs aligned, especially when your team is growing or juggling lots of content, can be time-consuming.
Reusable Canva templates are a great solution to this problem.
With a few smart setups, you can save time, reduce design stress, and make sure every post, presentation, or flyer looks and feels on-brand.
In this guide, we’ll walk through the benefits of reusable templates in Canva, how to build them from scratch, and how to share them with your team to enhance design workflow and keep everyone on the same page.
Why Reusable Templates Matter
When you’re designing for a business or content brand, starting from scratch each time isn’t just inefficient—it’s inconsistent.
Templates help you speed up production while making sure every piece of content reflects your brand colors, fonts, and voice.
They’re especially useful when:
- You publish lots of similar content (like quotes, product promos, or blog teasers)
- You work with a team that needs to follow brand guidelines
- You want to create a consistent feed on platforms like Instagram or LinkedIn
- You’re handing off design work to non-designers
Instead of reinventing the wheel every time, you just duplicate a template, drop in new content, and hit publish.
Canva is the perfect platform for setting up your templates library, especially because the platform is easily accessible across multiple platforms.
Here’s how you can get started.
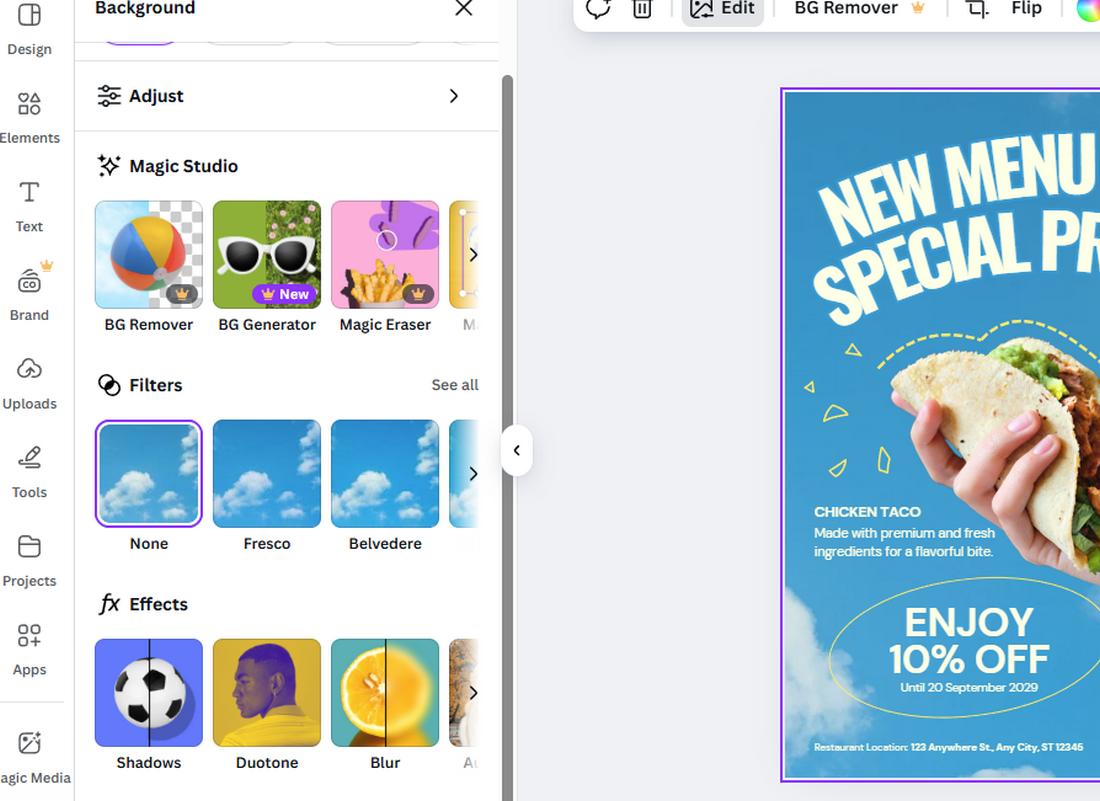
Step 1: Set Up Your Brand Kit in Canva
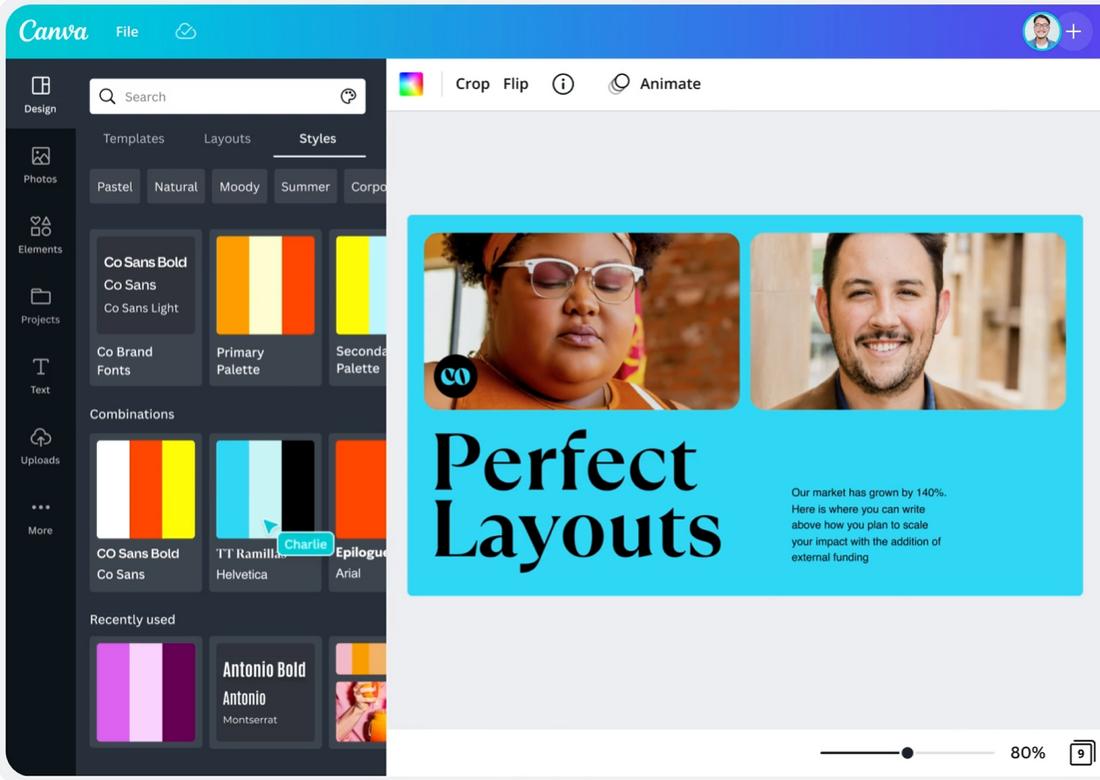
Before you create templates, make sure your brand kit is set up.
Canva Pro users can upload their logos, brand colors, and fonts so they’re always accessible while designing.
To create a brand kit:
- Go to “Brand” from the Canva homepage
- Upload your logo and any alternate versions
- Add your color palette (you can add multiple palettes for different campaigns or styles)
- Set your default brand fonts for headings, subheadings, and body text
With your brand kit in place, Canva will automatically suggest your brand elements while designing, saving you time and making it easy to stay consistent.
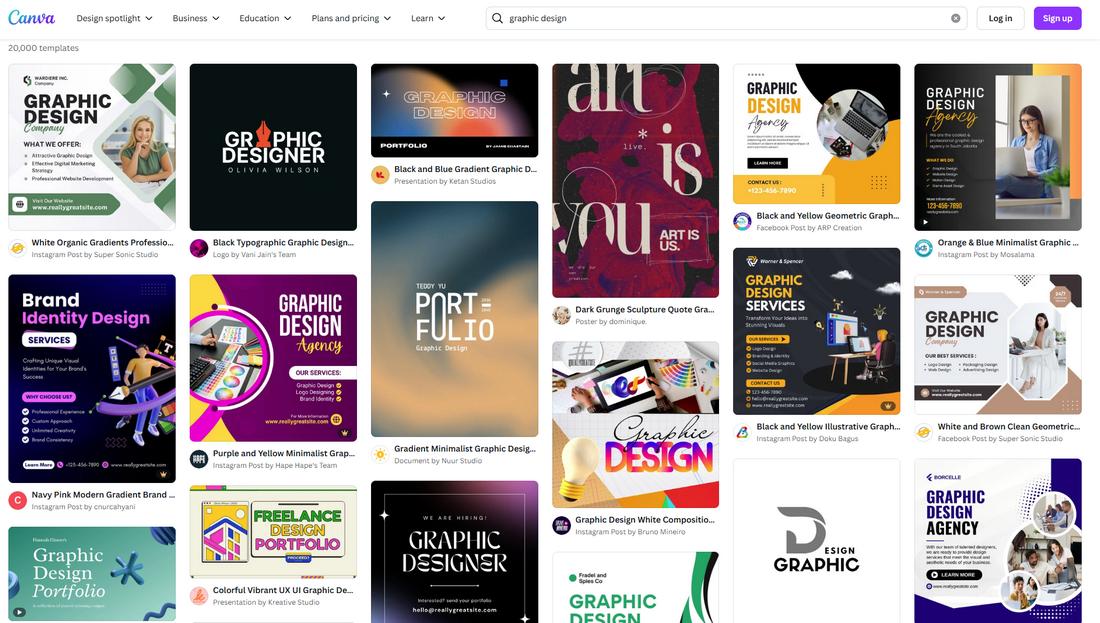
Step 2: Choose What Templates You Need
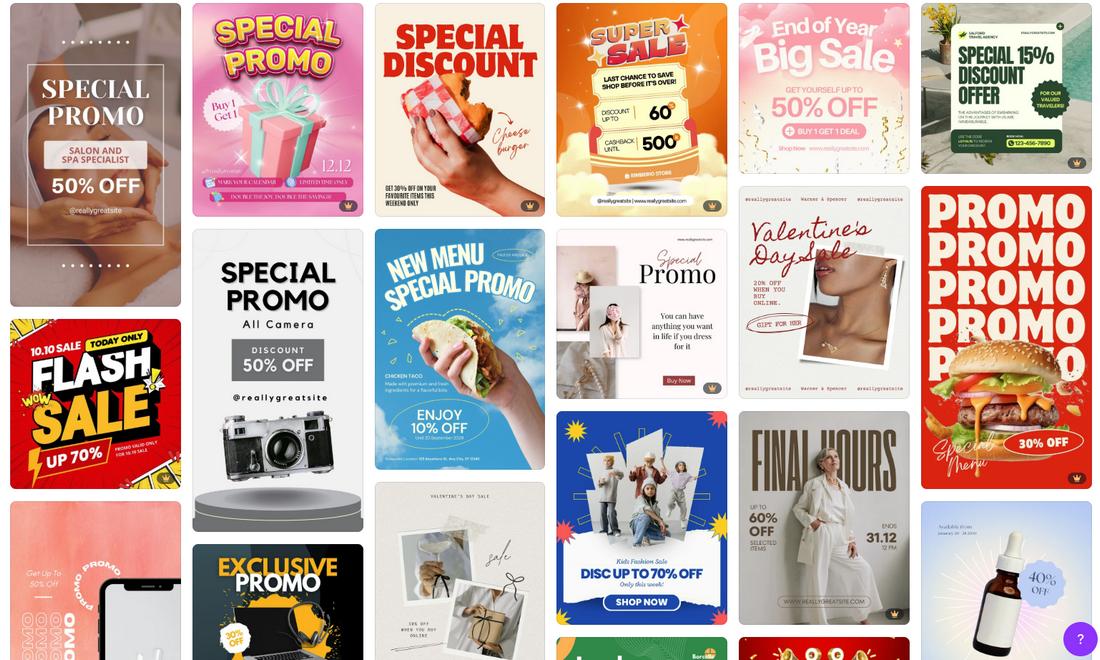
Think about the types of content you create often. These are good candidates for reusable templates.
Examples include:
- Social media posts (quotes, tips, carousels, product features)
- Email headers
- YouTube thumbnails
- Blog post graphics
- Instagram Stories or Reels covers
- Presentations or slide decks
- Flyers and posters
- Promo graphics for sales or announcements
Group them by content type or campaign, then plan a few template variations for each. You can even sketch layout ideas or reuse design patterns that already work well for your brand.
Step 3: Build the Templates
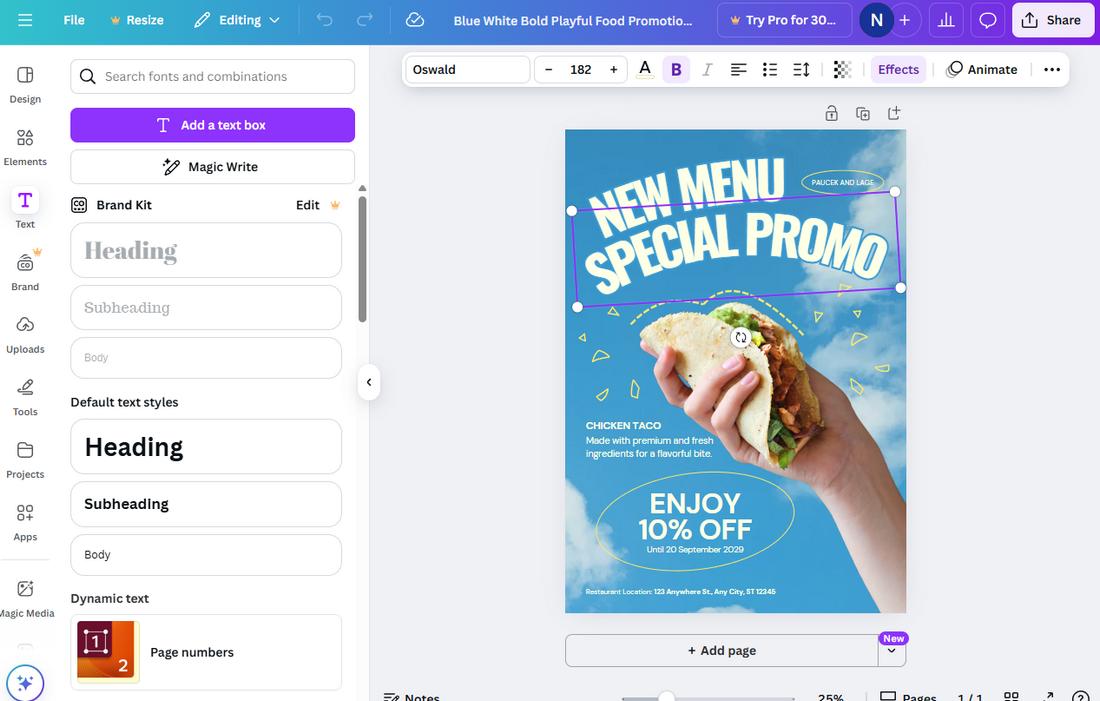
Now it’s time to design. Start with a blank canvas in Canva and build your layout using brand fonts and colors.
Use placeholders for images or product shots, and include dummy text that shows where headlines or CTAs will go.
Design tips for reusable templates:
- Keep layout elements aligned and spaced evenly
- Use guides and grids for consistency
- Avoid locking yourself into content that’s hard to update (like text baked into images)
- Label layers clearly so they’re easy to edit later
- Leave enough white space to adapt different types of content
Once your layout is complete, name it clearly and add it to a folder where you can easily find and duplicate it later.
Step 4: Make It Easy to Customize
A good template should be flexible enough to accommodate small changes without breaking the design.
When building your templates:
- Use grouped elements to keep spacing consistent
- Avoid overly complex animations or effects that are hard to update
- Add notes or text boxes with tips for how to use or edit the template
- Test how it looks with different types of content (long vs. short headlines, different images)
If others will be using your templates, consider creating a short guide with dos and don’ts, so everyone applies the design consistently.
Step 5: Share Your Templates
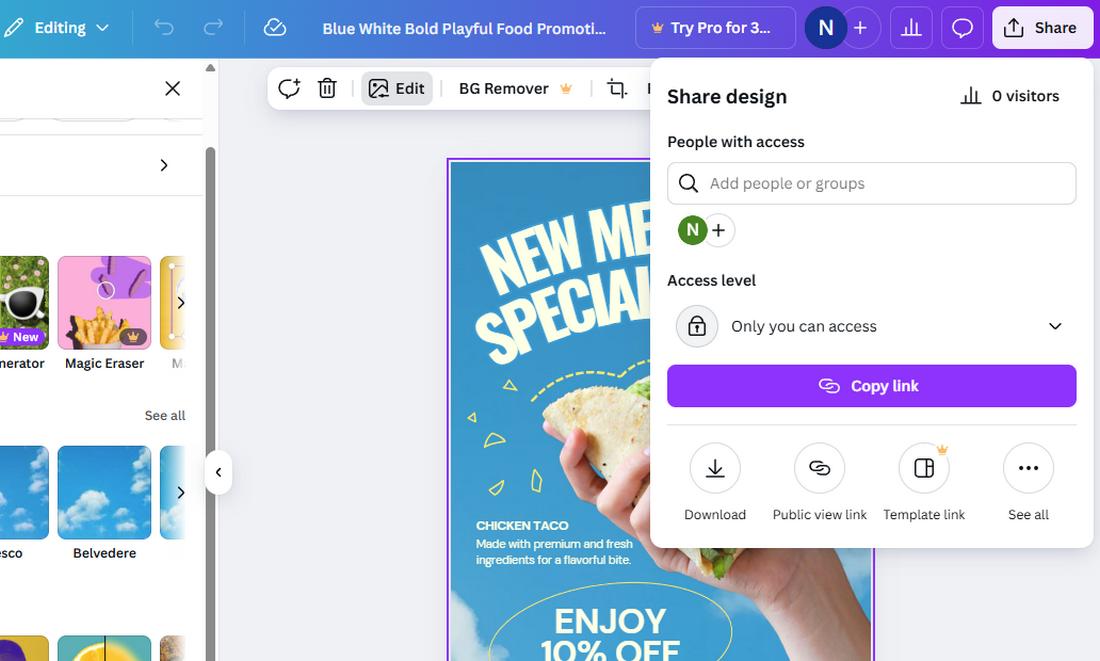
Once your template is ready, you can share it with team members or collaborators. Canva Pro makes this simple with template links.
To share a reusable template:
- Click the “Share” button
- Choose “Template link” (this lets others create a copy instead of editing the original)
- Send it via email, Slack, or drop it in your content planning doc
You can also organize templates in folders or create a shared Canva Team where everyone can access and use your brand templates from one place.
Step 6: Update and Optimize Regularly
Templates aren’t meant to be static. As your brand evolves or you learn what works best, revisit and refine your templates.
Maybe a certain layout gets better engagement, or you notice a headline style that’s easier to read. Small improvements can make a big difference in content performance over time.
Keep a checklist or template library so you know which ones need updating. Review your template set every quarter to make sure it’s still aligned with your goals.
Tips for Getting the Most Out of Canva Templates
1. Use Templates as a Starting Point, Not a Final Design
Think of each template as a base to build from, not the finished product.
Add your own creative touches, experiment with layout tweaks, and keep your content feeling fresh while still staying on-brand.
2. Group Templates by Campaign or Platform
To stay organized, create folders based on specific campaigns or platforms.
For example, have one folder for product launches, one for social posts, and another for newsletters. This makes it easy to grab what you need when you’re short on time.
3. Plan Content in Batches
Templates really shine when you work in bulk. Set aside time to plan and design several posts at once using the same template style.
It streamlines your workflow and helps maintain visual consistency across a campaign or week’s worth of content.
4. Schedule a Template Review Every Few Months
As your brand evolves, so should your templates. Set a recurring reminder to review and refresh your library.
Update old templates with new product photos, fonts, or layout improvements to keep things looking current.
5. Take Advantage of Canva’s Content Planner
If you’re already using Canva to design, consider using its built-in Content Planner to schedule your posts.
This helps you preview how templates work together visually and keep a cohesive look on your social channels.
6. Create Mobile-First Versions of Templates
If most of your audience is browsing on mobile, make sure your templates work well on small screens.
Design alternate mobile-friendly versions with larger text, less clutter, and clear calls to action that are easy to tap.
7. Train Your Team with a Walkthrough Video
If you’re sharing templates with clients or teammates, record a quick walkthrough video explaining how to use them.
Show where to replace content, how to export, and how to avoid breaking the layout. It’s faster than a document and easier to follow.
8. Use Version Numbers in Template Names
Add version numbers or dates to your file names when making updates (like “ProductLaunch_Template_v2”).
This keeps your library clean and helps your team know which version to use.
9. Keep File Sizes Optimized
Large images and video can slow down your design process or cause export issues.
Use Canva’s image compression or upload optimized media to keep templates fast and functional.
10. Bookmark Templates in Your Browser
If you use a few templates frequently, bookmark them in your browser for quick access. It cuts down on searching and helps speed up your content creation process even more.
Conclusion
With the right setup, anyone on your team can create polished, consistent content in minutes. And that means more time to focus on strategy, storytelling, and growing your brand.
Whether you’re a solo creator or part of a growing team, investing in a library of flexible Canva templates is a game-changer for productivity and brand clarity.
Start small, stay consistent, and refine as you go; your future self (and your feed) will thank you.