How to Export Lightroom Presets
The ability to create and export presets is one of the best features of the Lightroom app that allows you to supercharge your workflow and save a lot of time when processing photos.
In this guide, we’ll show you how to create and export your Lightroom presets, to easily make adjustments to photos, and improve your designs.
Exporting and sharing Lightroom presets is key if you’re wanting to move them between computers, distribute them to friends, or sell them online. Here’s how you do it.
Why Create Lightroom Presets?
Imagine that you’re working on a batch of photos from a photoshoot. You’ve adjusted the exposure and saturation of one photo using Lightroom and now you have 20 more photos to make those same exact adjustments. What will you do?
This is where Lightroom presets comes to help. When you make adjustments to that first photo, you can save those adjustment settings as a Lightroom preset. So that you can instantly apply the same settings to all the other photos with just one-click.
Lightroom presets aren’t just about making adjustments either. You can also use them to add visual effects, filters, toning, and much more. You can use them to enhance photos, retouch portraits, and make graphic designs even more beautiful without an effort.
How to Create a Lightroom Preset
Creating your own Lightroom preset is a very simple and easy process. Simply follow the steps below.
Step 1: Open a Photo in Lightroom
Before getting started, you need to have a photo opened in your Lightroom app. So go ahead and open a photo that you want to edit.
Step 2: Make All the Adjustments
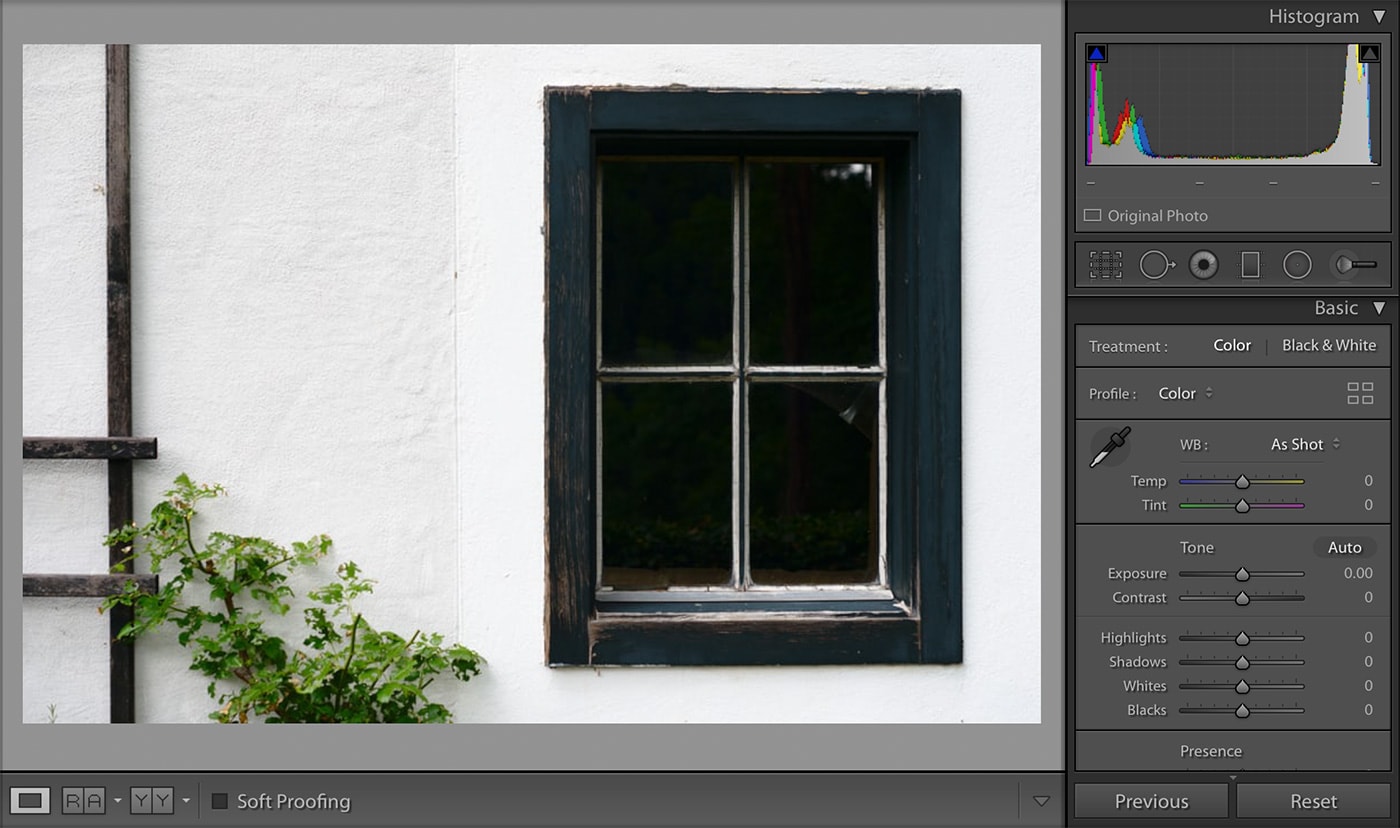
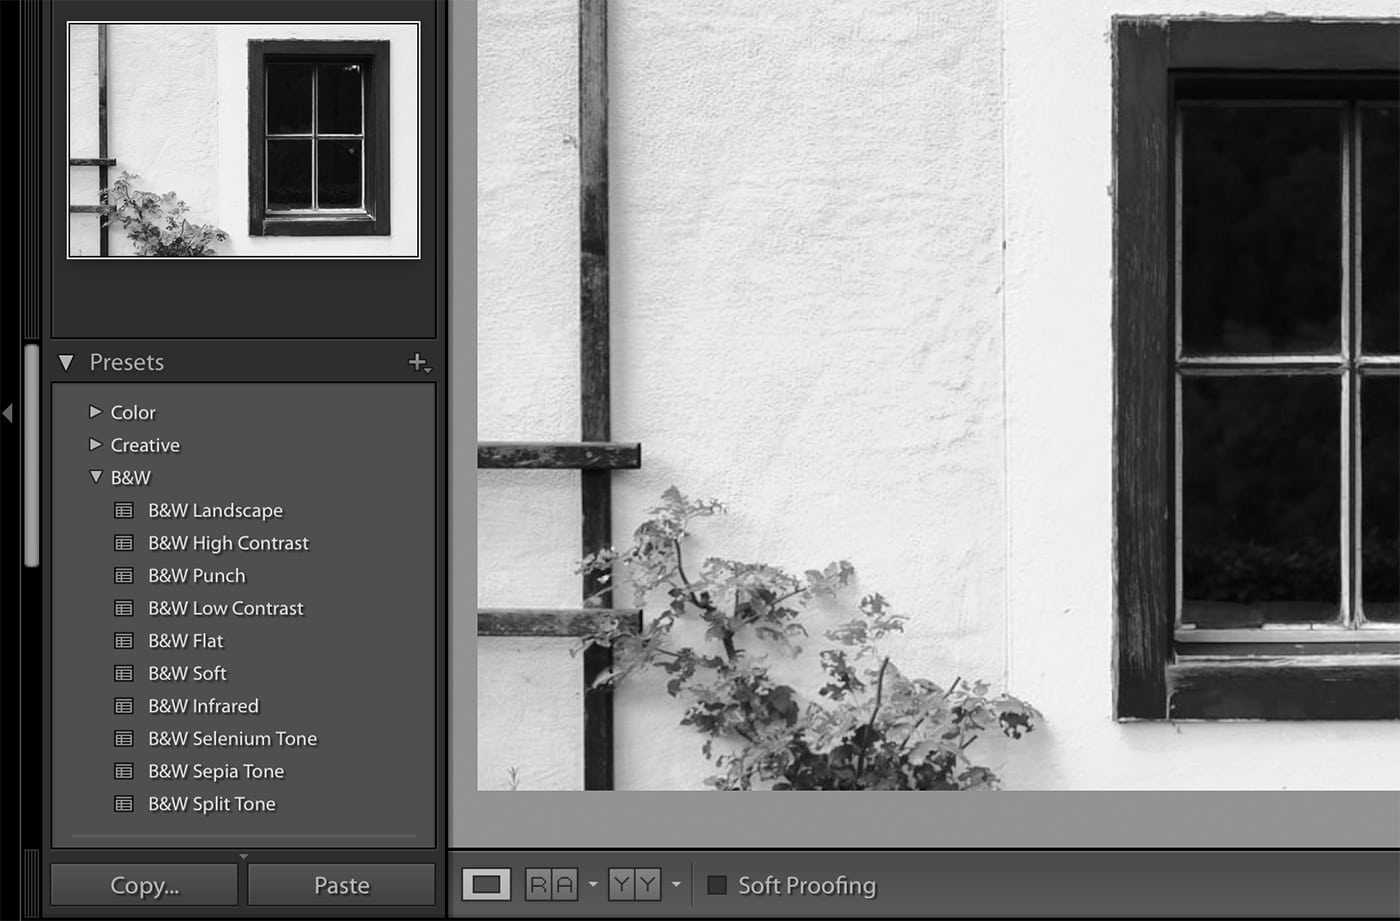
Now start making all the adjustments you want to make to your photo such as changing contrast, saturation, exposure, clarity, etc.
Step 3: Save Your New Preset
To save all those adjustments you’ve made to your photo as a preset, go to the Presets tab on the left-hand side panel.
Click the Plus (+) icon on the Presets tab and select Create Preset.
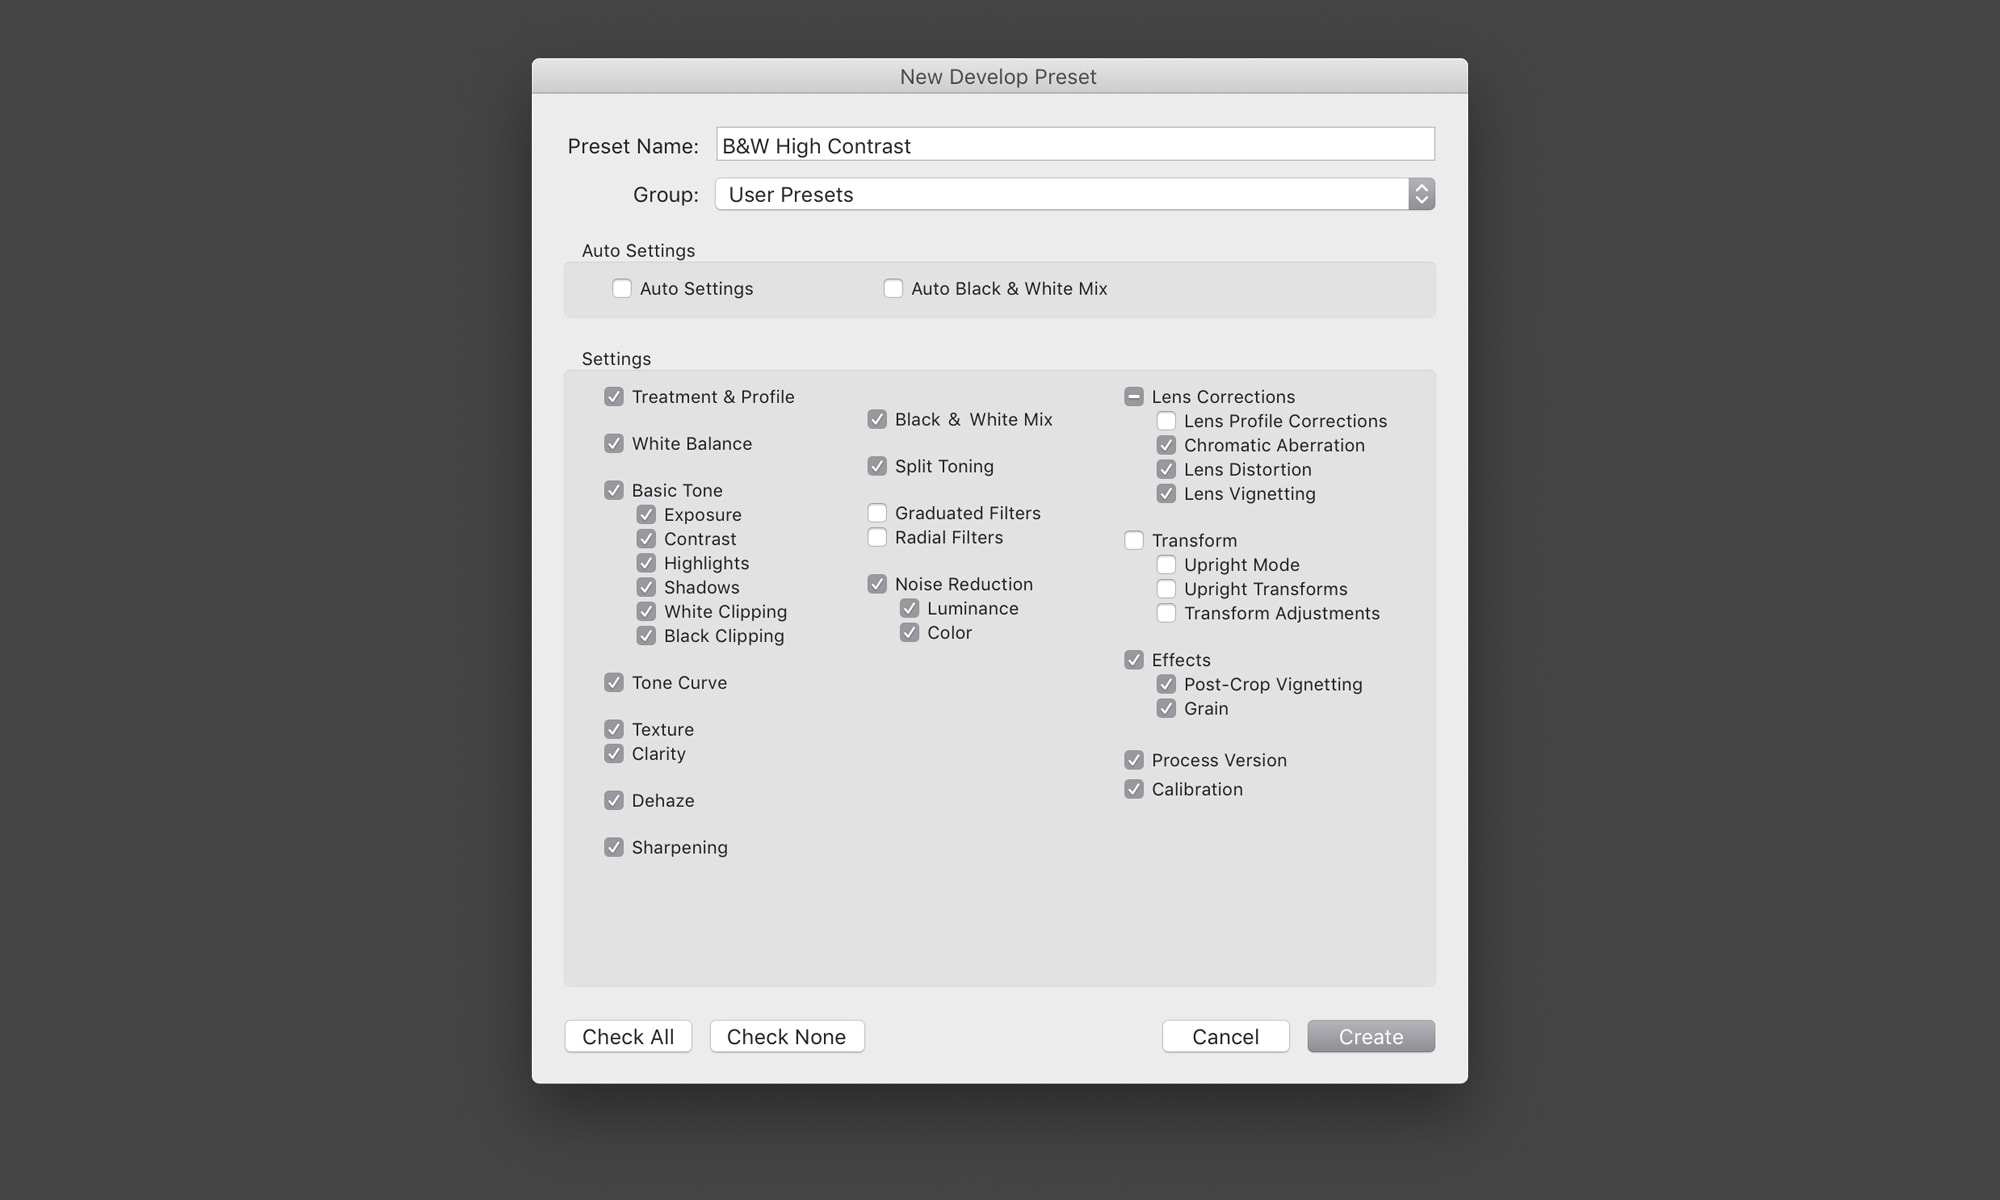
On the Create Preset window, give your new preset a name. You’ll also see a lot of options that allow you to select which adjustments to save in your preset. Simply click on the Check All button at the bottom of the window to save all of the adjustments in your preset.
Click Create and your preset is now complete.
How to Export a Lightroom Preset
Now that you have created your own Lightroom preset, let’s see how to export it. Maybe you want to share your preset with a friend, a client, or maybe even sell it on a marketplace. Here’s how you can export a Lightroom preset.
Step 1: Select the Preset
Exporting a Lightroom preset is easy because each preset you create in Lightroom gets saved a separate Lightroom preset file. To export it, all you have to do is copy this file.
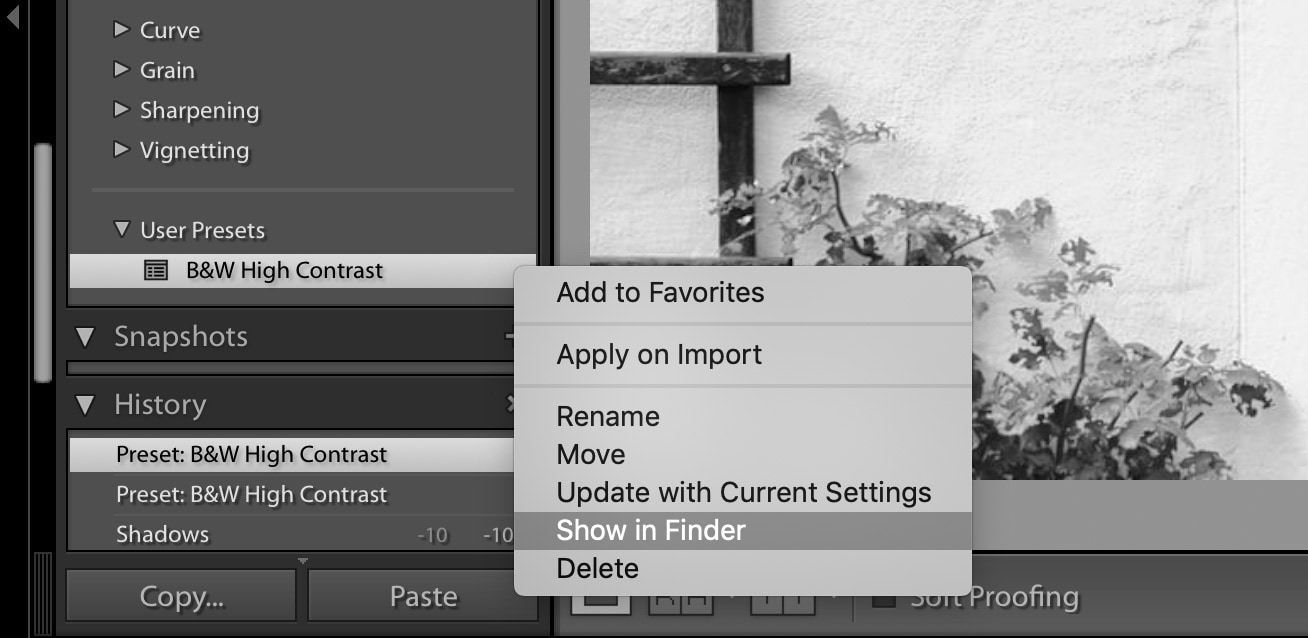
First, select the preset you want to export from the Presets tab. Then Right-Click on the preset you want to export.
Now select Show in Finder. This will open the Lightroom presets folder showing all the presets in your library.
Step 2: Copy Your Preset
Lightroom preset files are saved as XMP files. Select the XMP file for the presets you’ve created and copy-paste it anywhere on your computer.
Then you can add it to a ZIP file and send it to someone else or sell it online.
Conclusion
Hopefully, you’ll now be able to manage your workflow better by automating some of the common tasks to save time to work on more important projects.
Also, you can also download pre-made Lightroom presets made by professional designers to enhance your photos and graphics like a pro. For inspiration you can check out our best Lightroom presets collection.