Best Lightroom Export Settings for Instagram (Tips + Presets)
Lightroom is the secret behind some of the most gorgeous-looking photos you see on Instagram.
Many influencers and professionals use Lightroom to improve their photos before uploading them to the photo-blogging platform.
If you have the Lightroom app on your phone or computer, you can also make your Instagram posts look just as amazing as other influencers.
It’s just as easy as it sounds. But there are a few steps you need to follow. Like cropping images, applying effects, and using the best Lightroom export settings for Instagram.
In this quick guide, we share all the important tips and tricks for creating Instagram posts in Lightroom.
Tips for Improving Photos for Instagram
Let’s start by improving the photo you want to share on Instagram. We’ll make a few basic adjustments.
Crop the Image
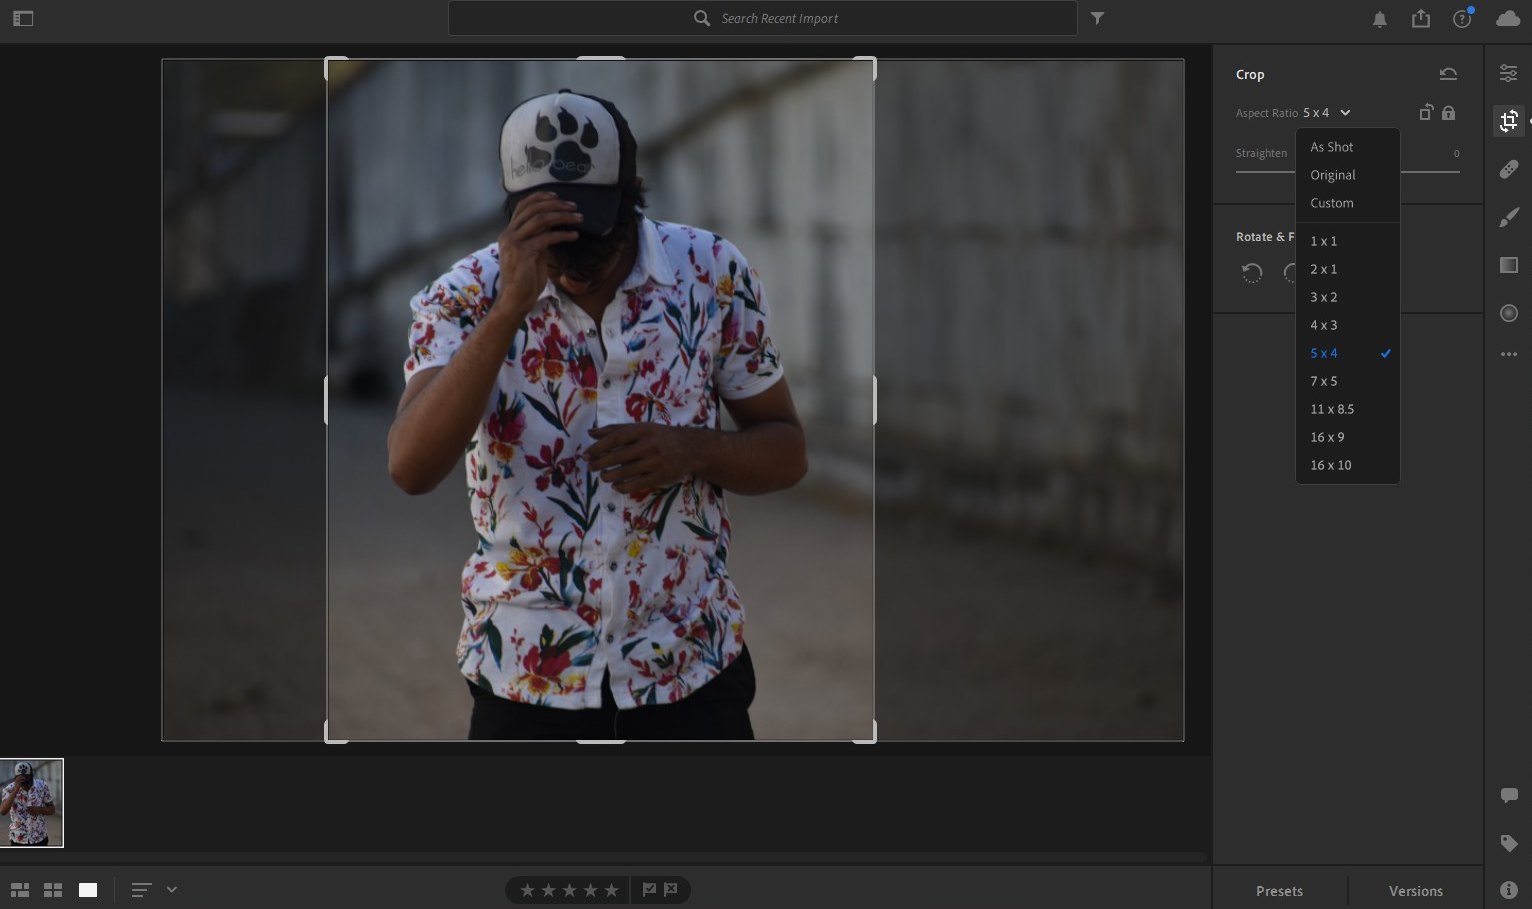
First, crop the image to fit the Instagram layout. Instagram recommends that you upload images with a width of 1080px and a 4:5 aspect ratio. So make sure your image resolution meets that requirement.
To crop and resize, switch to the Crop tool in Lightroom. And then select 4X5 aspect ratio from the drop-down list. Press the X key on your keyboard to adjust the orientation. Finally, press the Enter key to crop the image.
Set White Balance
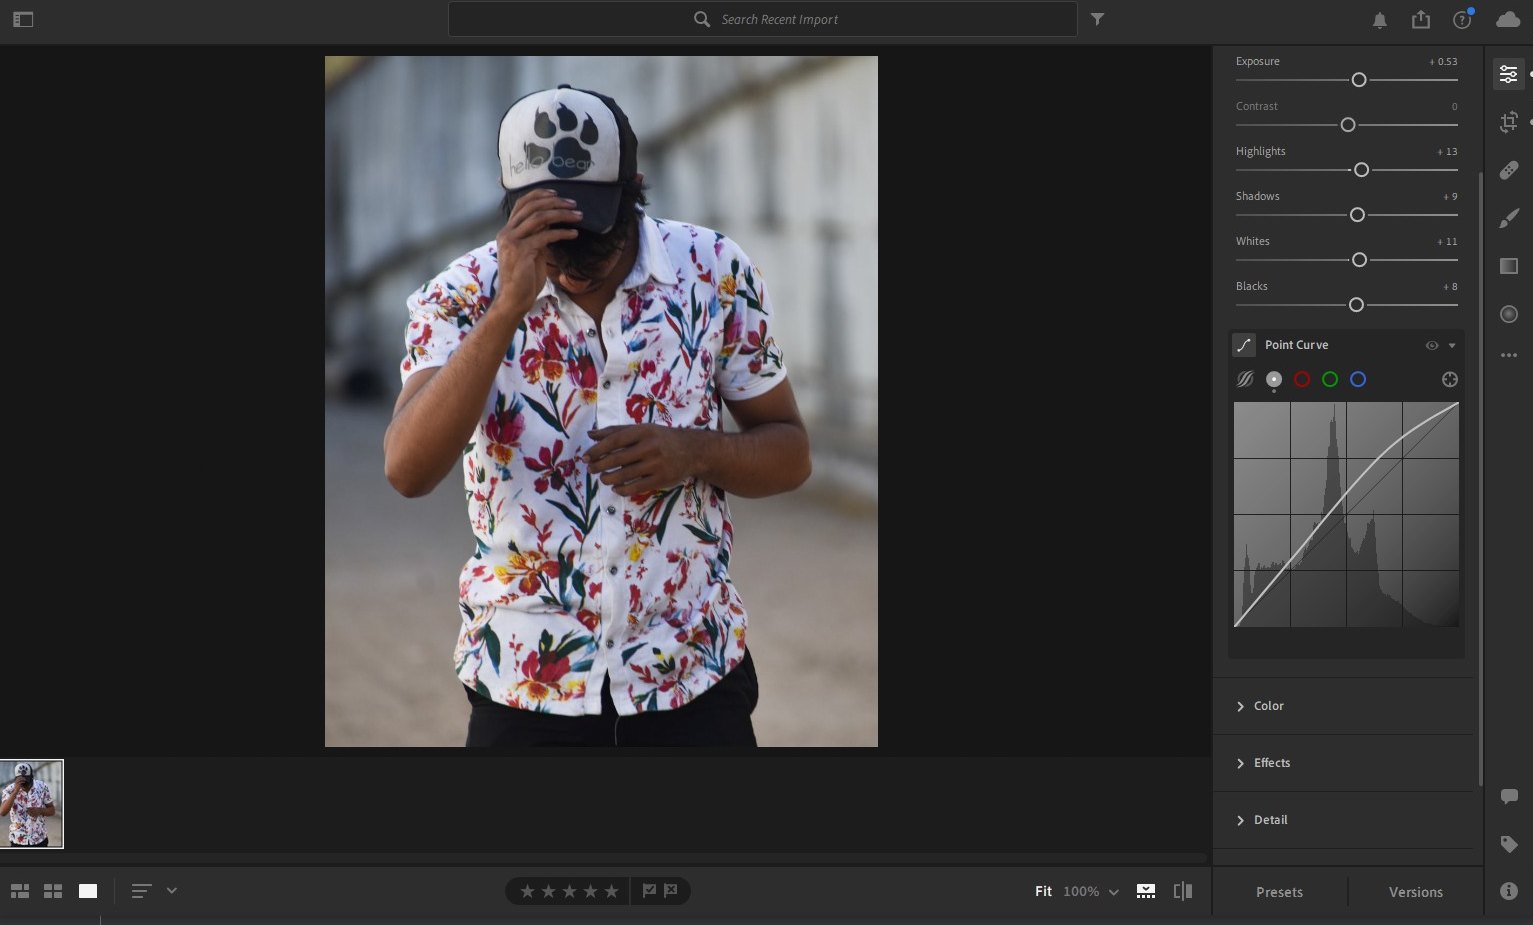
Setting the white balance is an important part of improving an image, especially if it’s shot in bad lighting conditions.
Use the Light adjustment panel under the Edit module to adjust the white balance. For this example, we made adjustments to Exposure, Highlights, Shadows, and also used the Point Curve to achieve a clearer image.
Improve Colors
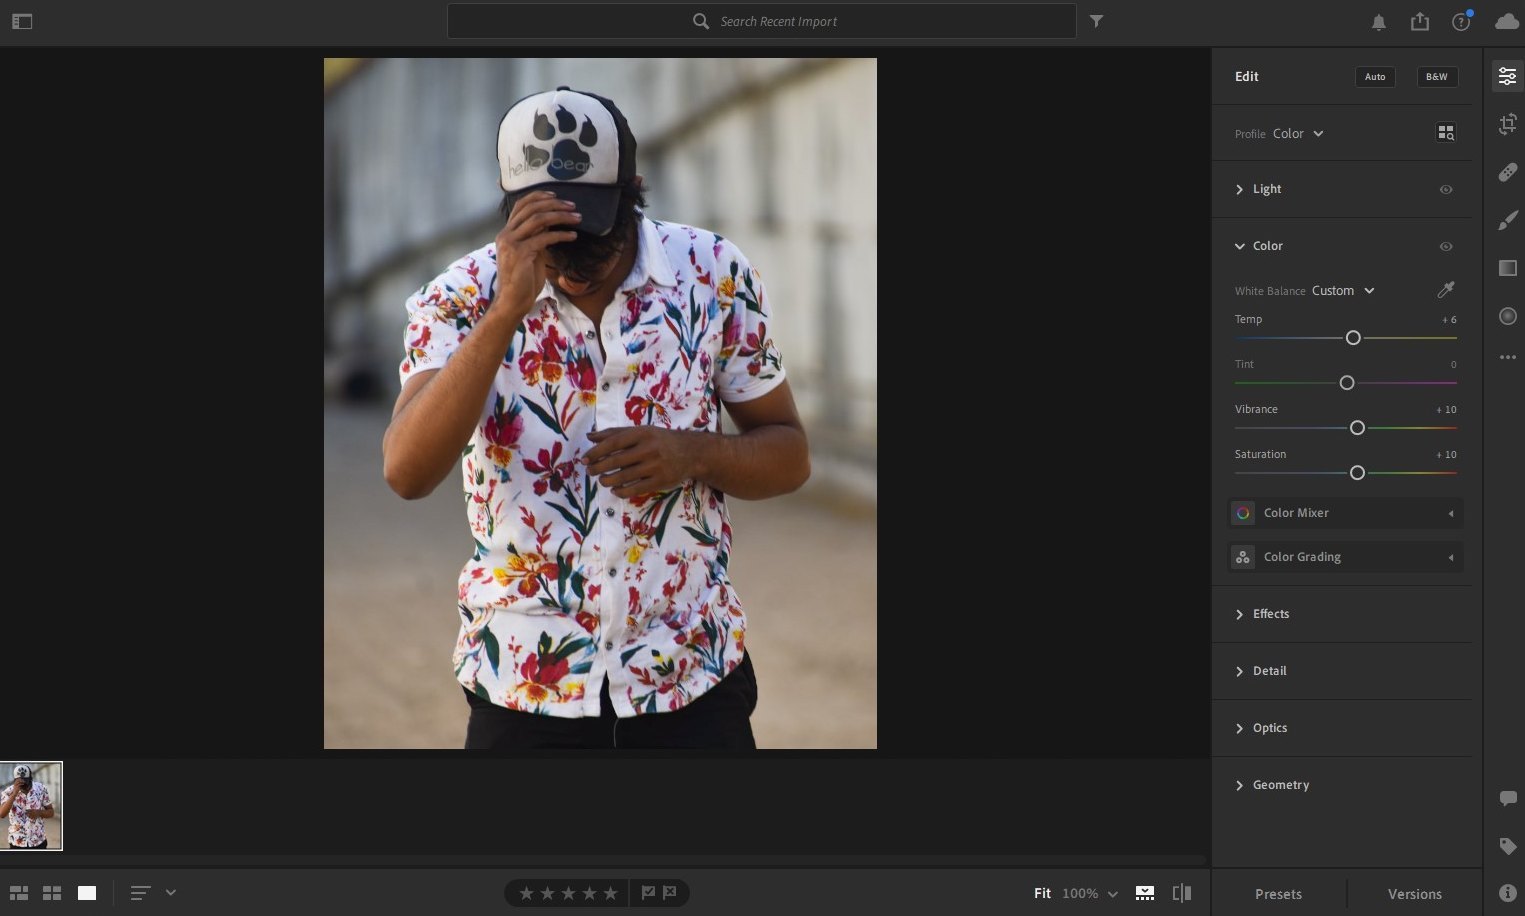
Next, use the Color adjustment panel to bring out the true colors of the image. And also to make it a bit more vibrant.
Apply a Filter
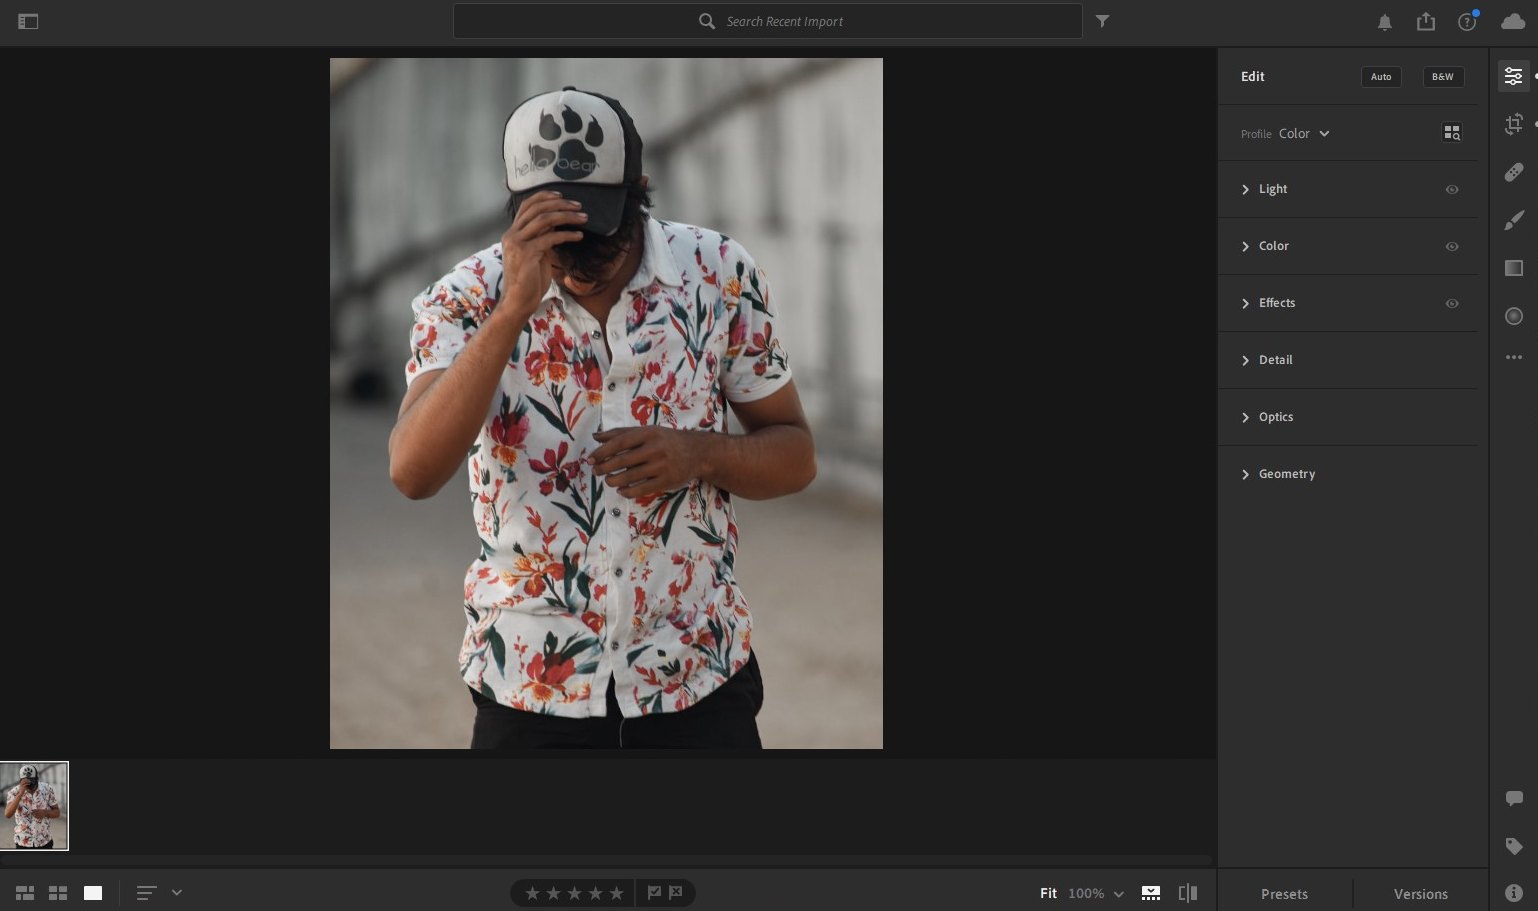
If you want, you can also apply a filter or effect to the photo using a Lightroom preset. In this example, we used a moody effect to give a dark and gritty look to the image.
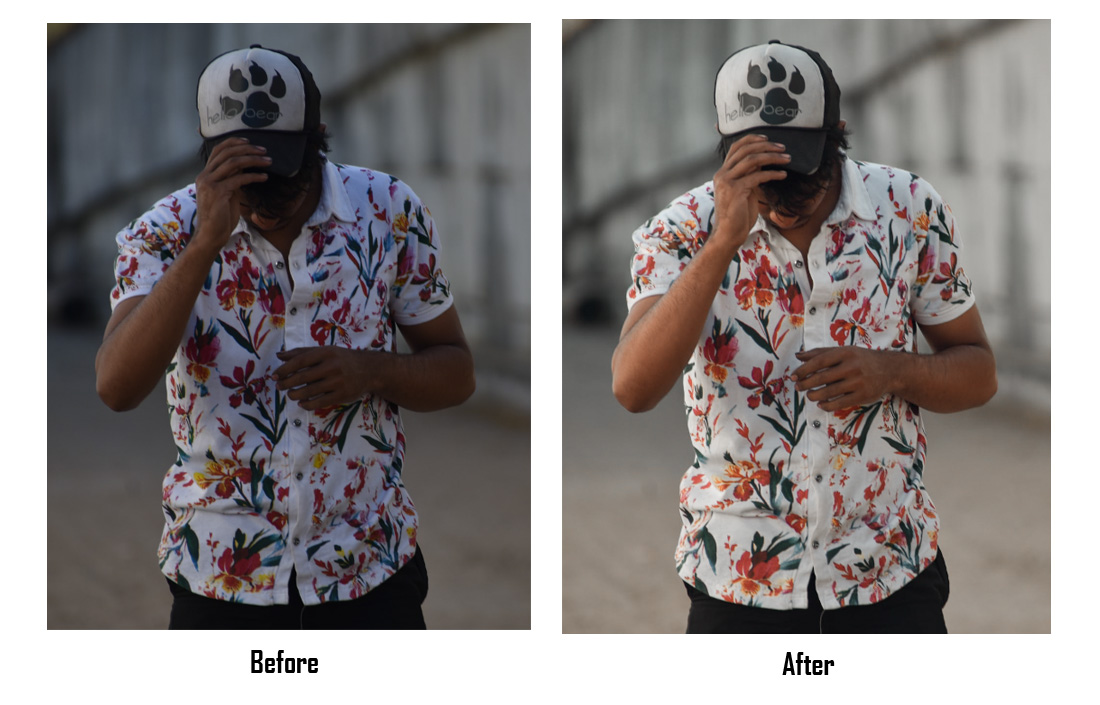
Here’s what the photo looks like before and after we made the improvements.
Lightroom Presets for Instagram
Lightroom Presets are great for quickly enhancing your photos for Instagram. You can use them to add filters and effects too. Here are a few worth downloading.
8 Classic Ports Film Look Presets
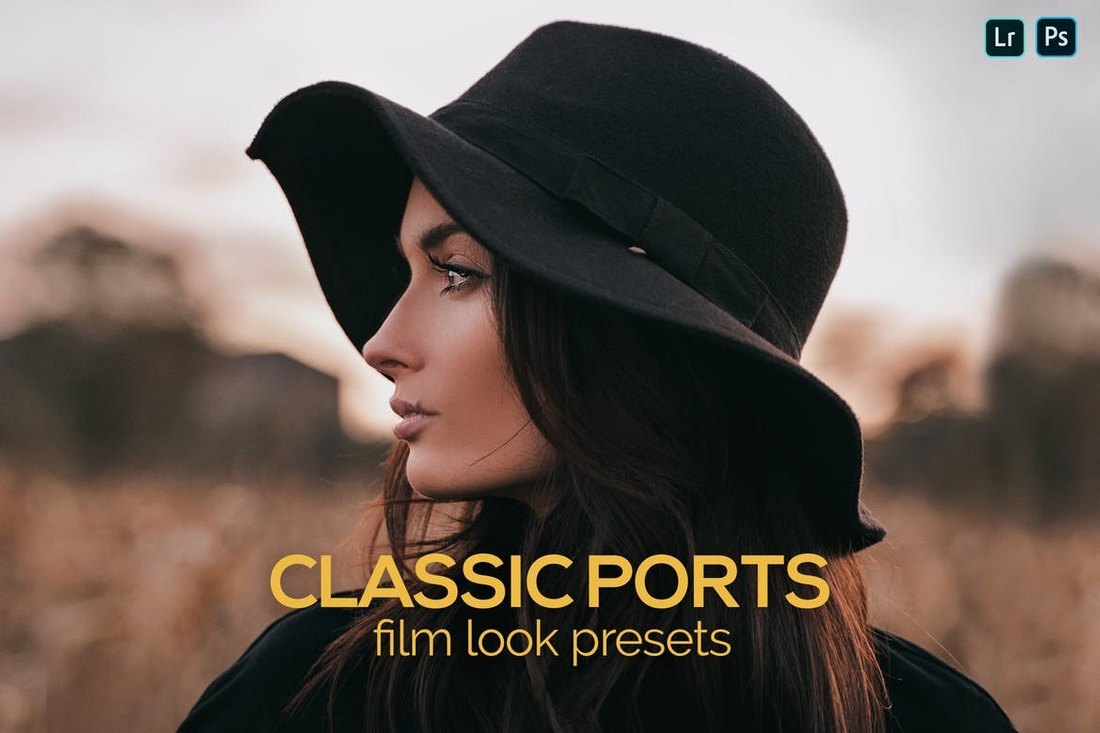
This is a collection of 8 Lightroom presets you can use to apply film look filters to your photos. They are perfect for creating a moody feel in your Instagram posts.
Abreana – Lightroom Presets Dekstop & Mobile
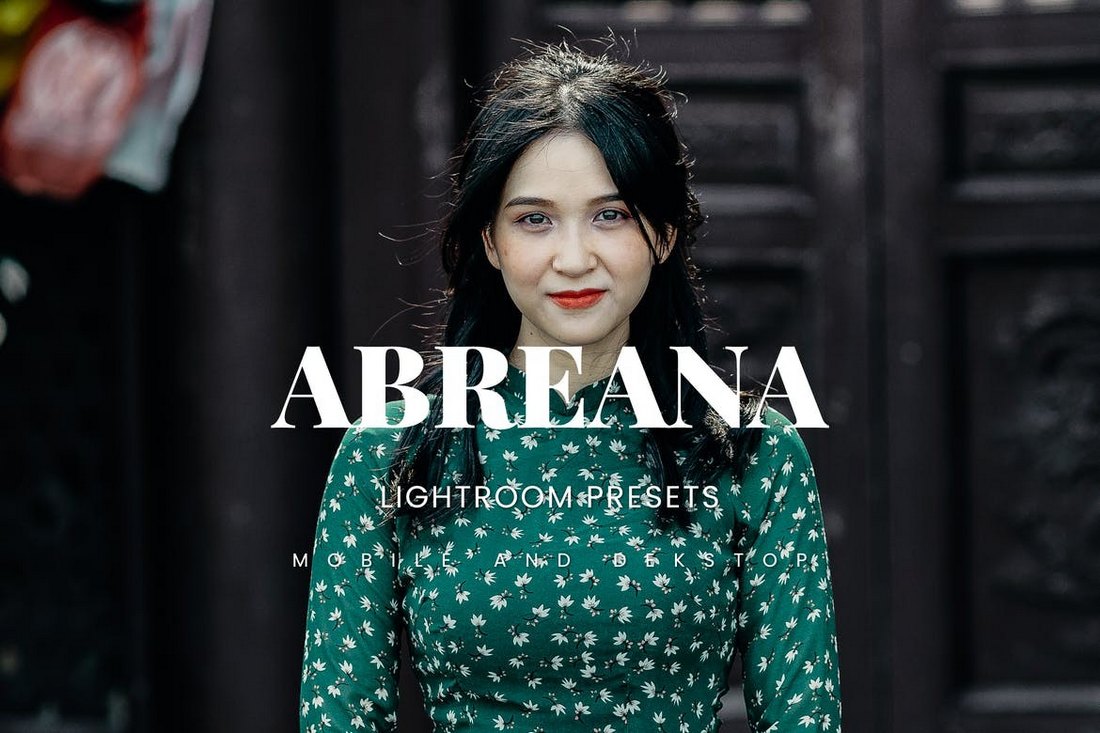
If you want to add filters that improve the photos while preserving the natural look, this set of Lightroom presets is for you. It includes 10 presets for both desktop and mobile apps.
Instagram Lightroom Presets
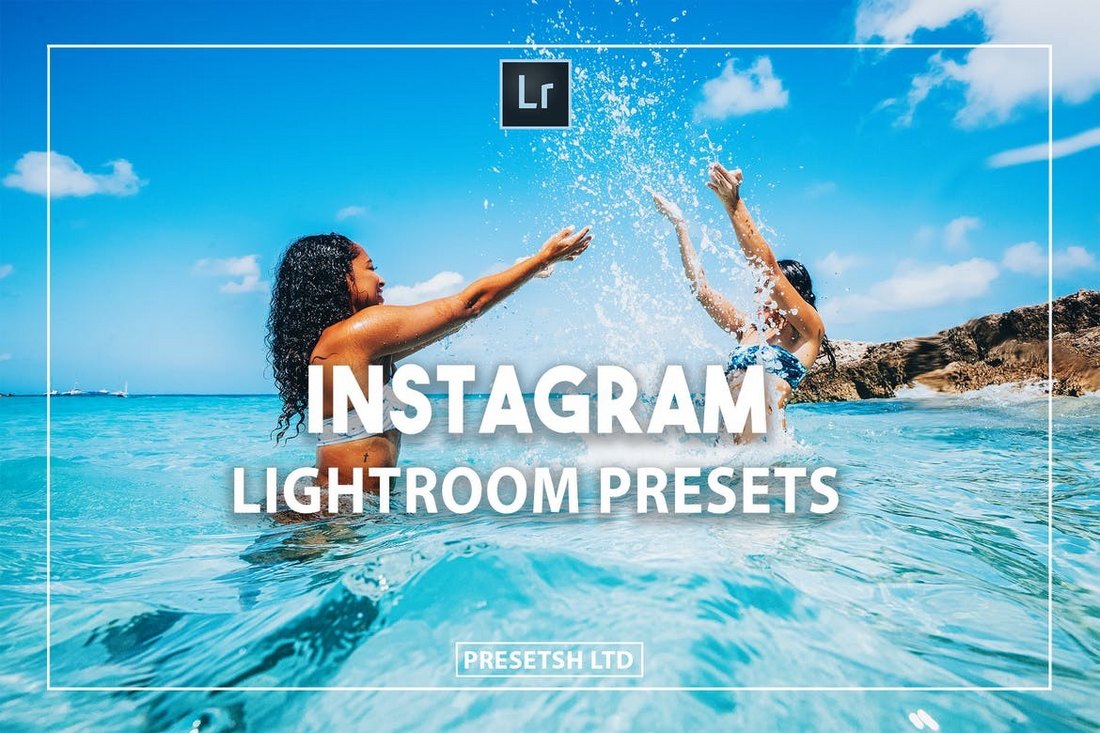
You can instantly enhance your photos for Instagram with the help of the presets in this bundle. There are 8 presets in this bundle you can use on Lightroom desktop and mobile.
15 Instagram Traveler Lightroom Presets + Mobile
This is a must-have bundle of Lightroom presets for Instagram travel bloggers. There are 15 different effects in this set with various filters and adjustments.
Trendy Instagram Lightroom Presets
The Lightroom presets in this bundle are specially designed for improving and enhancing your smartphone photos and selfies. They will help apply a trendy filter to your portrait photos.
Best Lightroom Export Settings (Desktop)
Now that you have improved the photo, it’s time to export the image. Here are the ideal export settings to follow when using the Lightroom desktop app.
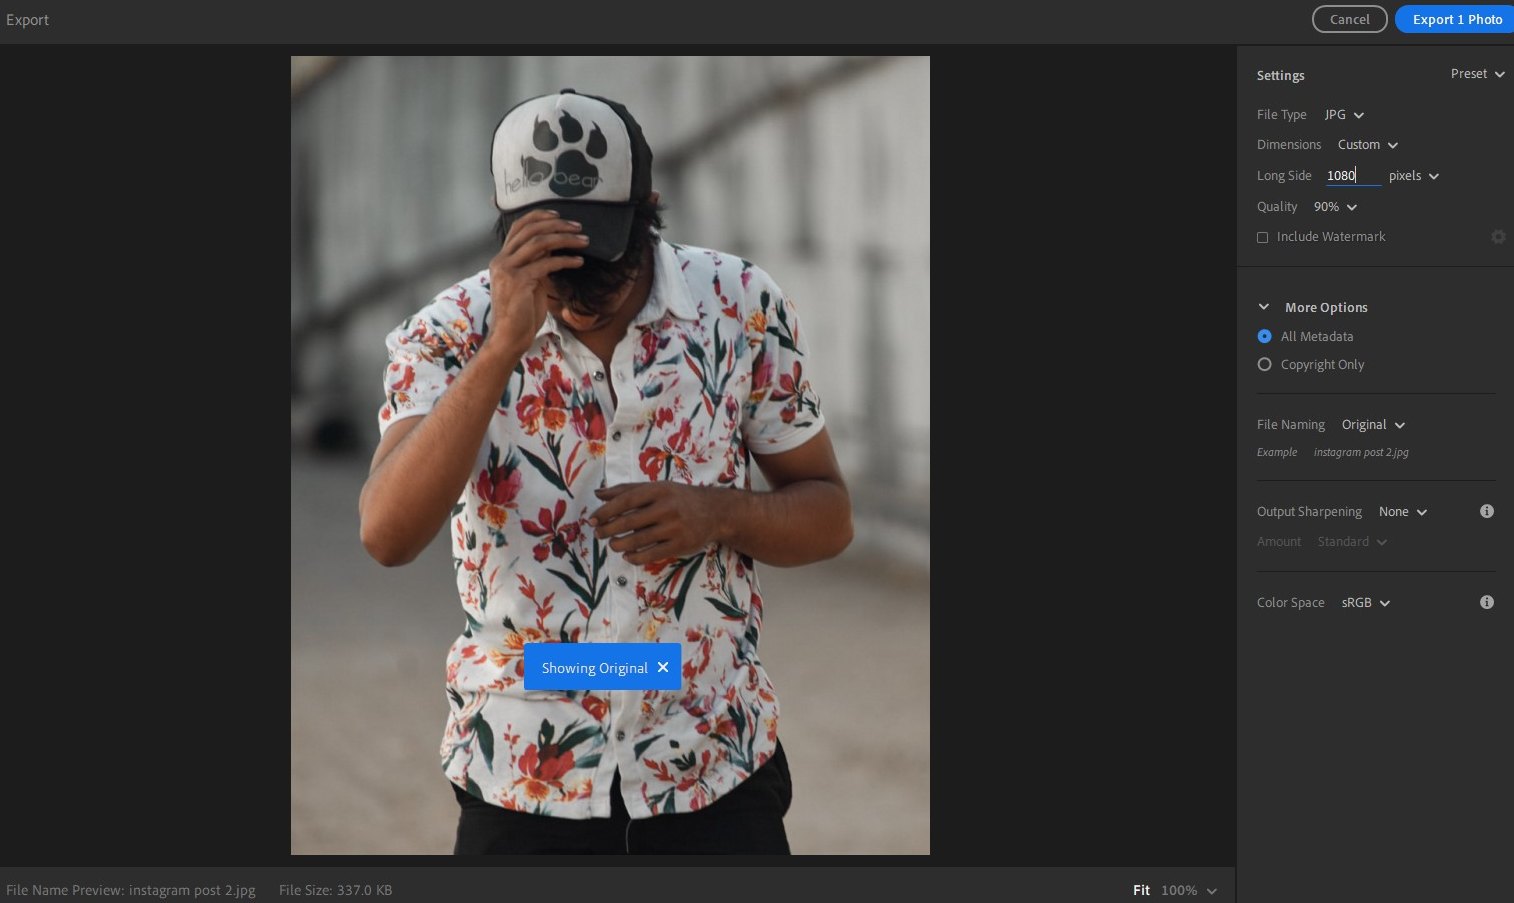
In the main Settings section, select the file type as JPG. Then change the Dimensions to Custom and enter 1080 pixels.
Keep the Quality at 90%. Mainly because Instagram tends to compress high-resolution images. Uploading at a lower resolution will minimize the damage done by the Instagram compression.
The rest of the settings are fairly straightforward. Simply click Export to finalize the process.
Best Lightroom Export Settings (Mobile)
If you’re using the Lightroom Mobile app, here’s how to access the custom settings page.
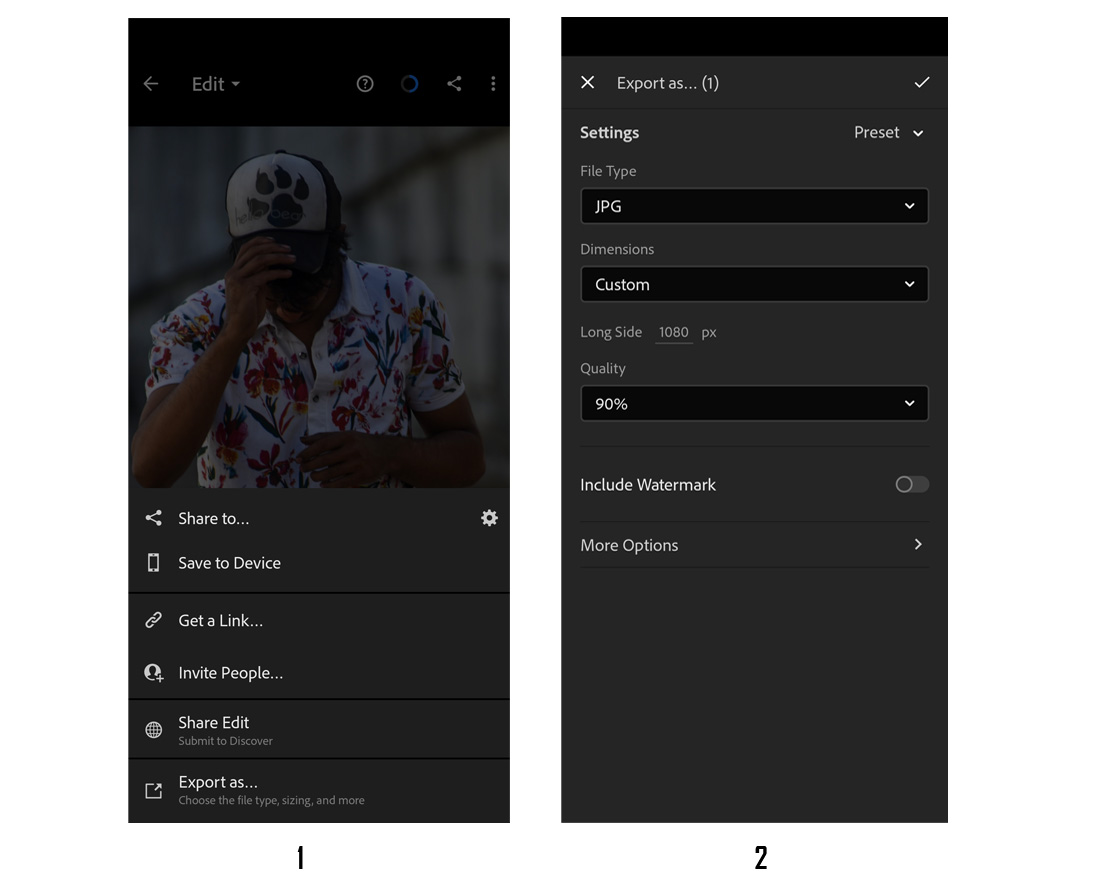
- After making the improvements to the image, tap the Share icon and select the Export As option.
- From the Export page, select file type as JPG. Set “Long Side” Dimensions to Custom and enter 1080 pixels. And set Quality to 90%.
In Conclusion
We hope you’ll be able to share better-looking photos on Instagram from now on.